USB BOOT CLIENT
Logicube ZXi-
10G™ User’s Manual
95
7.
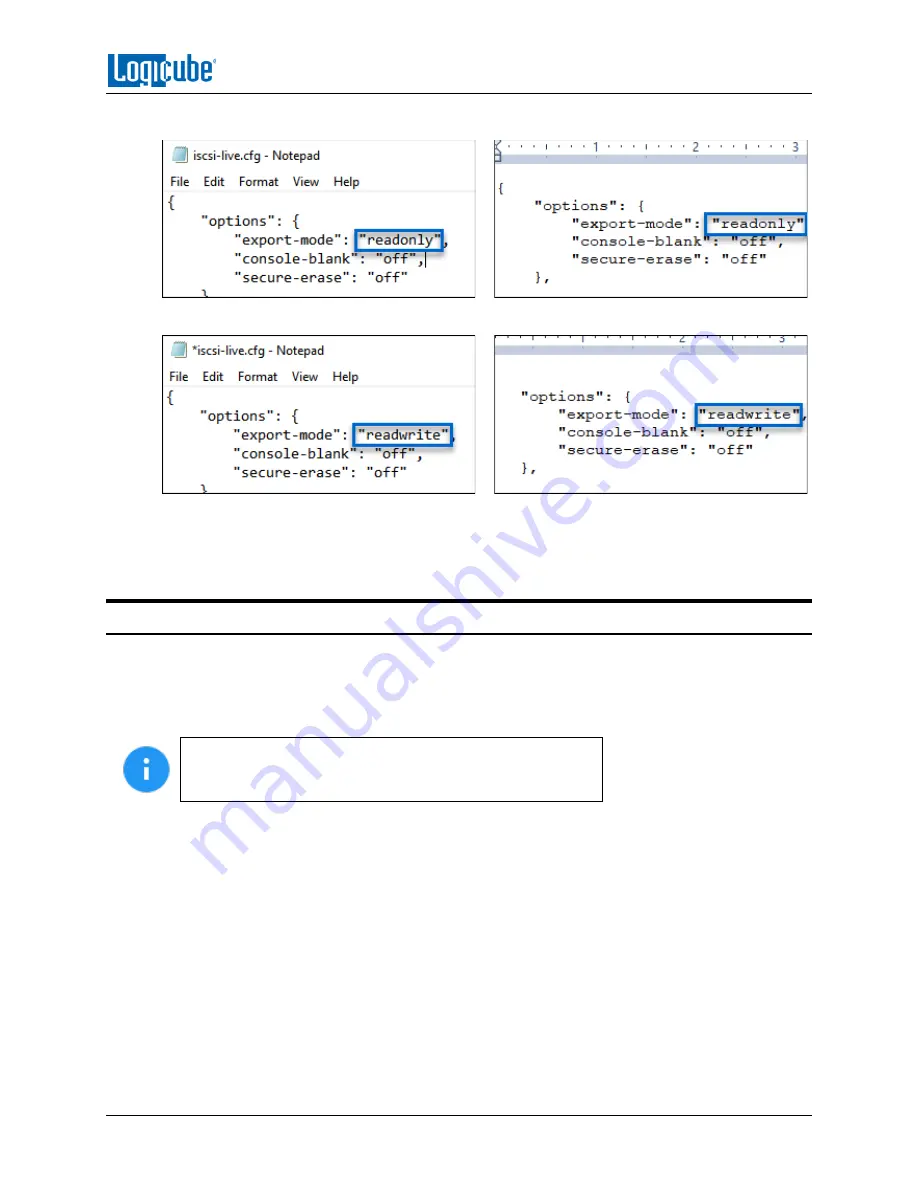
Look for export-
mode”: “readonly”.
8.
Change the word
“readonly”
to
“readwrite”
.
9.
Save the file and close the text editor.
10.
The USB Boot Client is now ready to be used. When booting a computer with this USB boot
Client, all connected drives will appear as both Master and Destination/Target.
9.4 Using the USB Boot Client
Drives connected to the computer can be used by the supported Logicube Device as a Source/Master
or Destination/Target (if
Section 5.0
was followed) over a network connection if the USB Boot Client is
used to boot the computer. The USB Boot Client is set to DHCP and at this time, a static IP cannot be
set.
For computers that do not have a built-in Ethernet adapter,
a USB to Ethernet adapter may be used. Some laptops also
have docks that have an Ethernet adapter that may work.
1.
Some changes to the computer’s BIOS or UEFI may be required to use the USB Boot Client.
Boot into the computer’s BIOS or UEFI and look for the following settings.
Some computers
may not have these settings. Once these have been set, save and exit the BIOS or UEFI:
a.
SATA Operation
–
Depending on the computer, this may be called something different.
Typically, this would have up to three settings: Disabled, AHCI, and RAID. Make sure
this is set to
AHCI
. The internal drive on the computer may not be detected by the USB
Boot Client if this is set differently.
b.
Secure Boot
–
This setting needs to be set to
Disabled
. If it is not set to ‘disabled’, the
USB flash drive with the Boot Client may not be seen/displayed as a boot option.
2.
Connect the ZXi-10G to the same network the computer with the USB Boot Client will be used
on (or directly connected to the computer using a network cable).


