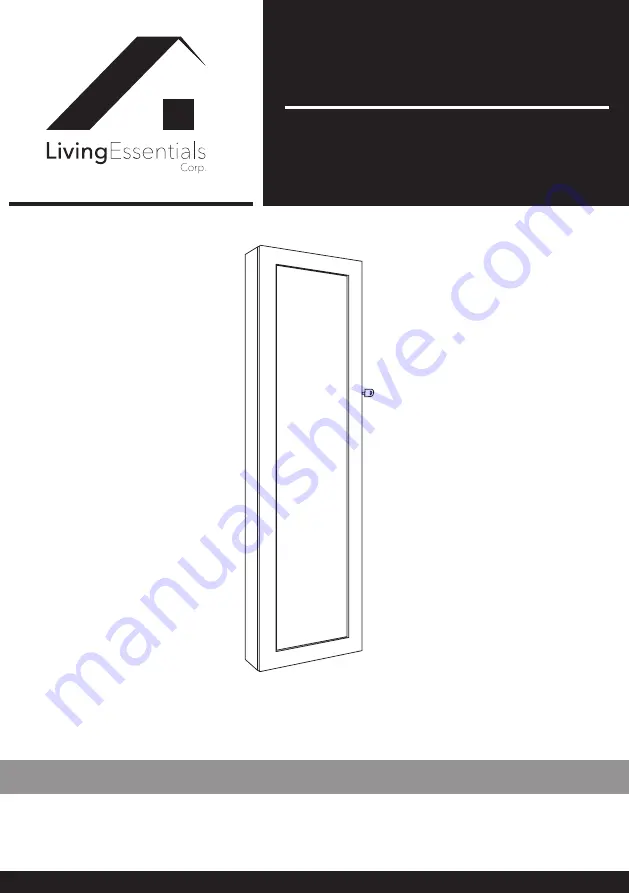
Living Essentials Darlene BMHWWH0114 Assembly Instruction Manual Download Page 1

We appreciate the trust and confidence

you have placed in LivingEssentials through the purchase of this jewelry cabinet.

Thank you for choosing LivingEssentials !

Assembly Instruction

Instrucción De Montaje

THANK YOU

Darlene Jewelry Cabinet
Darlene Joyero con Espejo

Model #  BMHWWH0114

Summary of Contents for Darlene BMHWWH0114

Page 1: ...ou have placed in LivingEssentials through the purchase of this jewelry cabinet Thank you for choosing LivingEssentials Assembly Instruction Instrucci n De Montaje THANK YOU Darlene Jewelry Cabinet Da...

Page 2: ...you believe the product is defective For any parts request it must include images of the defective part s Please do not ship your product back to us unless we specifically request you to do so If it i...

Page 3: ...a todas las instrucciones cuidadosamente Familiar cese con todas las piezas VEA PIEZAS y verifique las cantidades Siga todas las precauciones de seguridad vea PRECAUCIONES DE SEGURIDAD Familiarize you...

Page 4: ...d tighten them before you use Este producto contiene piezas peque as que pueden causar peligro de asfixia a ni os peque os Los ni os deben estar bajo la supervisi n de un adulto en todo momento de lo...

Page 5: ...PARTS PIEZAS A B X2 X2 X2 X2 X4 E F C D 3...

Page 6: ...PRIMERA INSTALACI N A X4 D D 4 X2 F F Insert the screw D through the metal plate hole F into the back of jewelry cabinet Inserte el tornillo D a trav s del orificio de la placa met lica F en la parte...

Page 7: ...5 1 2 3 Insert the plastic plug B and screw C into the wall using the tools drill hammer screw driver make the whole one fix on the wall Inserte el tap n de pl stico B y el tornillo C en la pared con...

Page 8: ...t included The lights are controlled by the magnetic sensor when the door opens the lights turn Abren gabinete de la joyer a hay luces LED en la parte superior interior funcionan con bater as se requi...

Page 9: ...TION LA SEGUNDA INSTALACI N A X2 E E 7 Insert the screw D through the metal plate hole E into the back of jewelry cabinet Inserte el tornillo D a trav s del orificio de la placa met lica E en la parte...

Page 10: ...r Puerta STEP 2 PASO 2 THE 2ND INSTALLATION LA SEGUNDA INSTALACI N A 8 Hang the jewelry cabinet on the door or on the cabinet door Cuelgue el gabinete de joyer a en la puerta o en la puerta del gabine...

Page 11: ...included The lights are controlled by the magnetic sensor when the door opens the lights turn Abren gabinete de la joyer a hay luces LED en la parte superior interior funcionan con bater as se requier...

Reviews: