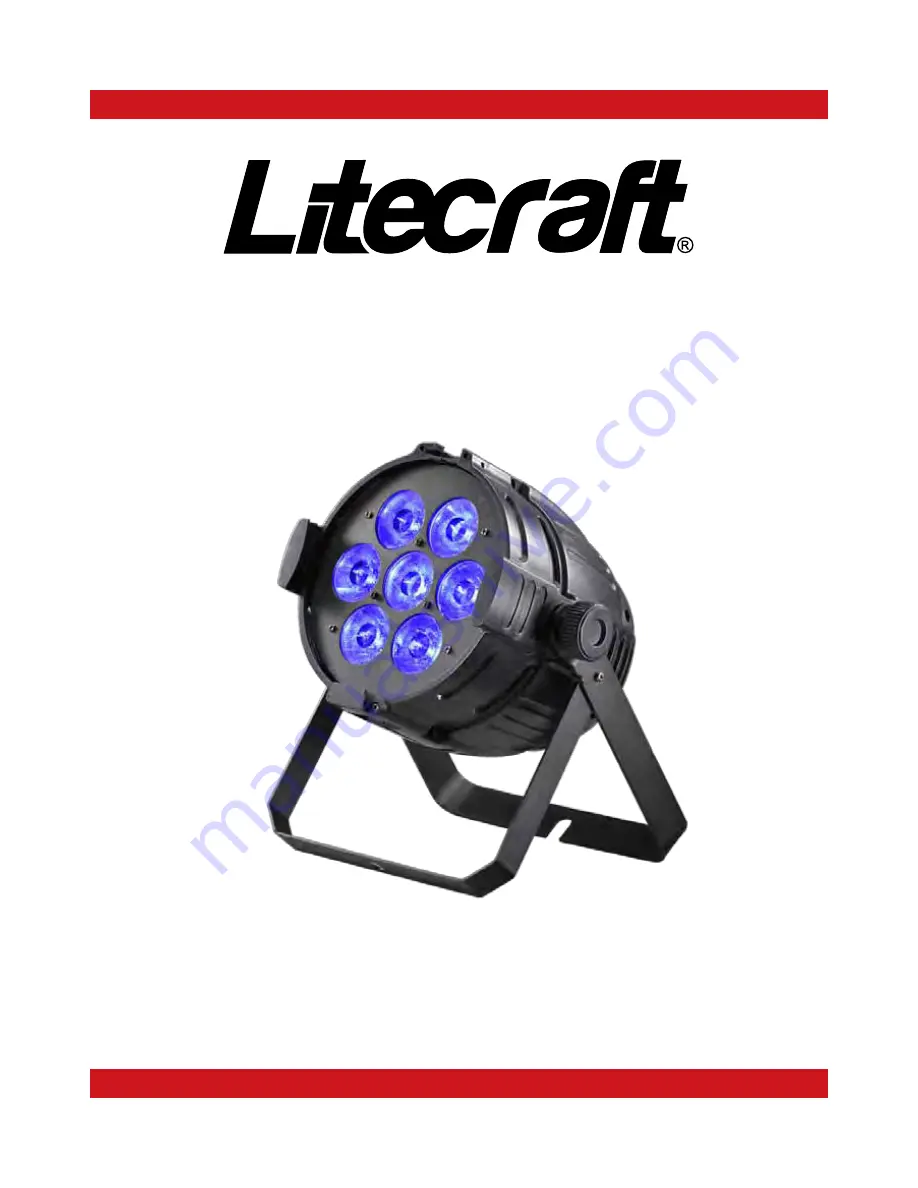
LED Multipar 7FC
ILED-MP-07F5-010
PLEASE READ THESE INSTRUCTIONS CAREFULLY BEFORE USE
USER GUIDE
Page 1: ...LED Multipar 7FC ILED MP 07F5 010 PLEASE READ THESE INSTRUCTIONS CAREFULLY BEFORE USE USER GUIDE...
Page 2: ...Fixture 5 3 1 Control Panel 5 3 2 Main Function 6 4 How to Control the Unit 11 4 1 Master Slave Built In Preprogrammed Function 11 4 2 Easy Controller by CA 8 12 4 3 DMX Controller 12 5 DMX 512 Confi...
Page 3: ...tilation at least 50cm from adjacent surfaces Be sure that no ventilation slots are blocked y Please disconnect main power before replacement or servicing y Please make sure there are no flammable mat...
Page 4: ...ide the unit DO NOT open the housing or attempt any repairs yourself In the unlikely event your unit may require service please contact your nearest dealer Installation The unit should be mounted via...
Page 5: ...X Channels 4 5 7 channels selectable Beam Angle 10 0 100 full range dimmer and variable strobe speed Optional easy controller CA 8 for instant lighting show High efficiency low power consumption Super...
Page 6: ...ext unit 3 Mains Input Connect to supply mains power for the unit 4 Microphone Receive the Sound to control the fixture 5 Display Show the various menus and the selected functions LED 6 DMX On DMX inp...
Page 7: ...on 3 2 Main Function To select any functions press the MENU button until the required one is shown on the display Select the function by the ENTER button and the display will blink Use the DOWN and UP...
Page 8: ...7A...
Page 9: ...up or automatically exit menu mode without any change after one minute To go back to the functions without any change press the MENU button Slave Mode Select the press the ENTER button and the display...
Page 10: ...button to select the Sound mode on or Sound mode off Once select press the ENTER button to setup or automatically exit menu mode without any change after one minute To go back to the functions withou...
Page 11: ...to setup Back to the functions without any change press the MENU button White Balance Select the press the ENTER button and the display will blink Use DOWN and UP button to select the Red Green or Blu...
Page 12: ...ENU button Software version Select the press the ENTER button and the display will show the version of software of the unit To go back to the functions press the MENU button again 4 How to Control the...
Page 13: ...n the first unit will control all the other units for Stand by Function and Mode selection Blackout To blackout all the fixture Function Strobe 1 Synchronous strobe 2 Two light strobe 3 Sound strobe S...
Page 14: ...13A Please refer to the following diagram to address your DMX512 channel for the first 4 units...
Page 15: ...14A 5 DMX 512 Configurations 4 5 7 channels mode...
Page 16: ...in the DMX output of the last unit 3 Connect the unit together in a daisy chain by XLR plug from the output of the unit to the input of the next unit The cable can not branched or split to a Y cable D...
Page 17: ...1 Check the connection of power and main fuse 2 Measure the mains voltage on the main connector 3 Check the power on LED B Not responding to DMX controller 1 DMX LED should be on If not check DMX conn...
Page 18: ...tion 8 Fixture Cleaning The cleaning of internal and external optical lenses and or mirrors must be carried out periodically to optimize light output Cleaning frequency depends on the environment in w...
Page 19: ...h the provision of the Electromagnetic Compatibility EMC Directive 89 336 EEC EN55103 1 2009 EN55103 2 2009 EN62471 2008 EN61000 3 2 2006 A1 2009 A2 2009 EN61000 3 3 2008 Harmonized Standard EN60598 2...
Page 20: ...nge specifications without prior notification Images are representing but not necessarily a precise product reference Litecraft shall be under no liability for any loss damage or injury for direct or...