LION EXPLO TRAINER User Manual Download Page 15


Explo Trainer 

User’s Manual 

Version 1.1 | 18/06/19 


Page 14 


Channel and language setup 

In order to use more than one set in the same area, the Explo Trainer set has eight different channels. 
Please note that these are so called software channels; every channel uses the same radio frequency  
using different Device ID’s. Therefore, using more than one set in the same area might result in a slightly 
slower response between Instructor Unit and Student Unit. 
 
The Explo Trainer set allows the user to set the language for indicating the explosive gas measurement. 
These options are available from the setup menu: 


%LEL 


%LIE 


%UEG 

 
All settings are made on the Instructor Unit, and are then transmitted to the Student Unit. All Student 
Units within the reach of the wireless link will receive the settings, even if they are on a different channel.  
Upon reception of these settings, a Student Unit will ask the user to accept (p ress and hold the power 
button) or decline (press the power button shortly) these settings. Be sure to set up the settings correctly 
before accepting or declining them on the Student Unit. 
 
A Student Unit will only ask for confirmation once. If a user accidentally makes the wrong decision (e.g. 
declining instead of accepting), then leave the Instructor Unit in setup mode and switch the Student Unit 
off and on. The Student Unit will then ask for confirmation again.  


Entering setup menu on the Instructor Unit 


-


Be sure that the Instructor Unit is switched off. 

-


Press and hold the mode button. 

-


With the mode button pressed, switch the device on. 

-


Release the mode button. 

 
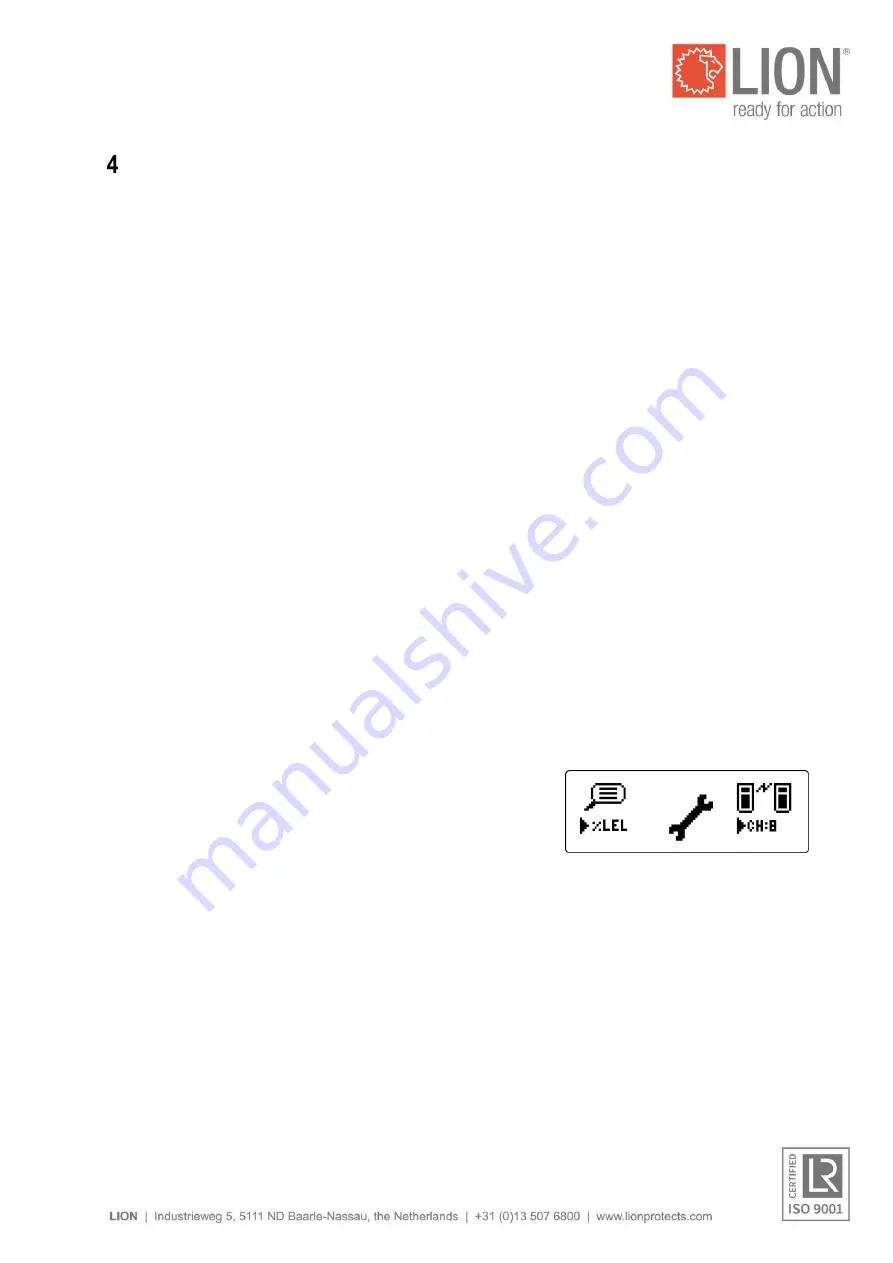
The setup menu will appear on the display. 
 

-


Use the mode button to switch between language and channel. 

-


Use the up and down buttons to change the value. 

-


Leave the Instructor Unit in setup mode until you have 
confirmed the settings on the Student Unit 


Leaving setup menu on the Instructor Unit 

 
After the settings have been accepted or declined on the Student Unit (see next page), the user can 
leave the setup menu and go back to measurement mode. 
 

-


Leave the setup menu on the Instructor Unit by pressing and holding the power button.  

 
The device will shortly show the LION logo and then return to measurement mode. 


Figure 4.1: Setup menu on Instructor Unit 

Summary of Contents for EXPLO TRAINER

Page 1: ...Version 1 1 18 06 19 USER S MANUAL EXPLO TRAINER ORIGINAL USER S MANUAL...

Page 2: ...sion 1 1 18 06 19 Page 1 Contents General description 2 Technical specifications 3 Use 4 Channel and language setup 14 Inspection and maintenance 16 Precautions and safety instructions 17 Guarantee 17...

Page 3: ...of the transmitters thus simulating one of the four gases selectable An alarm sounds if the measured value exceeds the preset alarm value The instructor also receives an alarm signal if one of the ala...

Page 4: ...n preset measured values are exceeded user configurable Low battery power Max distance from Instructor Unit approx 35 m in open space Radio frequency 869 5 MHz Transmitting power 10 mW Battery 7 2 V 7...

Page 5: ...smitters in the area in which the gas cloud is to be simulated The control unit can be positioned out of sight and the much smaller transmission points can be positioned inconspicuously as long as the...

Page 6: ...ow have a range of approx 5 meters 10 LEL in an open space The range is greatly dependent on reflections in the area It is therefore possible for the range to vary in the vicinity of obstacles Switchi...

Page 7: ...le anymore the battery needs to be recharged Student Unit Operation The Student Unit is operated by means of a single button controlling all the functions of the gas meter It features optical and audi...

Page 8: ...then only taken using the probe Take the probe and connect the probe s connector to the connector 2 of the Student Unit Maximum and minimum measured values Display maximum measured values Press the bu...

Page 9: ...the battery Battery fully charged Battery half charged No need to recharge yet Battery power low Figure 3 7 Battery indicators Charging Connect unit s charger connector 7 to the battery charger and pl...

Page 10: ...igure 3 8 The device will then automatically switch to measuring mode Four measurements are shown Lower Explosion Limit LEL Oxygen O2 Hydrogen Sulfide H2S Carbon Monoxide CO The transmitter symbol sho...

Page 11: ...ch back to measuring mode after six seconds Delete minimum measured Oxygen value When the minimum measured Oxygen value is shown press and hold the button for two seconds The minimum measured Oxygen v...

Page 12: ...4 shortly to go back to measuring mode Setting Alarm values A2 Press and hold the mode button 6 for at least 2 seconds The device will show the Alarm values A1 menu Press and hold the mode button 6 a...

Page 13: ...sired measurement is selected Press the power button 4 shortly to go back to measuring mode Switching off When in measuring mode press and hold the button for four seconds until the LION logo appears...

Page 14: ...hts continuously When a battery is completely empty before recharging the device will start a trickle charge cycle to prevent battery damage The green charging indicator will immediately light continu...

Page 15: ...set up the settings correctly before accepting or declining them on the Student Unit A Student Unit will only ask for confirmation once If a user accidentally makes the wrong decision e g declining i...

Page 16: ...by pressing and holding the power button on the Student Unit Be sure that the Student Unit is switched on and that you see the settings display Press and hold the power button until the Student Unit g...

Page 17: ...is working properly At the same time check whether the measured value is being sent to the Instructor Unit Then do the same for the other transmitters Make sure that the system is adequately charged...

Page 18: ...or cables are damaged and if you suspect a potential risk for the instructor or trainee In this event contact the manufacturer and have the system repaired If necessary clean the equipment with a dam...

Page 19: ...ed values on the Student Unit Check whether both devices are set to the same channel Check whether both batteries are sufficiently charged and check whether both devices are within range For the purpo...

Page 20: ...06 19 Page 19 Version 1 1 18 06 19 LION Protects B V Industrieweg 5 5111 ND Baarle Nassau the Netherlands T 31 0 13 507 6800 F 31 0 13 507 6808 E infoEMEA lionprotects com WWW LIONPROTECTS COM LION G...

Reviews: