

Model No.
Quick Installation
A Division of Cisco Systems, Inc.
®
Model No.
Wireless
Bridge for Phone Adapters
Wireless-
G
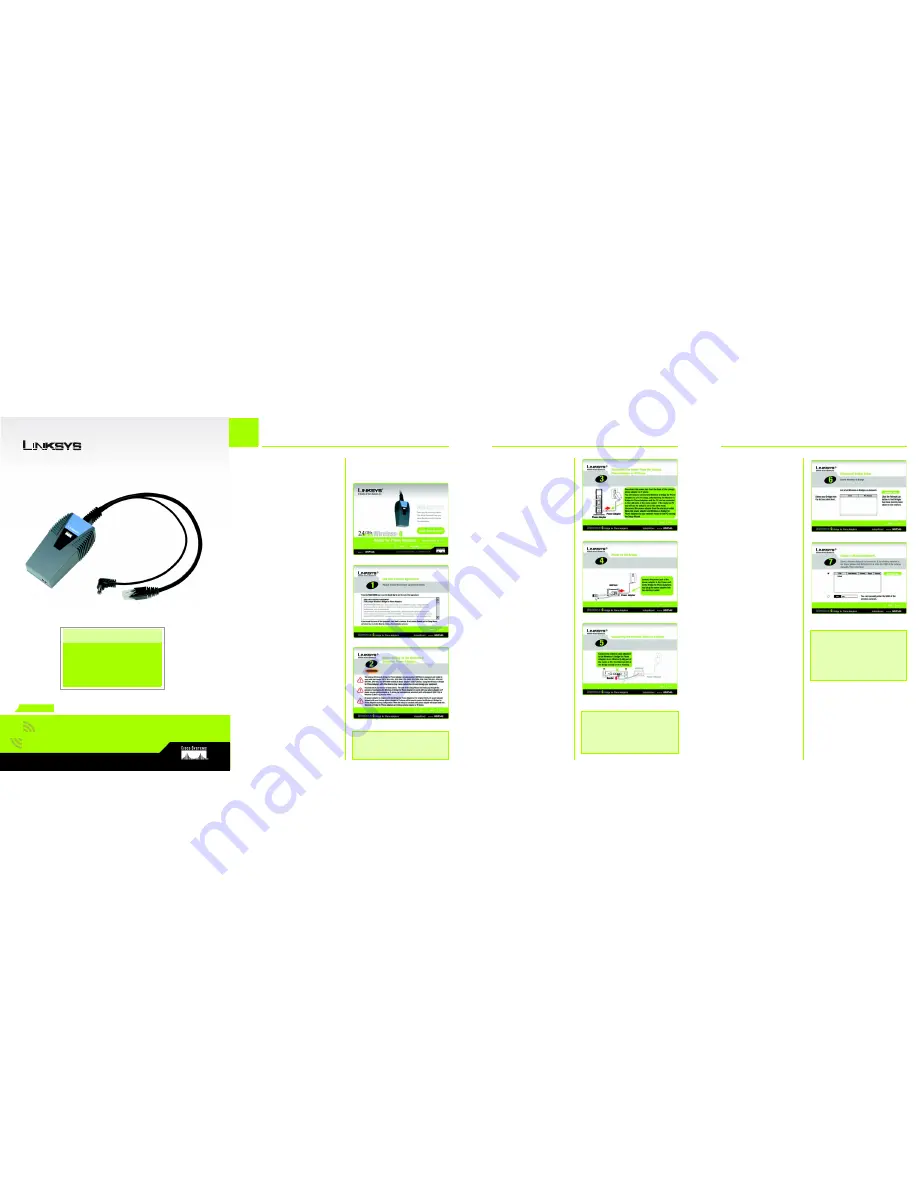
Package Contents
• Wireless-G Bridge for Phone Adapters (with
Attached Combo-power/Ethernet Cable)
• CD-ROM with Setup Wizard and User Guide
• Quick Installation Guide
• Registration Card
1
NOTE:
The power adapter for your
Linksys phone adapter or IP phone
will be used to power the Bridge.
NOTE:
If you connect the Bridge to a
router, make sure the Bridge and PC
running the Setup Wizard are
connected to the Ethernet network
(LAN) ports of the same router.
The Setup Wizard will guide you
through the steps to configure
and connect the Bridge.
A
Insert the Setup CD-ROM
into your CD-ROM drive. The
Setup Wizard should run
automatically, and the
Welcome
screen should
appear. If it does not, click
Start
and choose
Run
. In
the field that appears, enter
D:\setup.exe
(if “D” is the
letter of your CD-ROM
drive).
B
Click
Click Here to Start
on
the
Welcome
screen.
C
After reading the License
Agreement, click
Next
if you
agree, or click
Cancel
to
end the installation.
D
This screen will inform you
about which Linksys phone
adapters and IP phones
work with the Bridge. Make
sure your phone adapter or
IP phone is listed on-screen.
Click
Next
.
E
You will use the PC running
this Setup Wizard to set up
the Bridge. Disconnect the
power jack from the back of
the Linksys phone adapter
or IP phone. (You will use this
power adapter to power the
Bridge.) If your network
router or this PC is in a
different room, disconnect
the power adapter from the
electrical outlet. Move the
power adapter and Bridge
to the room where your
router or PC is located.
Click
Next
.
F
Connect the power jack to
the Power port of the Bridge.
Then plug the power
adapter into an electrical
outlet.
Click
Next
.
G
You will use the
combination Ethernet
network and power cable
attached to the Bridge.
Connect the Ethernet
network cable of the Bridge
to an Ethernet network (LAN)
port of the router or PC. (Do
not use the power cable
now; you will use it later.)
Make sure the Bridge’s
Ethernet LED is solidly lit or
flashing. Click
Next
.
H
A list of all Bridges for Phone
Adapters that can be
detected by the Setup
Wizard will be displayed.
Select the Bridge you are
installing and click
Next
. If
the Bridge you want is not
displayed, click the
Refresh
List
button to search again.
I
This screen will display a list
of wireless networks that can
be detected. Select the
wireless network you want.
If the network you want is
not displayed, click the
Refresh List
button to
search again.
To manually enter the SSID
of the network you want,
click the
SSID
radio button
and enter the SSID of your
wireless network.
Click
Next
.
J
Configure the wireless
security settings. Select the
method your network is
using,
WPA
,
WPA2
,
WEP (128-Bit)
, or
WEP (64-
Bit)
. Then proceed to the
appropriate instructions. If
you are not using wireless
security, select
Disabled
,
and proceed to step K.
Set up and Connect the Bridge
GHz
2.4
802.11g
WBP54G
IMPORTANT:
Some wireless
access points or routers do not
broadcast their status information. If
you do not see the network you
want, click the
SSID
radio button
and manually enter its SSID.
C
D
B
F
G
E
I
H