72
206-4350
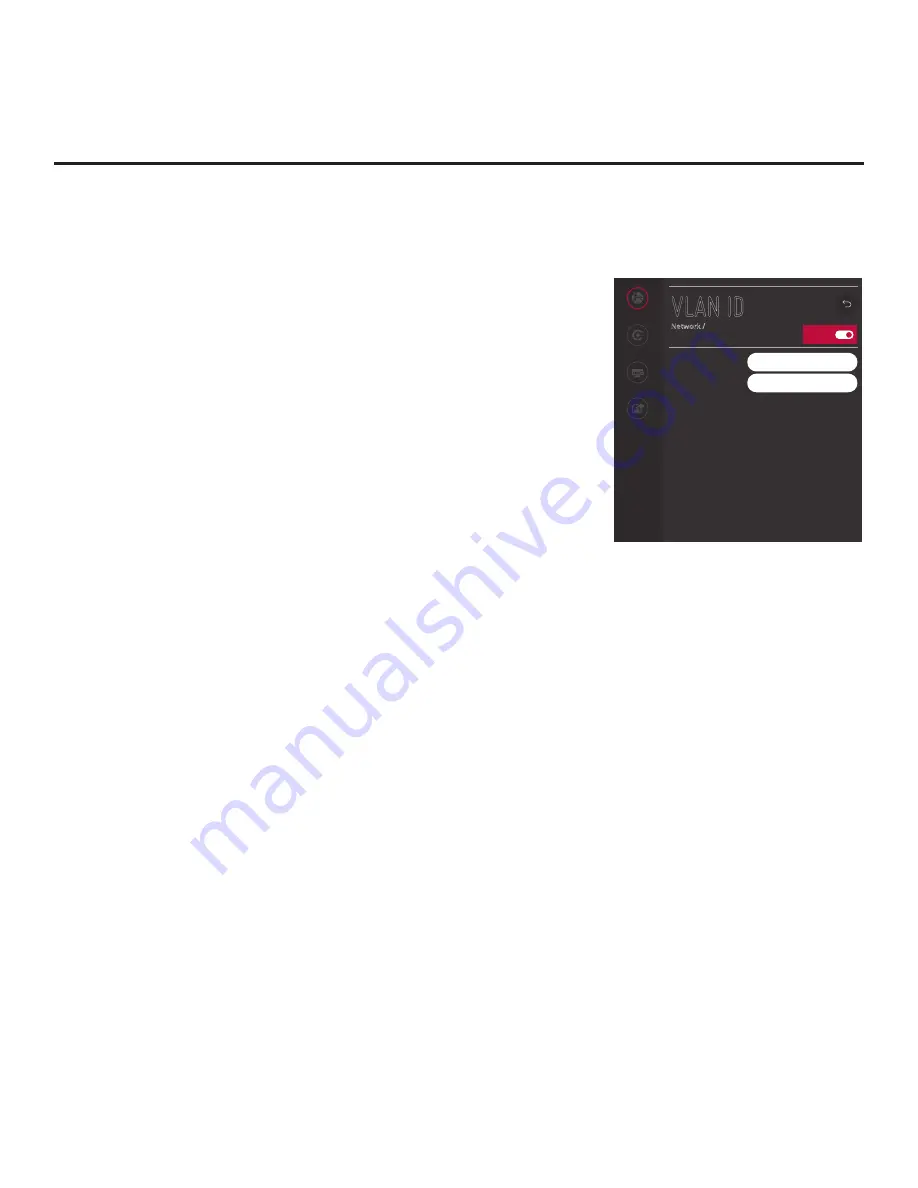
VLAN ID Setup
The VLAN ID option enables you to specify a VLAN ID for the LAN
and Aux LAN ports.
1. With the Network Menu on display, use the arrow keys on the
Installer Remote to select
VLAN ID
. Then, press the Wheel (
OK
)
button.
2. When you initially access the VLAN ID screen, the On/Off toggle
button at the top right of the screen is selected/highlighted by
default. Press the Wheel (
OK
) button to turn on VLAN ID.
3. Use the Up/Down arrow keys on the Installer Remote to select/
highlight the LAN ID field and press the Wheel (
OK
) button. You
can then use the number keys on the Installer Remote to direct enter
the LAN ID, or you can use the arrow keys to select the appropriate
number(s) from the pop-up virtual keyboard displayed at the bottom
of the screen. When you are done, select
Enter
from the virtual
keyboard, and then press the Wheel (
OK
) button on the Installer
Remote.
Repeat this step for the Aux LAN ID field.
4. Once the fields are completed as required, use the arrow keys on
the Installer Remote to return to the IP Environment Menu, as
necessary, or press
BACK/EXIT
to return to the Network Menu
and/or exit the IP Environment Menu.
Ping Test
The Ping Test option enables you to ping an IPv4 or IPv6 network
address or URL.
1. With the Network Menu on display, use the arrow keys on the
Installer Remote to select
Ping Test
. Then, press the Wheel (
OK
)
button.
2. In the ENTER THE NETWORK ADDRESS TO PING pop-up
window at the bottom of the screen, use the arrow keys on the
Installer Remote to select the desired Type option—IPv4 or IPv6
(i.e., IP Address) or URL.
3. To enter the IP address or URL data, select each data entry field
and press
OK
. You can use the number keys on the Installer
Remote to direct enter numeric values or use the arrow keys to
select the appropriate alphanumeric values (as applicable) from the
pop-up virtual keyboard displayed at the bottom of the screen. When
you are done, select
Enter
from the virtual keyboard, and then press
the Wheel (
OK
) button on the Installer Remote.
4. When you are ready, select
BEGIN TEST
, and then press the
Wheel (
OK
) button on the Installer Remote.
IP Environment Setup (Cont.)
(Continued on next page)
On/Off
Network
Pro:Centric
Portal Settings
Media Share
VLAN ID
Network /
LAN ID
0
Aux LAN ID
0


