40
Operation
4
Oper
ation
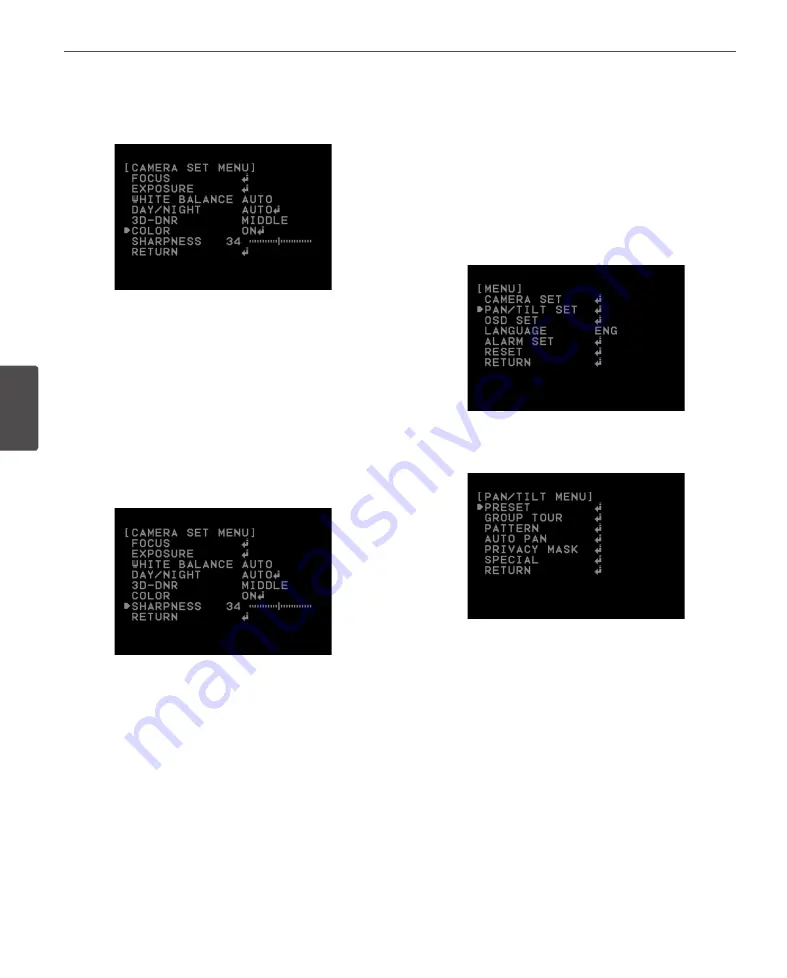
Color setting
You can switch the displayed picture to grayscale or color.
1. Select [COLOR] option on the [CAMERA SET] menu.
2. Use [Near] or [Far] button to change a color effect.
• ON: To display the picture with color. Select ON and
press [Open] or [Close] to display the submenu. You
can adjust the color level using the [Near] or [Far]
button.
• OFF: To display the picture with grayscale.
Sharpness setting
Sharpens the image outline.
1. Select [SHARPNESS] option on the [CAMERA SET]
menu.
2. Use [Near] or [Far] button to adjust the option. If you
set the sharpness value to higher, the image outline
becomes sharp. If you set to lower value, the image
outline becomes dim.
PAN/TILT Settings
Preset setting
Preset position is the function to register camera
monitoring positions (preset positions) associated with
position numbers. By entering the position numbers, you
can move cameras to the preset positions.
v
To register preset positions
1. Select the [SET PRESET] option on the [PRESET] menu.
2. Use the [Near] or [Far] button to select the preset
number you wish to register and press the [Open] or
[Close] button.
3. Set the preset name.
How to set the preset name.
1. Set the NAME option to [ON] and press [Open] or
[Close] button.
2. Use [In], [Out], [Near] or [Far] button to select a
character, number, symbol mark or option item.
• </>: Moves cursor to left or right.
• (Blank): Insert a space at the cursor position.


