


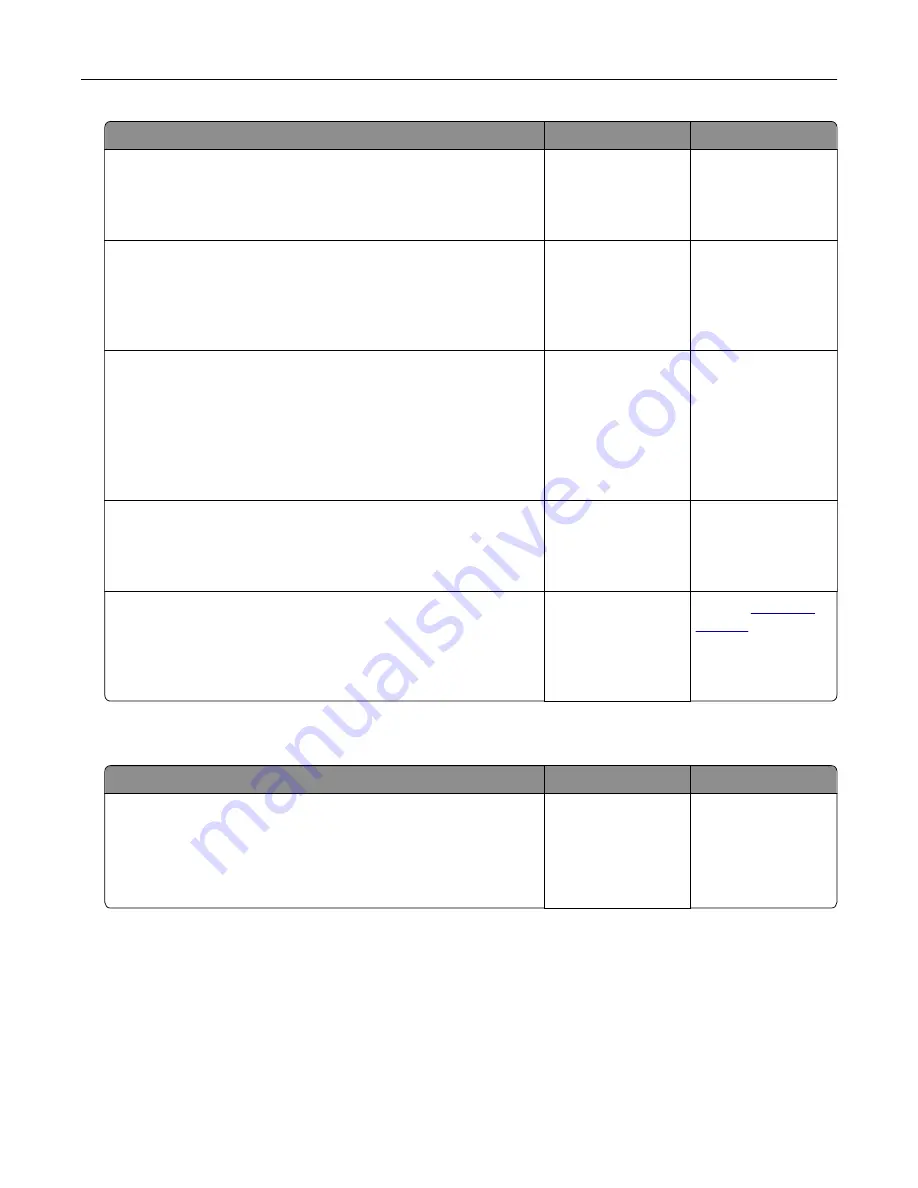
Action
Yes
No
Step 4
Check if the printer is in Sleep or Hibernate mode.
Is the printer in Sleep or Hibernate mode?
Press the power
button to wake the
printer.
Go to step 5.
Step 5
Check if the cables connecting the printer and the computer are
inserted to the correct ports.
Are the cables inserted to the correct ports?
Go to step 6.
Insert the cables to
the correct ports.
Step 6
Turn off the printer, install the hardware options, and then turn on
the printer.
For more information, see the documentation that came with the
option.
Is the printer responding?
The problem is
solved.
Go to step 7.
Step 7
Install the correct print driver.
Is the printer responding?
The problem is
solved.
Go to step 8.
Step 8
Turn off the printer, wait for about 10 seconds, and then turn on the
printer.
Is the printer responding?
The problem is
solved.
Contact
Job prints from the wrong tray or on the wrong paper
Action
Yes
No
Step 1
a
Check if you are printing on the correct paper.
b
Print the document.
Is the document printed on the correct paper?
Go to step 2.
Load the correct
paper size and paper
type.
Troubleshooting
258
Summary of Contents for XC9225
Page 168: ... Scanner glass Scanner glass pad 3 Close the scanner cover Maintaining the printer 168 ...
Page 176: ...5 Insert the new toner cartridge 6 Remove the waste toner bottle Maintaining the printer 176 ...
Page 181: ...8 Insert the waste toner bottle and then close the door Maintaining the printer 181 ...
Page 211: ... Below the fuser area Duplex area Clearing jams 211 ...
Page 216: ...2 Open door J Clearing jams 216 ...
Page 218: ... Areas H1 and H2 Area H6 Clearing jams 218 ...
Page 222: ...2 Remove the staple cartridge holder 3 Remove the loose staples Clearing jams 222 ...
Page 224: ...2 Remove the staple cartridge holder 3 Remove the loose staples Clearing jams 224 ...
Page 226: ...2 Remove the staple cartridge holder 3 Remove the loose staples Clearing jams 226 ...
Page 280: ...6 Remove the controller board shield Upgrading and migrating 280 ...
Page 283: ...4 Remove the controller board shield Upgrading and migrating 283 ...
Page 289: ...7 Connect the tray connector to the printer 8 Open trays 2 and 3 Upgrading and migrating 289 ...
Page 294: ...9 Remove the stabilizing feet from the tray Upgrading and migrating 294 ...
Page 298: ...17 Secure the tray cable with the clamp Upgrading and migrating 298 ...
Page 305: ...7 Remove the paper guides 8 Attach the sensor cover Upgrading and migrating 305 ...
Page 311: ...8 Attach the finisher to the printer Upgrading and migrating 311 ...


