


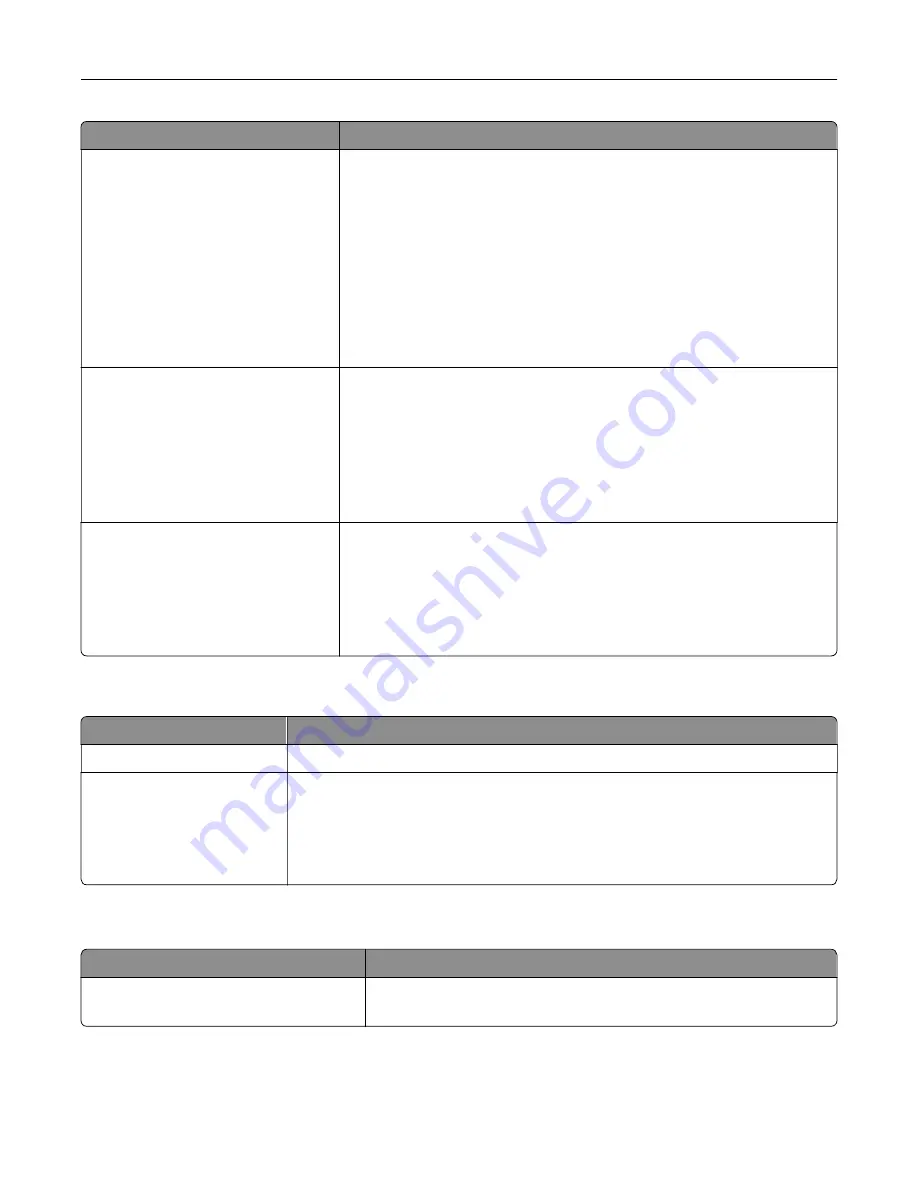
Menu item
Description
Administrative Menus
Security Menu
Network/Ports Menu
Paper Menu
Reports Menu
Function Configuration Menus
Supplies Menu
Option Card Menu
SE Menu
Device Menu
Control access to the printer menu settings.
Device Management
Remote Management
Firmware Updates
Apps Configuration
Operator Panel Lock
Import / Export All Settings
Out of Service Erase
Control access to the printer management options.
Apps
New Apps
Card Copy
Scan Center
Scan Center Custom [x]
Forms and Favorites
Control access to printer applications.
Local Accounts
Menu item
Description
Manage Groups/Permissions
Show a list of all saved groups in the printer.
Add User
User Name/Password
User Name
Password
PIN
Create local accounts and specify their access to the printer functions,
administrative menus, printer management options, and applications.
Schedule USB Devices
Menu item
Description
Schedules
Add New Schedule
Schedule access to the front USB port.
Understanding the printer menus
151
Summary of Contents for XC9225
Page 168: ... Scanner glass Scanner glass pad 3 Close the scanner cover Maintaining the printer 168 ...
Page 176: ...5 Insert the new toner cartridge 6 Remove the waste toner bottle Maintaining the printer 176 ...
Page 181: ...8 Insert the waste toner bottle and then close the door Maintaining the printer 181 ...
Page 211: ... Below the fuser area Duplex area Clearing jams 211 ...
Page 216: ...2 Open door J Clearing jams 216 ...
Page 218: ... Areas H1 and H2 Area H6 Clearing jams 218 ...
Page 222: ...2 Remove the staple cartridge holder 3 Remove the loose staples Clearing jams 222 ...
Page 224: ...2 Remove the staple cartridge holder 3 Remove the loose staples Clearing jams 224 ...
Page 226: ...2 Remove the staple cartridge holder 3 Remove the loose staples Clearing jams 226 ...
Page 280: ...6 Remove the controller board shield Upgrading and migrating 280 ...
Page 283: ...4 Remove the controller board shield Upgrading and migrating 283 ...
Page 289: ...7 Connect the tray connector to the printer 8 Open trays 2 and 3 Upgrading and migrating 289 ...
Page 294: ...9 Remove the stabilizing feet from the tray Upgrading and migrating 294 ...
Page 298: ...17 Secure the tray cable with the clamp Upgrading and migrating 298 ...
Page 305: ...7 Remove the paper guides 8 Attach the sensor cover Upgrading and migrating 305 ...
Page 311: ...8 Attach the finisher to the printer Upgrading and migrating 311 ...


