Action
Yes
No
Step 1
a
Remove, and then insert the imaging unit.
Warning—Potential Damage:
Do not expose the imaging unit
to direct light for more than 10 minutes. Extended exposure
to light may cause print quality problems.
Warning—Potential Damage:
Do not touch the
photoconductor drum under the imaging unit. Doing so may
affect the quality of future print jobs.
b
Print the document.
Is the printer printing solid color or black images?
Go to step 2.
The problem is
solved.
Step 2
Replace the imaging unit, and then print the document.
Is the printer printing solid color or black images?
Contact
The problem is
solved.
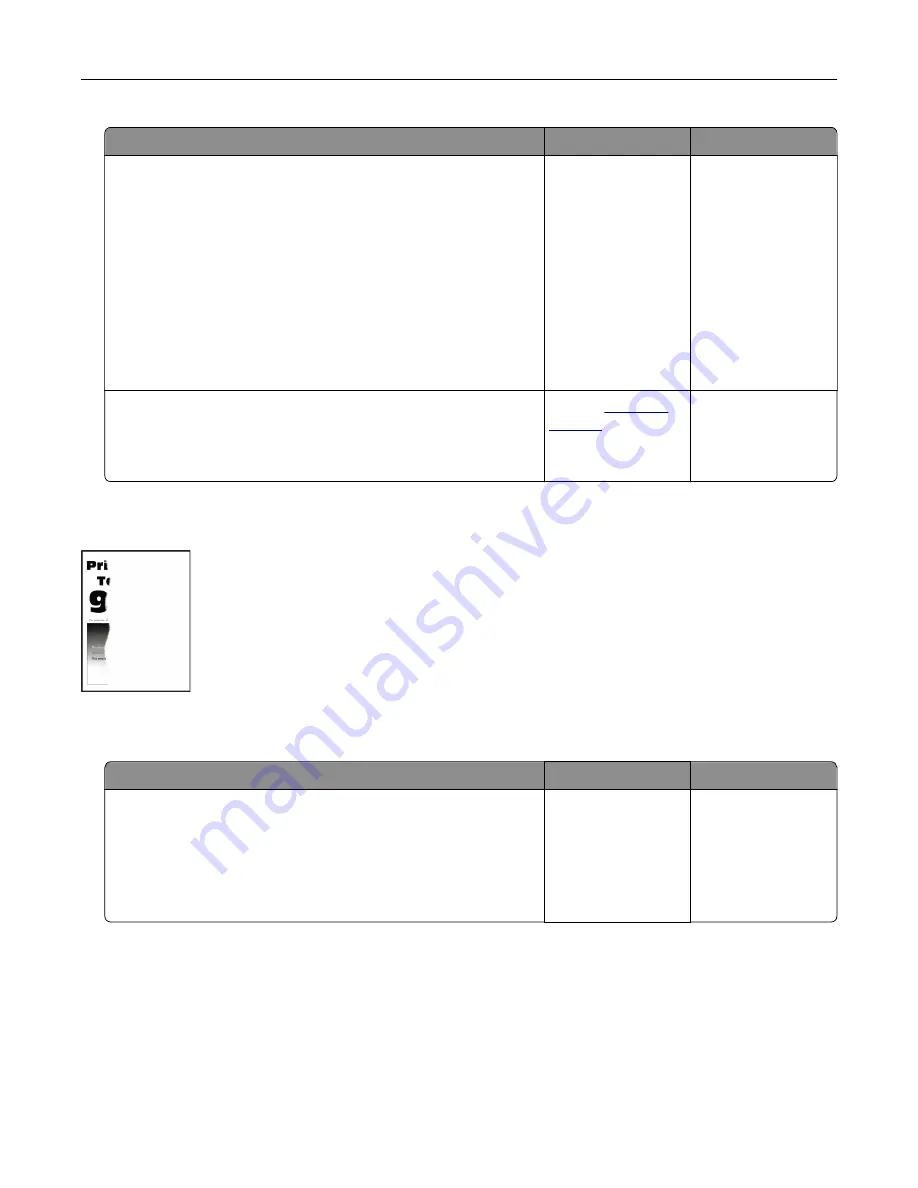
Text or images cut off
Note:
Before solving the problem, print the Print Quality Test Pages. From the home screen, touch
Settings
>
Troubleshooting
>
Print Quality Test Pages
.
Action
Yes
No
Step 1
a
Move the paper guides in the tray to the correct position for the
paper loaded.
b
Print the document.
Is the page or image clipped?
Go to step 2.
The problem is
solved.
Troubleshooting
243
Summary of Contents for XC6152
Page 65: ...5 Touch Scan Here If necessary change the scan settings 6 Scan the document Scanning 65 ...
Page 161: ... Scanner glass pad 3 Open door E Maintaining the printer 161 ...
Page 162: ...4 Wipe the following areas ADF glass in door E Maintaining the printer 162 ...
Page 179: ...3 Remove the pick roller 4 Unpack the new pick roller Maintaining the printer 179 ...
Page 198: ...2 Open door G 3 Pull out the staple cartridge holder Maintaining the printer 198 ...
Page 216: ...2 Open door G 3 Pull out the staple cartridge holder Clearing jams 216 ...
Page 274: ...4 Remove the paper bail 5 Remove the standard bin insert Upgrading and migrating 274 ...


