8
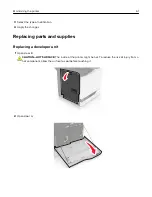
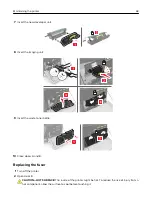
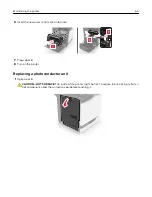
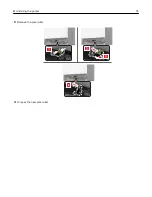
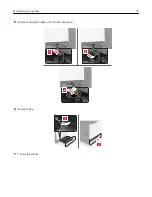
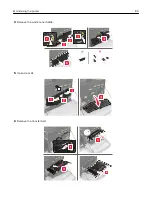
Insert the imaging unit.
9
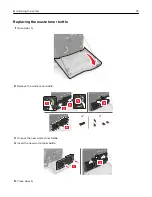
Insert the waste toner bottle.
10
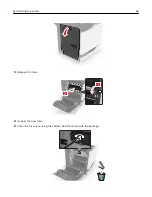
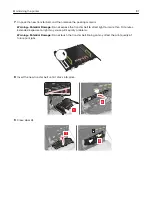
Close doors A and B.
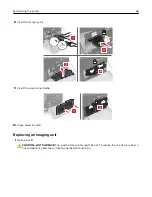
Replacing an imaging unit
1
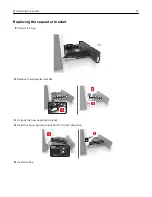
Open door B.
CAUTION—HOT SURFACE:
The inside of the printer might be hot. To reduce the risk of injury from a
hot component, allow the surface to cool before touching it.
Maintaining the printer
68
Summary of Contents for XC6100 Series
Page 1: ...XC6100 Series User s Guide January 2016 www lexmark com Machine type s 7563 Model s 196 197 ...
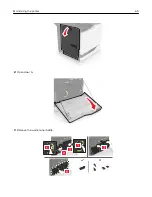
Page 66: ...2 Open door A 3 Remove the waste toner bottle Maintaining the printer 66 ...
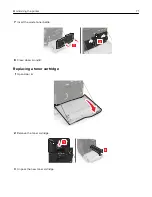
Page 69: ...2 Open door A 3 Remove the waste toner bottle Maintaining the printer 69 ...
Page 73: ...3 Remove the pick roller 4 Unpack the new pick roller Maintaining the printer 73 ...
Page 92: ...2 Open door G 3 Pull out the staple cartridge holder Maintaining the printer 92 ...
Page 111: ...2 Open door G 3 Pull out the staple cartridge holder Clearing jams 111 ...
Page 162: ...4 Remove the paper bail 5 Remove the standard bin insert Upgrading and migrating 162 ...

