Setting up the printer to fax
Supported fax
Printer model
Analog fax
etherFAX
2
Fax server
3
Fax over IP (FoIP)
4
CX730
1
CX735
XC4342
1
XC4352
1
Needs an installed fax card to use analog fax.
2
Needs a subscription. For more information, go to
https://www.etherfax.net/lexmark
or contact the place where
you purchased the printer.
3
Needs a subscription for the fax server to work.
4
Needs an installed license bundle. For more information, contact the place where you purchased the printer.
Setting up the fax function using analog fax
Notes:
•
For some printer models, a fax card must be installed for the printer to use analog fax.
•
Some connection methods are applicable only in some countries or regions.
•
If the fax function is enabled and not fully set up, then the indicator light may blink red.
•
If you do not have a TCP/IP environment, then use the control panel to set up fax.
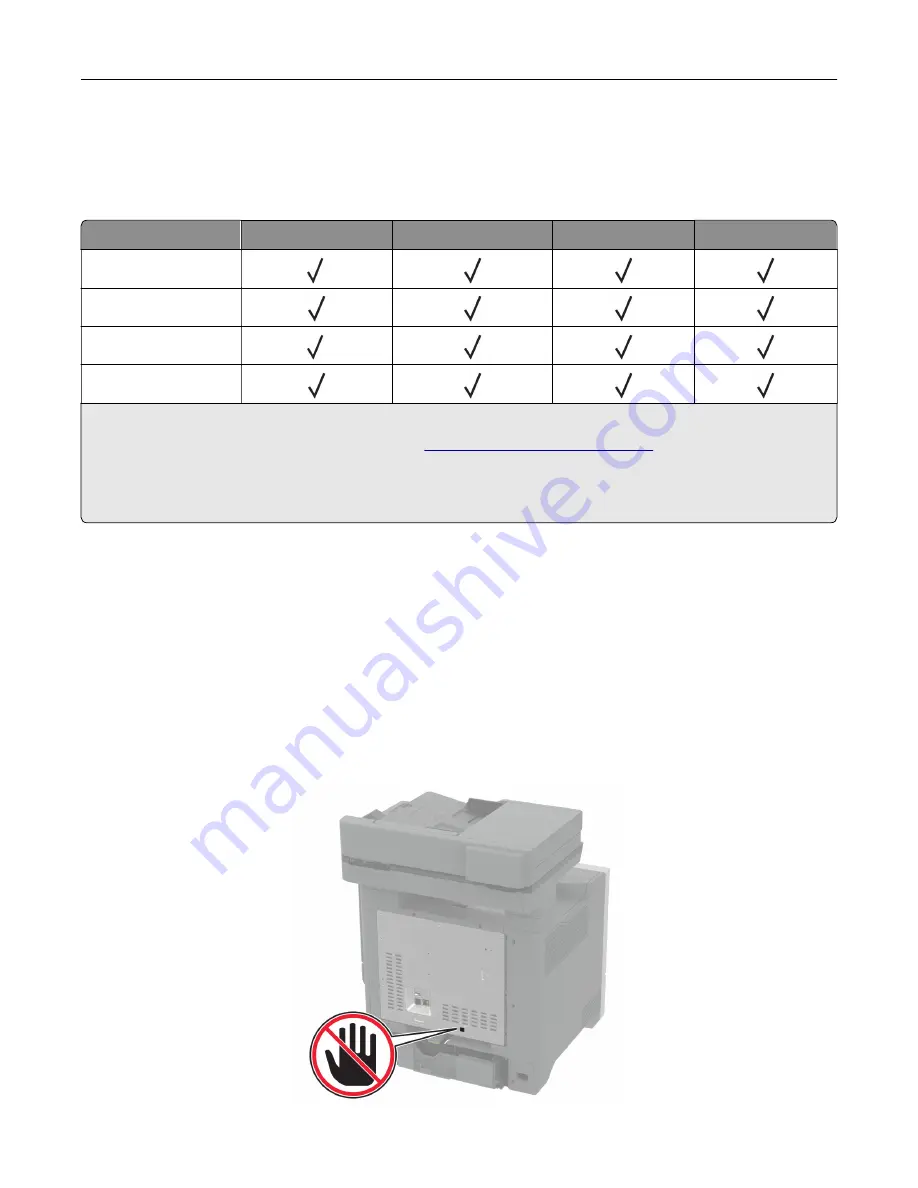
Warning—Potential Damage:
To avoid loss of data or printer malfunction, do not touch cables or the printer
in the area shown while actively sending or receiving a fax.
Set up, install, and configure
31
Summary of Contents for XC4342
Page 64: ...3 Remove the fax cover 4 Remove the fax bracket Set up install and configure 64 ...
Page 65: ...5 Install the fax card to the bracket Set up install and configure 65 ...
Page 70: ...4 Install the ISP into its housing Set up install and configure 70 ...
Page 71: ...5 Attach the housing to the controller board shield Set up install and configure 71 ...
Page 76: ...Set up install and configure 76 ...
Page 84: ...Set up install and configure 84 ...
Page 85: ...3 Install the wireless module into its housing Set up install and configure 85 ...
Page 86: ...4 Attach the wireless module to the controller board shield Set up install and configure 86 ...
Page 88: ...6 Attach the controller board shield Set up install and configure 88 ...
Page 205: ...2 Remove the used toner cartridge 3 Unpack the new toner cartridge Maintain the printer 205 ...
Page 206: ...4 Insert the new toner cartridge 5 Close door B Maintain the printer 206 ...
Page 207: ...Replacing the black imaging unit 1 Open door B Maintain the printer 207 ...
Page 209: ...3 Remove the toner cartridges Maintain the printer 209 ...
Page 210: ...4 Disconnect the imaging kit cable Maintain the printer 210 ...
Page 214: ...9 Insert the imaging kit Maintain the printer 214 ...
Page 216: ...Replacing the color imaging kit 1 Open door B Maintain the printer 216 ...
Page 218: ...3 Remove the toner cartridges Maintain the printer 218 ...
Page 219: ...4 Disconnect the imaging kit cable Maintain the printer 219 ...
Page 220: ...5 Remove the used imaging kit Maintain the printer 220 ...
Page 222: ...8 Insert the black imaging unit into the new imaging kit Maintain the printer 222 ...
Page 223: ...9 Insert the new imaging kit Maintain the printer 223 ...
Page 225: ...Replacing the waste toner bottle 1 Open door B Maintain the printer 225 ...
Page 238: ...2 Remove the used ADF pick roller Maintain the printer 238 ...
Page 240: ...5 Insert the new ADF separator roller until it clicks into place Maintain the printer 240 ...
Page 250: ...2 Remove the ADF pick roller Maintain the printer 250 ...
Page 252: ...5 Insert the ADF separator roller until it clicks into place Maintain the printer 252 ...


