Diagnostic aids
3-27
7014-xxx
3.
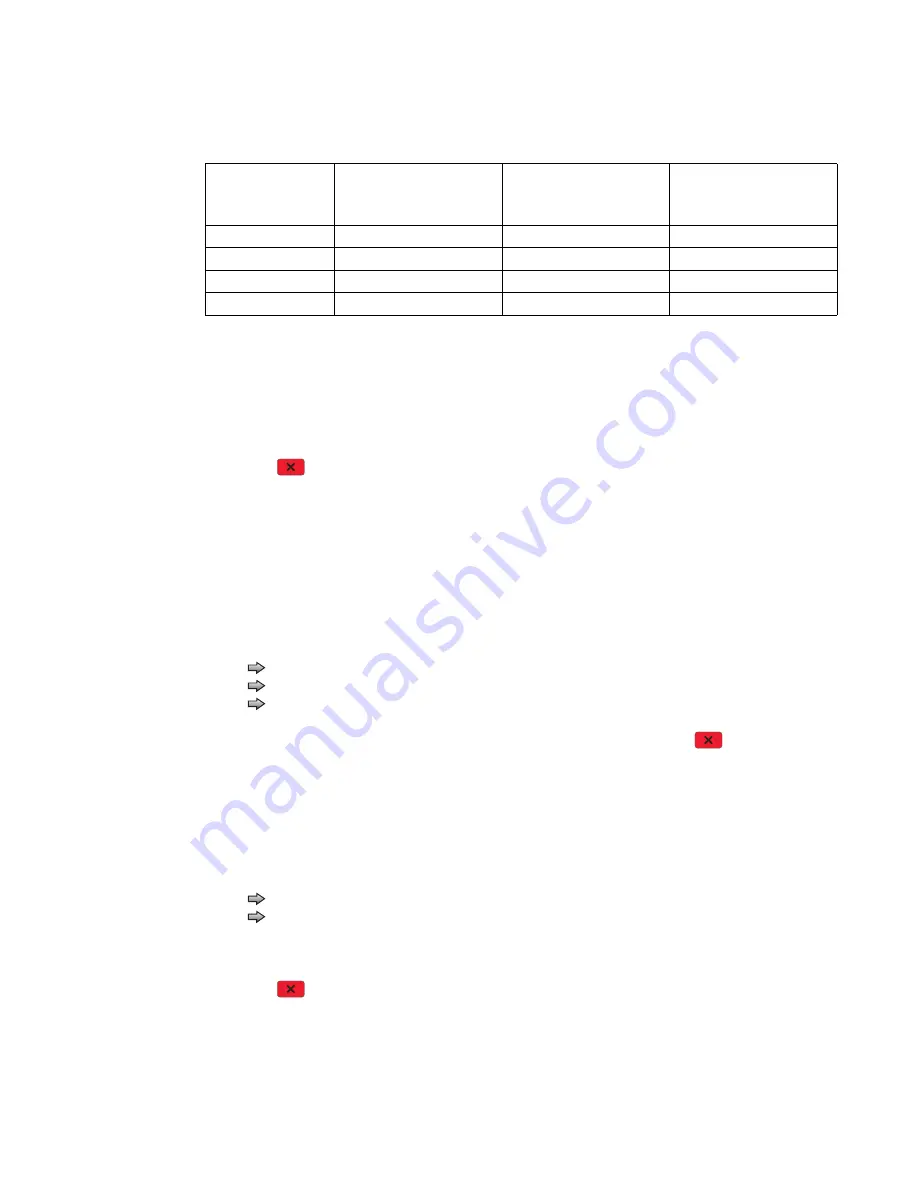
Select the sensor to test. Various sources have different combinations of sensors. See the table below:
[
sensor selected
]
=Open
displays.
•
Empty—Input tray empty sensor
•
Low—Input tray paper low sensor
•
passThru—Input tray pass thru sensor
4.
Once this message displays, the servicer can manually actuate each sensor. The tray empty sensor can be
actuated by hand, however a sheet of paper can be used to cover the pass thru sensor. When the sensor
is closed,
Closed
displays; when the sensor is open,
Open
displays.
5.
Press
Stop
to exit the test.
Output bin tests
Feed Tests (output bins)
Use these tests to verify that media can be fed to the standard output bin. No information is printed on the
media fed to the output bin, because the printhead is not engaged during this test. These tests can use any
media size or envelope supported by the printer.
To run the Feed Tests for the output bins:
1.
Touch
to select
Feed Tests
from the OUTPUT BIN TESTS.
2.
Touch
to select the output bin you want the paper to exit into.
3.
Touch
to select either Single or Continuous.
•
Single
—feeds one sheet of media from the selected source.
•
Continuous
—media continues feeding from the selected source until
Stop
is
pressed.
Touch
Back
to return to OUTPUT BIN TESTS.
Sensor Test (standard output bin)
This test is used to verify if the standard bin sensor is working correctly.
To run the Sensor Test for the standard bin:
1.
Touch
to select
Sensor Test
from OUTPUT BIN TESTS.
2.
Touch
to select
Standard Bin
from Sensor Tests.
3.
Manually actuate the bin sensor by moving the flag in and out of the sensor, and the display changes.
The following screen is displayed:
Bin Empty: empty
or
Bin Empty: full.
4.
Press
Stop
to exit the test.
Tray sensor support by source
Source
Empty
(Input tray empty
sensor)
Low
(Input tray paper low
sensor)
passThru
(Input tray pass thru
sensor)
Tray 1
X
X
Tray 2
X
X
X
Multipurpose tray
X
Envelope feeder
X
Summary of Contents for X46 Series
Page 10: ...x Service Manual 7014 xxx...
Page 15: ...Notices and safety information xv 7014 xxx...
Page 16: ...xvi Service Manual 7014 xxx...
Page 22: ...xxii Service Manual 7014 xxx...
Page 162: ...3 56 Service Manual 7014 xxx...
Page 174: ...4 12 7014 xxx 2 Remove the three screws B securing the top of the controller shield B...
Page 184: ...4 22 7014 xxx 6 Remove the screw D from the gear E 7 Remove the plastic bushing F...
Page 194: ...4 32 7014 xxx 2 Carefully pull the scanner front cover away from the tub assembly...
Page 207: ...Repair information 4 45 7014 xxx 5 Remove the three screws B from the left door mount B...
Page 221: ...Repair information 4 59 7014 xxx 7 Open the front access door and remove the lower paper guide...
Page 256: ...4 94 7014 xxx 14 Remove the three screws A from the left rear frame assembly A A A...
Page 278: ...4 116 7014 xxx...
Page 290: ...7 2 Service Manual 7014 xxx Assembly 1 Covers 3 11 7 13 5 16 9 15 2 10 6 17 4 12 8 14 1 17 18...
Page 292: ...7 4 Service Manual 7014 xxx Assembly 2 Imaging 3 11 7 13 5 16 9 15 2 10 6 4 12 8 14 1...
Page 294: ...7 6 Service Manual 7014 xxx Assembly 3 Tray assemblies 3 2 1 5 4...
Page 296: ...7 8 Service Manual 7014 xxx Assembly 4 Electronics 2 1 10 11 12 7 13 9 6 14 2 5 8 3 4 16 15 17...
Page 302: ...7 14 Service Manual 7014 xxx...
Page 306: ...I 4 Service Manual 7014 xxx...
Page 309: ...Part number index I 7 7014 xxx 56P0558 RJ11 Cable w Toroids 7 12 7377732 Relocation Kit 7 12...
Page 310: ...I 8 Service Manual 7014 xxx...


