2-3
Service Manual
4447-20x
Go Back
Previous
Next
Print quality issues
Note:
These symptoms may require replacement of one or more CRUs (Customer Replaceable Units)
designated as supplies or maintenance items, which are the responsibility of the customer.
Service tip:
Before troubleshooting any print quality problems, do the following:
1.
Print a menu settings page, and then check the life status of all supplies. Any supplies that are low should
be replaced.
Note:
Be sure and keep the original menu page to restore the customer's custom settings if needed.
2.
On the menu page, make sure that everything is set to the default level.
3.
Check the ink cartridges, and install new cartridges if necessary.
4.
If paper other than 20 lb plain letter/A4 paper is being used; load 20 lb plain letter/A4, and print the
Test Page
to see if the problem remains.
5.
Use Tray 1 to test print quality problems.
6.
Print the
Print Test Page
, and then look for variations in the print from what is expected.
An incorrect printer driver for the installed software can cause problems. Incorrect characters could print, and
the copy may not fit the page correctly.
Symptom table—print quality
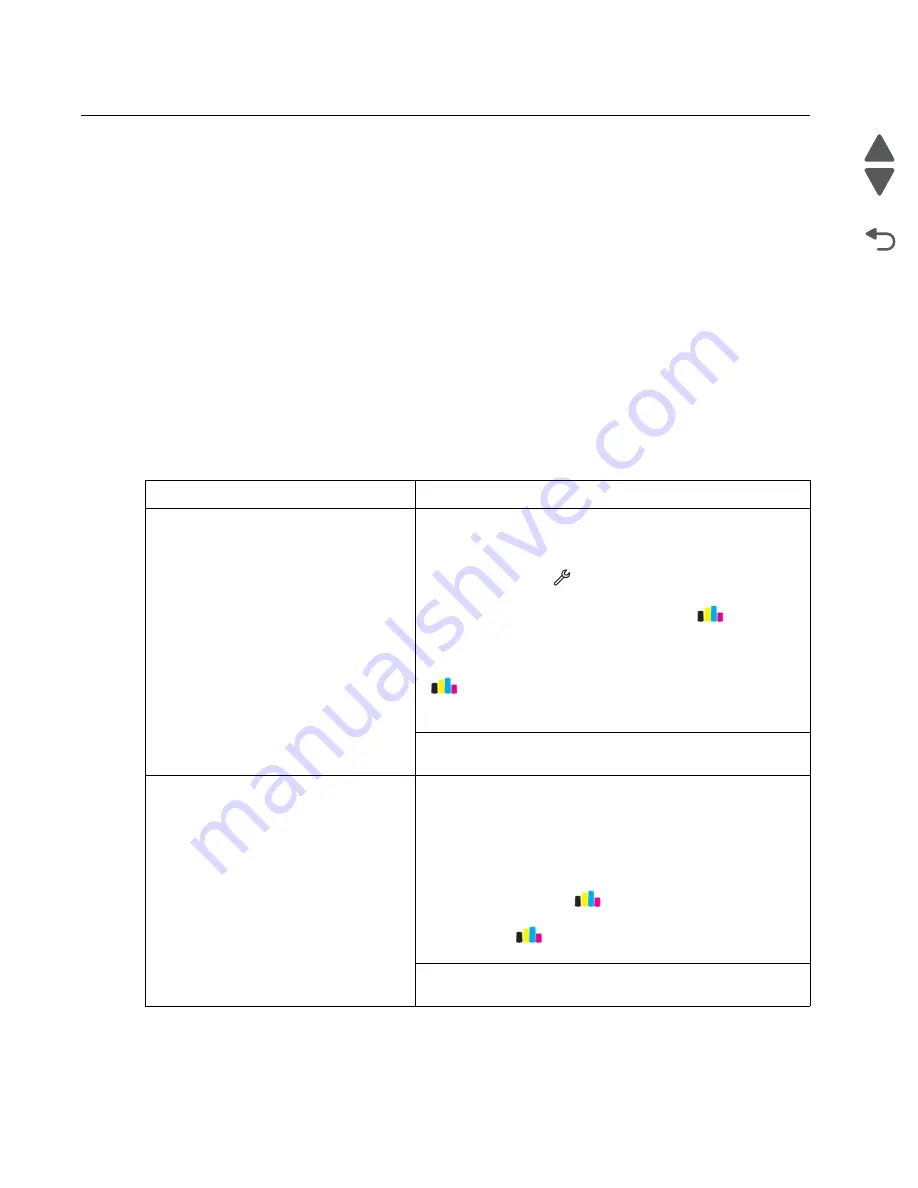
Symptom
Action
Black print out from a print job
Technical Support Center:
Turn off the printer by unplugging the power cord. Wait for 10
seconds, and turn on the printer. Run a test print. From the
home screen, touch
>
Print Reports
>
Demonstration
Page
. If there is still a problem with the print quality, then clean
the printhead. From the home screen, touch
>
More
Options
>
Clean Printhead
>
Clean Color
and Black
. Run a
test print again. If the print quality problem remains, then deep
clean the printhead. From the home screen, touch
>
More Options
>
Deep
Clean Printhead
>
Deep
Clean Color
and Black
. If the problem remains, then replace
the printer.p
Service:
Go to
“Black print out from a print job” on page 2-6
Blank page
Technical Support Center:
Make sure the ink cartridges are properly installed, and are
genuine Lexmark cartridges. Turn off the printer by unplugging
the power cord. Wait for 10 seconds, and turn on the printer.
Resend the print job. Send another type of print job. Check the
ink level of the cartridges, and replace them if necessary. From
the home screen, touch
>
More Options
>
Deep
Clean
Printhead
>
Deep Clean Color
and Black
. From the home
screen, touch
>
More Options
>
Align Printer
. If the
problem remains, then replace the printer.
Service:
Go to
.
Summary of Contents for Pro5500 Series
Page 11: ...Safety information xi 4447 20x Go Back Previous Next 012 3456789...
Page 254: ...4 85 Service Manual 4447 20x Go Back Previous Next Disassembly Flow chart...
Page 260: ...5 6 Service Manual 4447 20x Go Back Previous Next Wireless card Card reader JP3...
Page 261: ...Connector locations 5 7 4447 20x Go Back Previous Next Carrier card J1 J2 J3...
Page 262: ...5 8 Service Manual 4447 20x Go Back Previous Next...
Page 268: ...7 4 Service Manual 4447 20x Go Back Previous Next Assembly 2 Engine 1 2 3 5 4...
Page 270: ...7 6 Service Manual 4447 20x Go Back Previous Next Assembly 3 Fluid system assembly 1 3 2 5 4...
Page 274: ...7 10 Service Manual 4447 20x Go Back Previous Next...
Page 277: ...I 3 Service Manual 4447 20x Go Back Previous Next...


