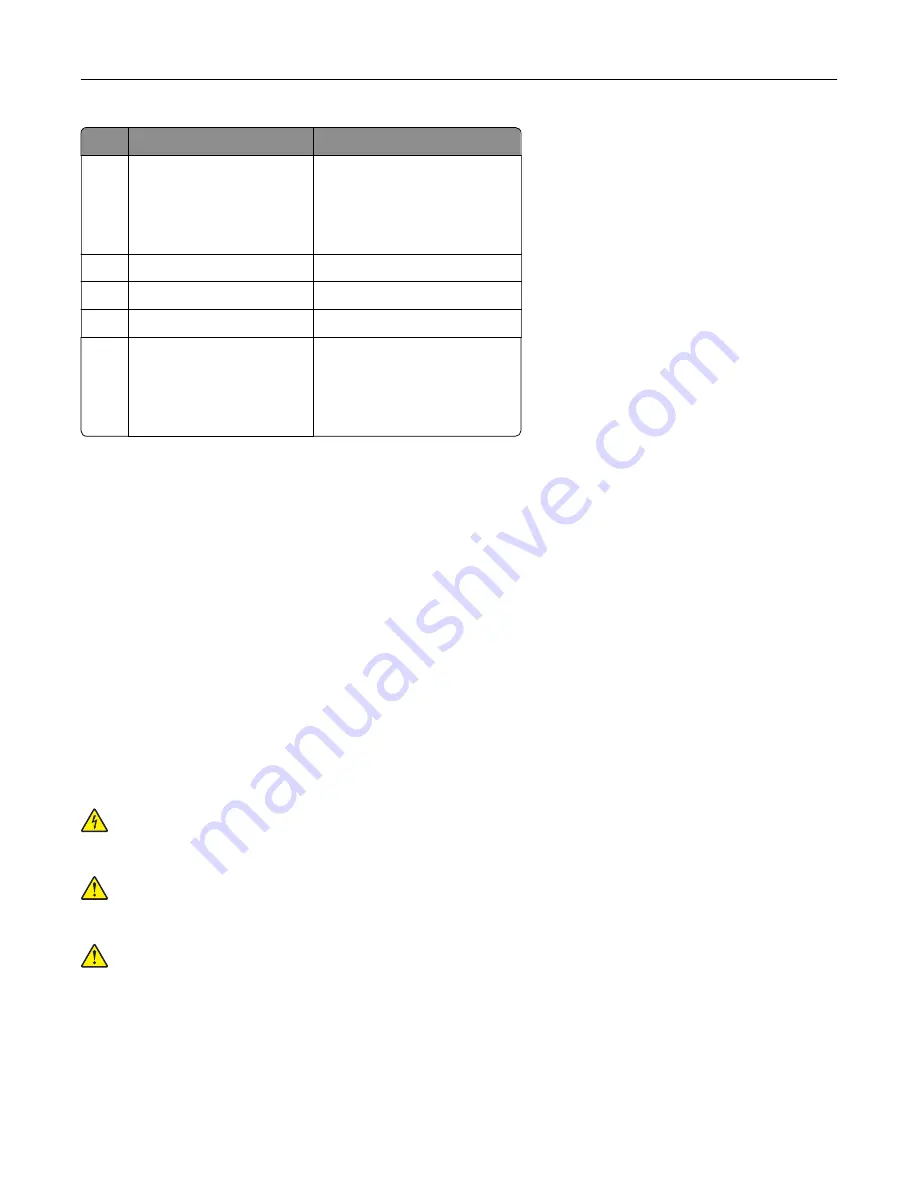
Hardware option
Alternative hardware option
1
4
‑
bin mailbox
•
Output expander
•
High
‑
capacity output
•
Staple finisher
•
Staple, hole punch finisher
2
Optional 2100
‑
sheet tray
None
3
Caster base
None
4
Optional 550
‑
sheet tray
Optional 250
‑
sheet tray
5
Staple, hole punch finisher
•
Output expander
•
High
‑
capacity output
•
4
‑
bin mailbox
•
Staple finisher
The staple, hole punch finisher must not be combined with any other output options.
In a configuration with two or more optional finishers:
•
The staple finisher must always be on top.
•
The high
‑
capacity output expander must always be at the bottom.
•
The output expander is the only option that can be placed on top of the high
‑
capacity output expander.
•
The output expander and mailbox may be installed in any order.
When using optional trays:
•
Always use a caster base when the printer is configured with a 2100
‑
sheet tray.
•
The 2100
‑
sheet tray must always be at the bottom of a configuration.
•
A maximum of four optional trays may be configured with the printer.
•
The optional 250
‑
and 550
‑
sheet trays may be installed in any order.
Attaching cables
CAUTION—SHOCK HAZARD:
To avoid the risk of electrical shock, do not set up this product or make
any electrical or cabling connections, such as the power cord, fax feature, or telephone, during a
lightning storm.
CAUTION—POTENTIAL INJURY:
To avoid the risk of fire or electrical shock, connect the power cord to
an appropriately rated and properly grounded electrical outlet that is near the product and easily
accessible.
CAUTION—POTENTIAL INJURY:
To avoid the risk of fire or electrical shock, use only the power cord
provided with this product or the manufacturer's authorized replacement.
Warning—Potential Damage:
To avoid loss of data or printer malfunction, do not touch the USB cable, any
wireless network adapter, or the printer in the areas shown while actively printing.
Learning about the printer
13
Summary of Contents for M5255
Page 107: ...2 Remove the toner cartridge 3 Remove the used imaging unit Maintaining the printer 107 ...
Page 118: ...2 Remove the used pick roller 3 Unpack the new pick roller Maintaining the printer 118 ...
Page 119: ...4 Install the new pick roller 5 Close the multipurpose feeder Maintaining the printer 119 ...
Page 141: ...2 Remove the staple cartridge holder 3 Remove the loose staples Clearing jams 141 ...


