


Images:
•
.dcx
•
.gif
•
.jpeg or .jpg
•
.bmp
•
.pcx
•
.tiff or .tif
•
.png
Configuring confidential jobs
1
From the home screen, touch
Settings
>
Security
>
Confidential Print Setup
.
2
Configure the settings.
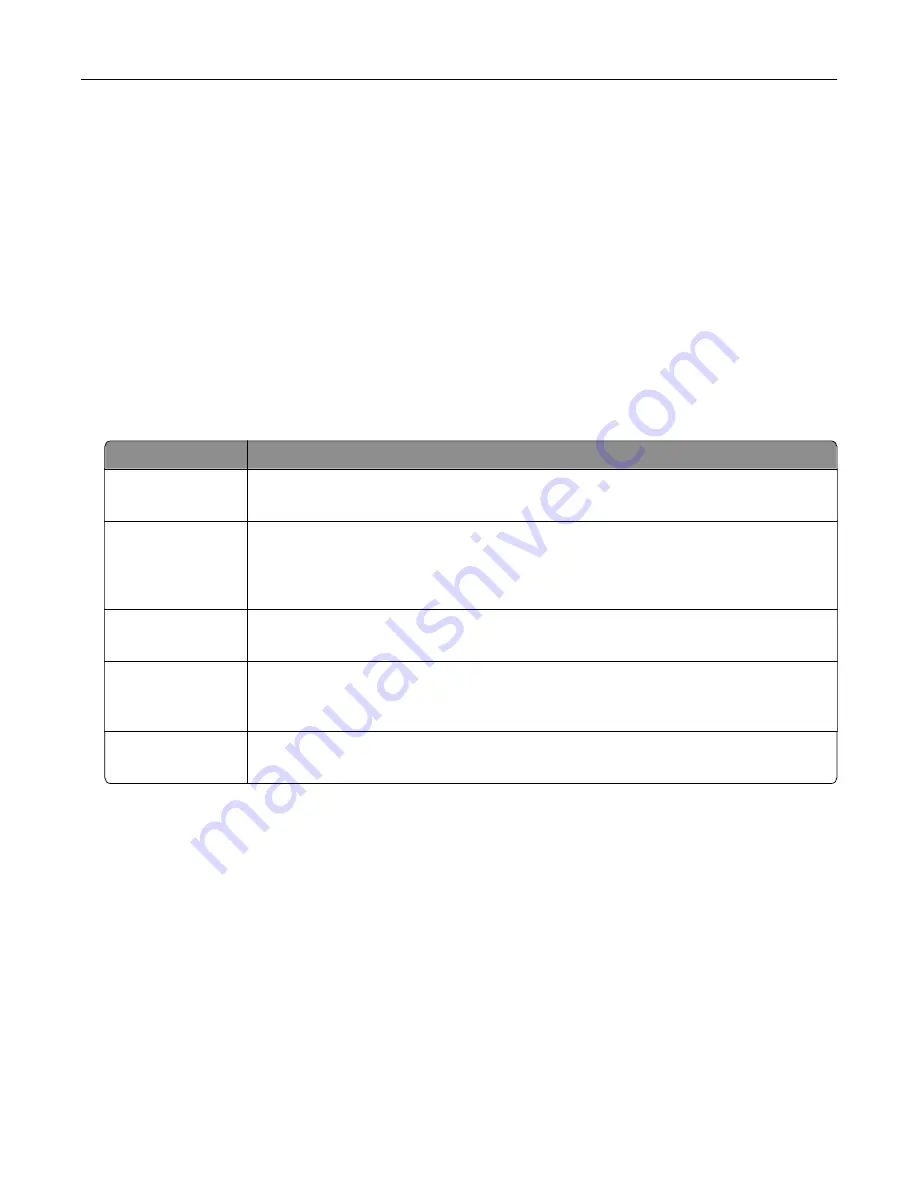
Use
To
Max Invalid PIN
Limit the number of times an invalid PIN can be entered.
Note:
When the limit is reached, the print jobs for that user name are deleted.
Confidential Job
Expiration
Set the amount of time before confidential jobs are automatically deleted from the printer
memory.
Note:
Confidential held jobs are stored in the printer until you log in and release or
delete them manually.
Repeat Job
Expiration
Set the amount of time before repeat jobs are deleted from the printer memory.
Note:
Repeat held jobs are stored so extra copies can be printed later.
Verify Job Expiration Set the amount of time before verify jobs are deleted from the printer memory.
Note:
Verify jobs print one copy to check if it is satisfactory before printing the
remaining copies.
Reserve Job
Expiration
Set the amount of time before reserved jobs are deleted without being printed.
Note:
Reserve held jobs are automatically deleted after printing.
Printing held jobs
1
With a document open, select
File
>
.
2
Select the printer, and then do the following:
•
For Windows users, click
Properties
or
Preferences
, and then click
Print and Hold
.
•
For Macintosh users, select
Print and Hold
.
3
Select the print job type.
4
If necessary, assign a user name.
5
Send the print job.
6
From the printer home screen, touch
Held Jobs
.
7
Send the print job.
Printing
29
Summary of Contents for CX820 Series
Page 1: ...XC8100 Series User s Guide March 2016 www lexmark com Machine type s 7564 Model s 596 598 ...
Page 64: ...2 Open door A 3 Remove the waste toner bottle Maintaining the printer 64 ...
Page 69: ...2 Open door A 3 Remove the waste toner bottle Maintaining the printer 69 ...
Page 72: ...2 Open door A 3 Remove the waste toner bottle Maintaining the printer 72 ...
Page 76: ...3 Remove the pick roller 4 Unpack the new pick roller Maintaining the printer 76 ...
Page 95: ...2 Open door G 3 Pull out the staple cartridge holder Maintaining the printer 95 ...
Page 119: ...2 Open door G 3 Pull out the staple cartridge holder Clearing jams 119 ...
Page 123: ... Area J1 Areas J3 and J4 Areas J5 and J6 3 Close door J Clearing jams 123 ...
Page 127: ...Staple jam in door J 1 Open door J 2 Remove the staple cartridge holder Clearing jams 127 ...
Page 129: ...5 Insert the staple cartridge holder 6 Close door J Clearing jams 129 ...


