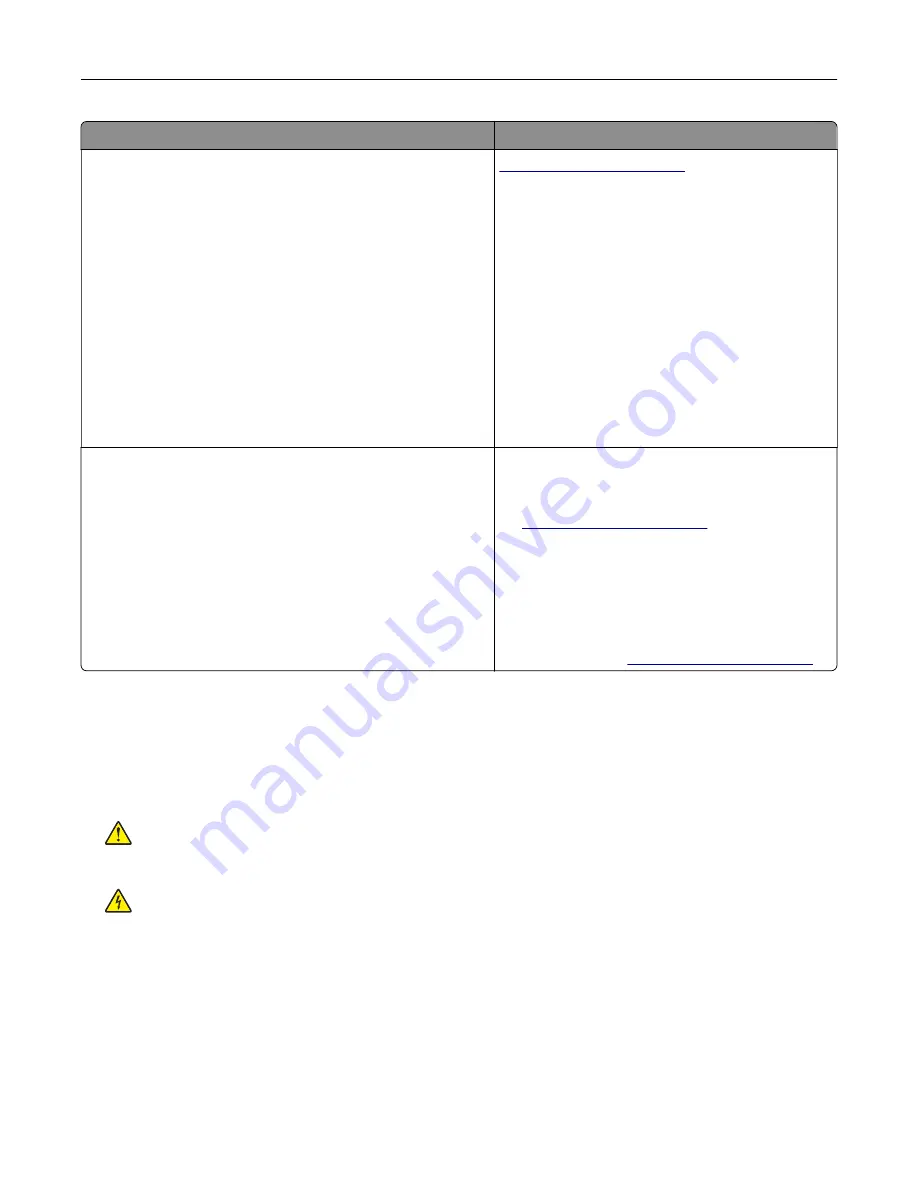
What are you looking for?
Find it here
The latest supplemental information, updates, and customer
support:
•
Documentation
•
Driver downloads
•
Live chat support
•
E
‑
mail support
•
Voice support
Note:
Select your country or region, and then
select your product to view the appropriate
support site.
Support contact information for your country or
region can be found on the support Web site or on
the printed warranty that came with the printer.
Have the following information (located on the store
receipt and at the back of the printer) ready when
you contact customer support:
•
Machine type number
•
Serial number
•
Date purchased
•
Store where purchased
•
Safety information
•
Regulatory information
•
Warranty information
Warranty information varies by country or region:
•
In the U.S.
—See the Statement of Limited
Warranty included with the printer, or go to
•
In other countries and regions
—See the
printed warranty that came with the printer.
Product Information Guide
—This document
contains basic safety, environmental, and
regulatory information for your product. For more
information, see the documentation that came with
the printer or go to
Selecting a location for the printer
When selecting a location for the printer, leave enough room to open trays, covers, and doors and to install
hardware options.
•
Set up the printer near an electrical outlet.
CAUTION—POTENTIAL INJURY:
To avoid the risk of fire or electrical shock, connect the power cord
to an appropriately rated and properly grounded electrical outlet that is near the product and easily
accessible.
CAUTION—SHOCK HAZARD:
To avoid the risk of electrical shock, do not place or use this product
near water or wet locations.
•
Make sure that airflow in the room meets the latest revision of the ASHRAE 62 standard or the CEN Technical
Committee 156 standard.
•
Provide a flat, sturdy, and stable surface.
•
Keep the printer:
–
Clean, dry, and free of dust.
–
Away from stray staples and paper clips.
–
Away from the direct airflow of air conditioners, heaters, or ventilators.
–
Free from direct sunlight and humidity extremes.
Learning about the printer
10
Summary of Contents for CX820 Series
Page 1: ...XC8100 Series User s Guide March 2016 www lexmark com Machine type s 7564 Model s 596 598 ...
Page 64: ...2 Open door A 3 Remove the waste toner bottle Maintaining the printer 64 ...
Page 69: ...2 Open door A 3 Remove the waste toner bottle Maintaining the printer 69 ...
Page 72: ...2 Open door A 3 Remove the waste toner bottle Maintaining the printer 72 ...
Page 76: ...3 Remove the pick roller 4 Unpack the new pick roller Maintaining the printer 76 ...
Page 95: ...2 Open door G 3 Pull out the staple cartridge holder Maintaining the printer 95 ...
Page 119: ...2 Open door G 3 Pull out the staple cartridge holder Clearing jams 119 ...
Page 123: ... Area J1 Areas J3 and J4 Areas J5 and J6 3 Close door J Clearing jams 123 ...
Page 127: ...Staple jam in door J 1 Open door J 2 Remove the staple cartridge holder Clearing jams 127 ...
Page 129: ...5 Insert the staple cartridge holder 6 Close door J Clearing jams 129 ...


