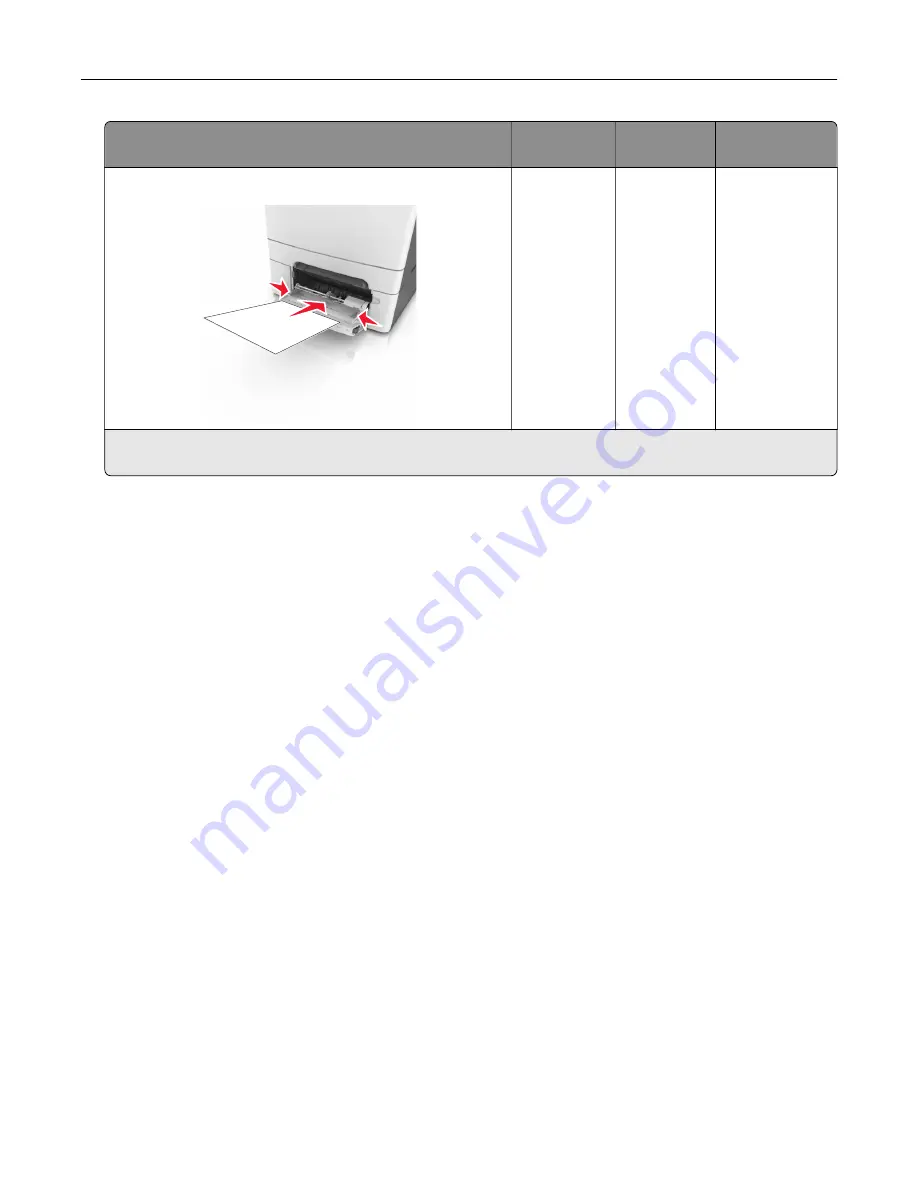
Source
Printing
Printable
side
Paper
orientation
Multipurpose feeder
ABC
Two
‑
sided
Faceup
Load the sheet
with the bottom
edge entering
the printer first.
Note:
Check with the manufacturer or vendor to determine whether or not the preprinted letterhead is
acceptable for laser printers.
Tips on using transparencies
Print a test page on the transparencies being considered for use before buying large quantities.
•
From the printer control panel, set the paper size, type, texture, and weight in the Paper menu to match the
transparencies loaded in the tray.
•
Print a test page on the transparencies being considered for use before buying large quantities.
•
Feed transparencies from the 250-sheet tray, manual feeder, or multipurpose feeder.
•
Use transparencies designed specifically for laser printers.
•
Avoid getting fingerprints on the transparencies to prevent print quality problems.
•
Before loading transparencies, flex, fan, and straighten the stacks to prevent sheets from sticking together.
Tips on using envelopes
•
From the printer control panel, set the paper size, type, texture, and weight in the Paper menu to match the
envelopes loaded in the tray.
•
Print samples on the envelopes being considered for use before buying large quantities.
•
Use envelopes designed specifically for laser printers.
•
For best performance, use envelopes made from 90
‑
g/m
2
(24
‑
lb) paper or 25% cotton.
•
Use only new envelopes from undamaged packages.
•
To optimize performance and minimize jams, do not use envelopes that:
–
Have excessive curl or twist.
–
Are stuck together or damaged in any way.
–
Have windows, holes, perforations, cutouts, or embossing.
–
Have metal clasps, string ties, or folding bars.
–
Have an interlocking design.
–
Have postage stamps attached.
–
Have any exposed adhesive when the flap is in the sealed or closed position.
Paper and specialty media guide
53
Summary of Contents for C2132
Page 1: ...C2132 User s Guide June 2017 www lexmark com Machine type s 5027 Model s 639...
Page 133: ...2 Open the top door 1 2 3 Remove the toner cartridges 1 2 Maintaining the printer 133...
Page 138: ...16 Insert the waste toner bottle 17 Insert the right side cover Maintaining the printer 138...
Page 142: ...2 Open the top door 1 2 3 Remove the toner cartridges 1 2 Maintaining the printer 142...
Page 152: ...Settings General Settings Factory Defaults Restore Now Managing the printer 152...
Page 156: ...Below the fuser In the fuser access door 3 Close the front door Clearing jams 156...


