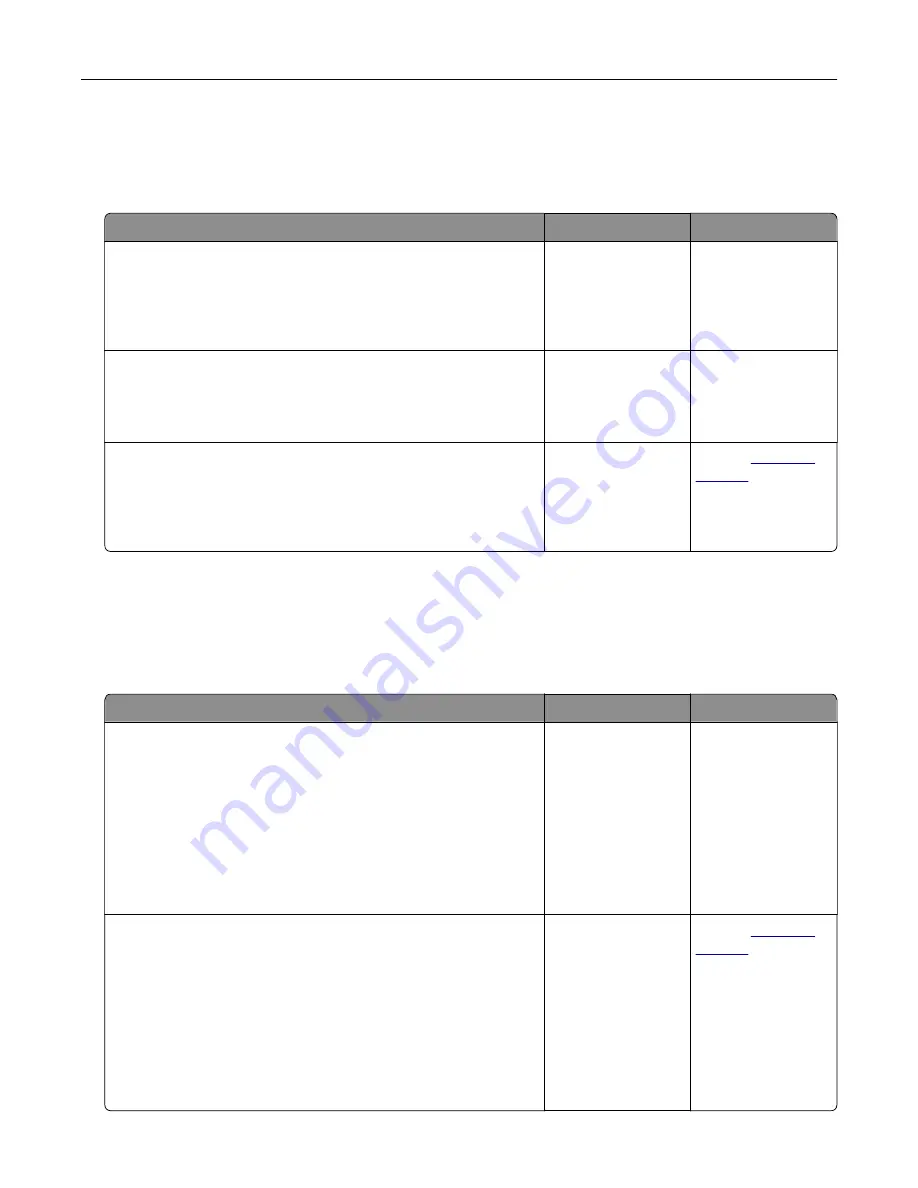
Prints on color transparencies appear dark when projected
Note:
This problem occurs when projecting transparencies with reflective overhead projectors. To obtain the
highest projected color quality, transmissive overhead projectors are recommended.
Action
Yes
No
Step 1
From the printer control panel, make sure the paper type setting
is set to Transparency.
Is the paper type setting correct?
Go to step 2.
Set the paper type to
Transparency.
Step 2
Reduce the toner darkness, and then resend the print job.
Does the print on the color transparency look lighter?
The problem is
solved.
Go to step 3.
Step 3
Make sure you are using a recommended type of color
transparency, and then resend the print job.
Does the print on the color transparency look lighter?
The problem is
solved.
Contact
The color of the print does not match the color of the original file
Note:
The color conversion tables used in Auto Color Correction mode generally approximate the colors of a
standard computer monitor. However, because of technology differences that exist between printers and
monitors, there are many colors that can also be affected by monitor variations and lighting conditions.
Action
Yes
No
Step 1
a
Set Color Correction to Off.
Note:
When the printer color correction is disabled, the color
is based on the print job information, and no color conversion
is implemented.
b
Resend the print job.
Does the color of the print match the color of the file on the
computer screen?
The problem is
solved.
Go to step 2.
Step 2
From the Quality menu on the printer control panel, do the
following:
a
Select
Color Correction
, and then select
Manual
.
b
Select
Manual Color
, and then select the appropriate color
conversion table for the affected object type.
c
Resend the print job.
Does the color of the print match the color of the file on the
computer screen?
The problem is
solved.
Contact
Troubleshooting
205
Summary of Contents for C2132
Page 1: ...C2132 User s Guide June 2017 www lexmark com Machine type s 5027 Model s 639...
Page 133: ...2 Open the top door 1 2 3 Remove the toner cartridges 1 2 Maintaining the printer 133...
Page 138: ...16 Insert the waste toner bottle 17 Insert the right side cover Maintaining the printer 138...
Page 142: ...2 Open the top door 1 2 3 Remove the toner cartridges 1 2 Maintaining the printer 142...
Page 152: ...Settings General Settings Factory Defaults Restore Now Managing the printer 152...
Page 156: ...Below the fuser In the fuser access door 3 Close the front door Clearing jams 156...


