15
English
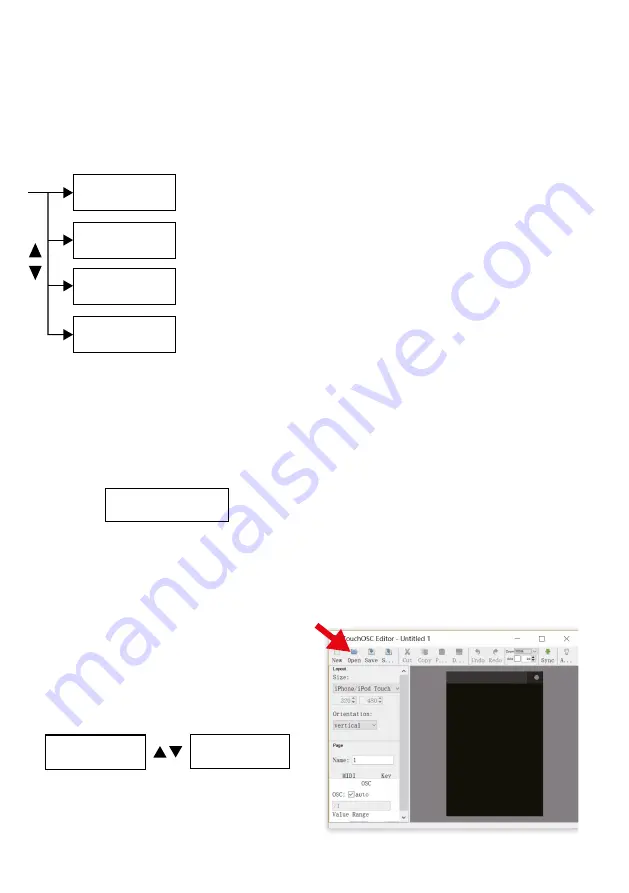
5.2 RECORD
Data of lighting show can be recorded from the
Ethernet network , WiFi or 2 DMX inputs . Each
memory can be up to 20 hours .
1) Press RECORD button and its LED is lit up .
2) Use UP/DOWN to select record modes as
below .
MENU
Record Mode01
[DMXin-SD&DMXout]
Record Mode02
Record Mode03
Record Mode04
[WiFi-SD&LAN]
[LAN-SD&DMXout]
[WiFi-SD&DMXout]
DMX input to
SD card & DMX output
ArtNet input via LAN to
SD card & DMX output
ArtNet input via WiFi to
SD card & DMX output
ArtNet input via WiFi to
SD card & LAN output
3) Press the MEM 1 – 8 button to select the
Memory for recording . The LED of the se-
lected Memory is blinking and the corre-
sponding number ”MEM X (1 – 8)” will be
shown on LCD .
4) Press the
button to start recording,
II
to
pause and
to end recording .
Number
of memory
MEM3 ƈ00:00:00
err:ƅ Lframe:000
Time of
recording
LCD
5.3 REPLAY
After recording, you can replay your lighting
show on the unit or iPhone / iPad via TouchOSC .
And Replay mode can be set in solo or loop .
5.3.1 Replay on unit
1) Press REPLAY button and its LED is lit up . The
unit goes to the most recent status of replay .
2) Press MENU button and use UP / DOWN to
select Replay Mode:
[ SD ->DMXout]
Replay Mode01
[ SD ->LAN]
Replay Mode02
[ SD ->DMXout]
Replay Mode01
[ SD ->LAN]
Replay Mode02
[ SD ->DMXout]
Replay Mode01
[ SD ->LAN]
Replay Mode02
DMX signal at the jacks
DMX Out (12)
DMX signal via
LAN output
3) Use
and
button to run in loop mode,
II
button to run in solo mode .
4) In loop mode, LED indicator of
(or
) is
blinking .
and
button indicate the di-
rection of running . The LED indicators of
selected memory are lit up and the blinking
one is running .
5) When in loop mode, press
II
button to pause,
press
II
button again to enter solo mode and
its LED is blinking . In solo mode, the selected
MEM (memories) are lit up . Press the selected
one to run in solo mode and its LED is blinking .
6) Use SPEED slider to adjust running speed
from 25 % to 200 % . Use DIMMER slider to
adjust output from 0 to 100 % .
Note:
MEM button without recording data can’t be
selected in REPLAY .
5.3.2 Replay on a iPhone / iPad
In order to use a iPhone or iPad to control the
RDMX-8, you need to install TouchOSC and
upload the interface of the RDMX-8 on your
iPhone / iPad .
1) Download TouchOSC from the Apple Store
and install it on your iPhone / iPad .
2) Click on OSC and run it on your iPhone / iPad .
3) Power on the RDMX-8 .
4) Connect your iPhone / iPad with the RDMX-8 .
Click WLAN setup on your iPhone / iPad and
select DMX RECORDER XXX (000 – 999) .
Password is 12345678 .
5) Download TouchOSCEditor .exe
(https: // hexler .net / software / touchosc)
and install it on your PC / laptop .
6) Run TouchOSCEditor, click “Open” and select
“W-RECORDER1024 .touchosc” file which is
available on the memory card provided .
Summary of Contents for RDMX-8
Page 2: ...2 ...


