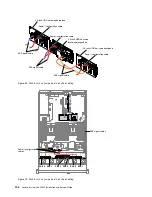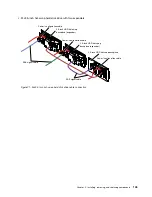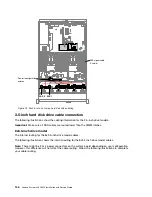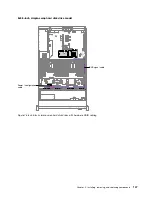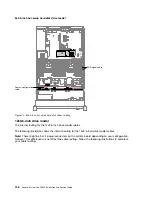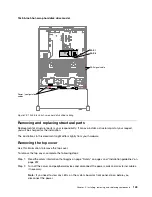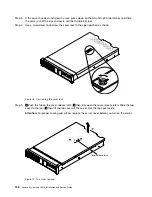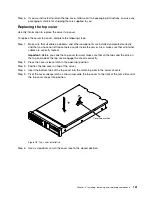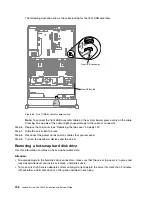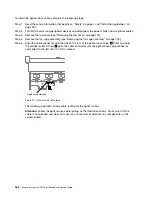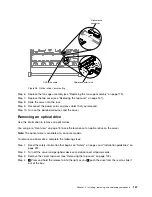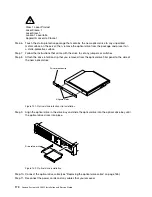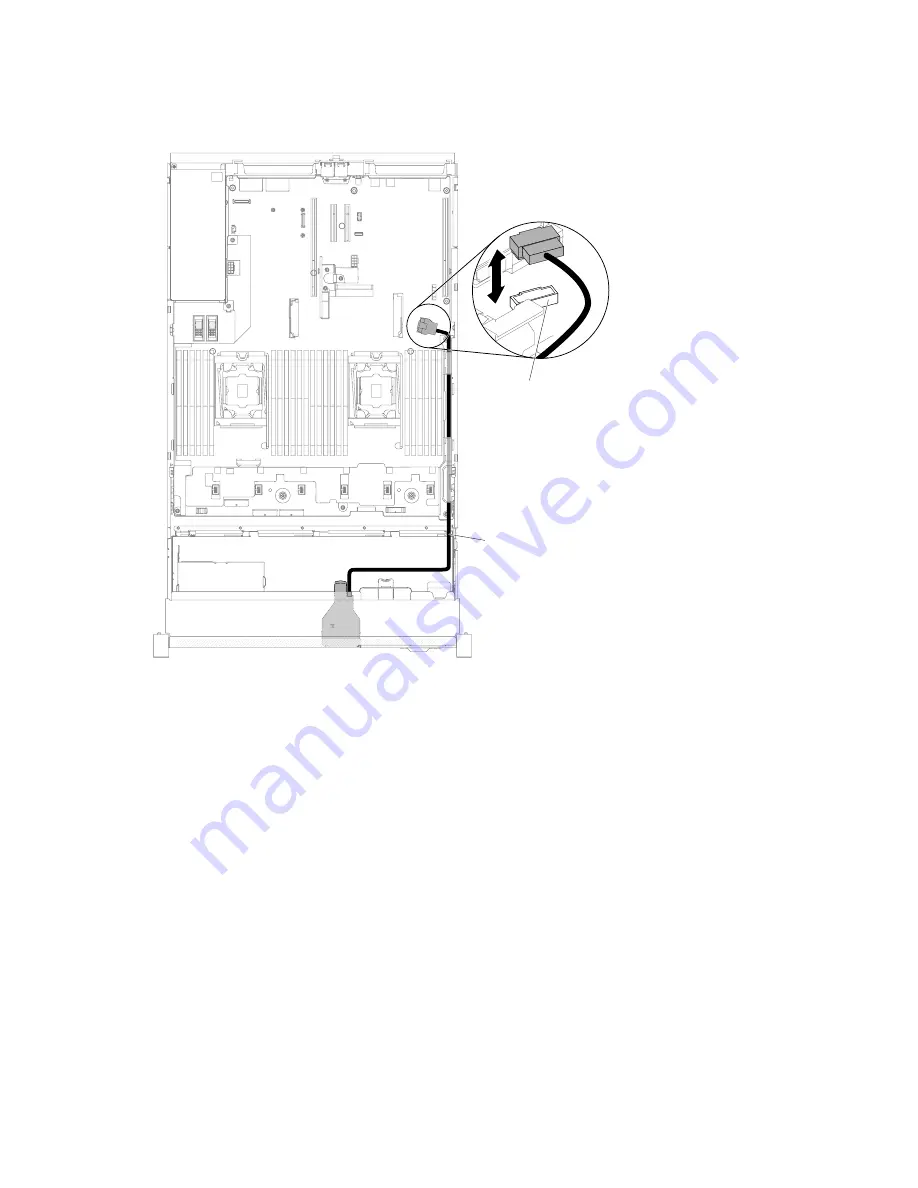
The following illustration shows the cable routing for the front USB assembly.
Front USB cable
Front USB connector
Figure 86. Front USB assembly cable routing
Note:
To connect the front USB assembly cable on the system board, press evenly on the cable.
Pressing on one side of the cable might cause damage to the cable or connector.
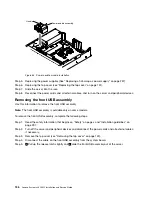
Step 6.
Replace the top cover (see “Replacing the top cover” on page 151).
Step 7.
Slide the server into the rack.
Step 8.
Reconnect the power cords and any cables that you removed.
Step 9.
Turn on the peripheral devices and the server.
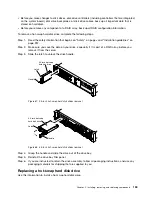
Removing a hot-swap hard disk drive
Use this information to remove a hot-swap hard disk drive.
Attention:
• To avoid damage to the hard disk drive connectors, make sure that the server top cover is in place and
fully closed whenever you install or remove a hard disk drive.
• To make sure that there is adequate system cooling, do not operate the server for more than 2 minutes
without either a hard disk drive or a filler panel installed in each bay.
158
Lenovo System x3650 M5 Installation and Service Guide
Summary of Contents for x3650 M5
Page 1: ...Lenovo System x3650 M5 Installation and Service Guide Machine Type 8871 ...
Page 47: ...Figure 35 System board switches jumpers and buttons Chapter 1 The System x3650 M5 server 35 ...
Page 60: ...48 Lenovo System x3650 M5 Installation and Service Guide ...
Page 80: ...68 Lenovo System x3650 M5 Installation and Service Guide ...
Page 124: ...112 Lenovo System x3650 M5 Installation and Service Guide ...
Page 146: ...134 Lenovo System x3650 M5 Installation and Service Guide ...
Page 1322: ...1310 Lenovo System x3650 M5 Installation and Service Guide ...
Page 1330: ...Taiwan BSMI RoHS declaration 1318 Lenovo System x3650 M5 Installation and Service Guide ...
Page 1339: ......
Page 1340: ......

