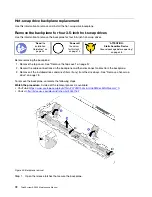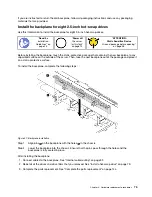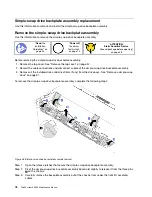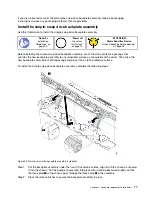
If you are instructed to return the old backplane, follow all packaging instructions and use any packaging
materials that are provided.
Install the backplane for eight 2.5-inch hot-swap drives
Use this information to install the backplane for eight 2.5-inch hot-swap drives.
Ground package before opening”
Before installing the backplane, touch the static-protective package that contains the new backplane to any
unpainted surface on the outside of the server. Then, take the new backplane out of the package and place it
on a static-protective surface.
To install the backplane, complete the following steps:
Figure 47. Backplane installation
Step 1. Align pins
1
on the backplane with the holes
2
in the chassis.
Step 2. Lower the backplane into the chassis. Ensure that the pins pass through the holes and the
backplane is fully seated in place.
After installing the backplane:
1. Connect cables to the backplane. See “Internal cable routing” on page 32.
2. Reinstall all the drives and drive fillers that you removed. See “Install a hot-swap drive” on page 79.
3. Complete the parts replacement. See “Complete the parts replacement” on page 144.
.
Hardware replacement procedures
75
Summary of Contents for ThinkSystem SR530
Page 1: ...ThinkSystem SR530 Maintenance Manual Machine Types 7X07 and 7X08 ...
Page 8: ...vi ThinkSystem SR530 Maintenance Manual ...
Page 24: ...16 ThinkSystem SR530 Maintenance Manual ...
Page 52: ...44 ThinkSystem SR530 Maintenance Manual ...
Page 72: ...64 ThinkSystem SR530 Maintenance Manual ...
Page 74: ...66 ThinkSystem SR530 Maintenance Manual ...
Page 170: ...162 ThinkSystem SR530 Maintenance Manual ...
Page 174: ...166 ThinkSystem SR530 Maintenance Manual ...
Page 178: ...170 ThinkSystem SR530 Maintenance Manual ...
Page 183: ......
Page 184: ......

