2
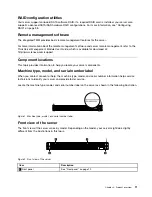
Slim optical drive (available on some
models)
Some server models come with a slim SATA optical drive.
3 4
Rack handles
If your server is installed in a rack, you can use the rack handles to help
you slide the server out of the rack. You also can use the rack handles
and screws to secure the server in the rack so that the server cannot slide
out, especially in vibration-prone areas. For more information, refer to the
documentation that comes with your rail kit.
Front panel
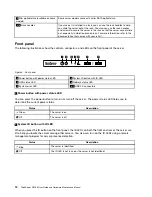
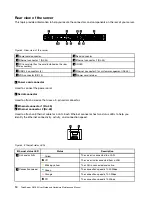
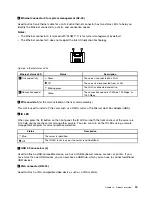
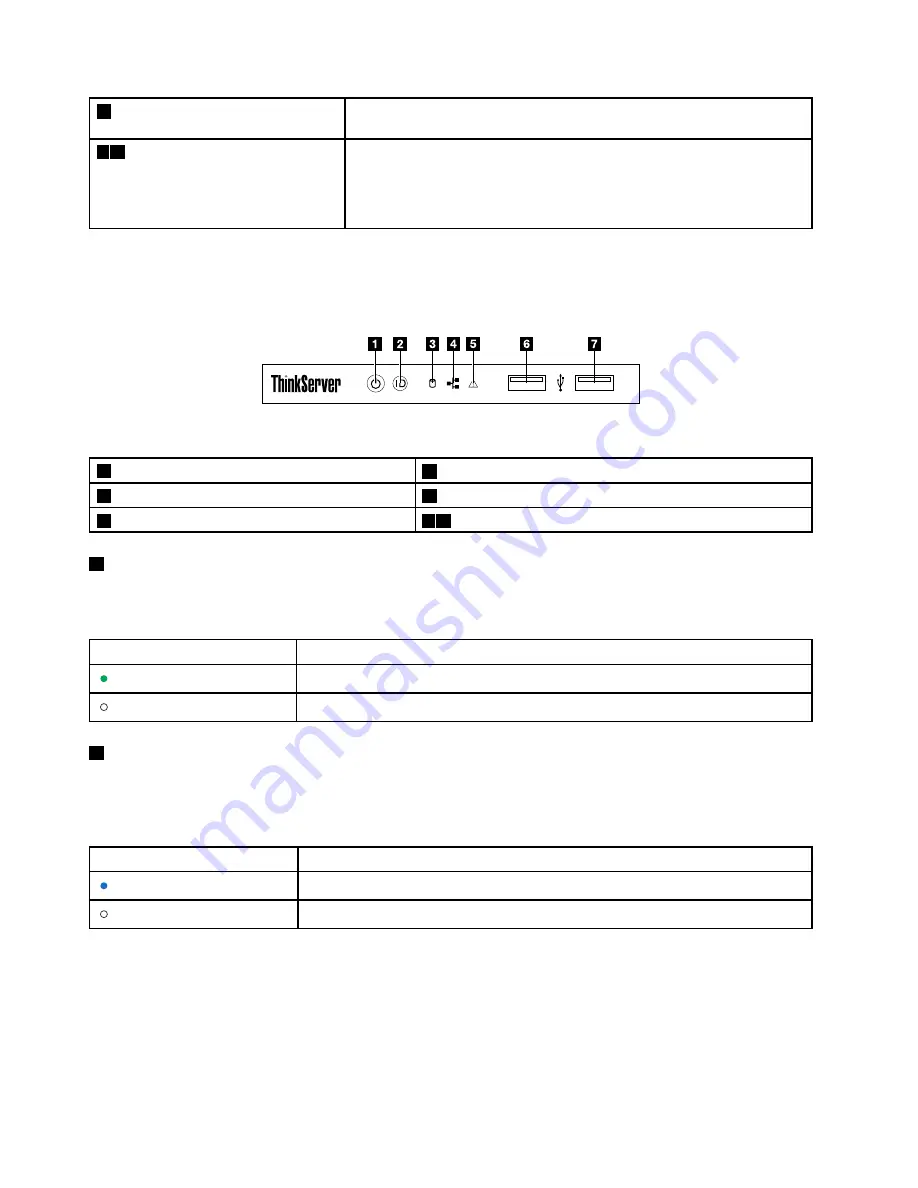
The following illustrations show the controls, connectors, and LEDs on the front panel of the server.
Figure 3. Front panel
1
Power button with power status LED
2
System ID button with ID LED
3
HDD status LED
4
Network status LED
5
System error LED
6 7
USB 2.0 connectors
1
Power button with power status LED
You can press the power button to turn on or turn off the server. The power status LED helps you to
determine the current power status.
Status
Description
Green
The server is on.
Off
The server is off.
2
System ID button with ID LED
When you press the ID button on the front panel, the ID LEDs on both the front and rear of the server are
lit to help you locate the server among other servers. You also can turn on the ID LEDs using a remote
management program for server presence detection.
Status
Description
Blue
The server is identified.
Off
The ID LED is not in use or the server is not identified.
12
ThinkServer RS160 User Guide and Hardware Maintenance Manual
Summary of Contents for ThinkServer RS160
Page 14: ...xii ThinkServer RS160 User Guide and Hardware Maintenance Manual ...
Page 18: ...4 ThinkServer RS160 User Guide and Hardware Maintenance Manual ...
Page 42: ...28 ThinkServer RS160 User Guide and Hardware Maintenance Manual ...
Page 58: ...44 ThinkServer RS160 User Guide and Hardware Maintenance Manual ...
Page 118: ...104 ThinkServer RS160 User Guide and Hardware Maintenance Manual ...
Page 130: ...116 ThinkServer RS160 User Guide and Hardware Maintenance Manual ...
Page 141: ......
Page 142: ......

