Chapter 3. Using the Dock
This section introduces how to use and manage the dock.
Connecting to the Dock
To connect your computer to the dock, do the following:
1. After the setup and preparation, turn on your computer and the dock. Then do the following:
•
For Windows 7 or Windows 8.1:
Click
Start
on the taskbar, search and then click to start the
Intel Wireless Dock Manager program. Follow instructions on screen to connect the dock to your
notebook computer.
•
For Windows 10:
Click the action center icon
on the taskbar. Click
Connect
.
2. Select your dock from the list of available devices.
Note:
The default dock name is the combination of “ThinkPad WiGig Dock” and the last four digital
numbers of the WiGig MAC on the product label.
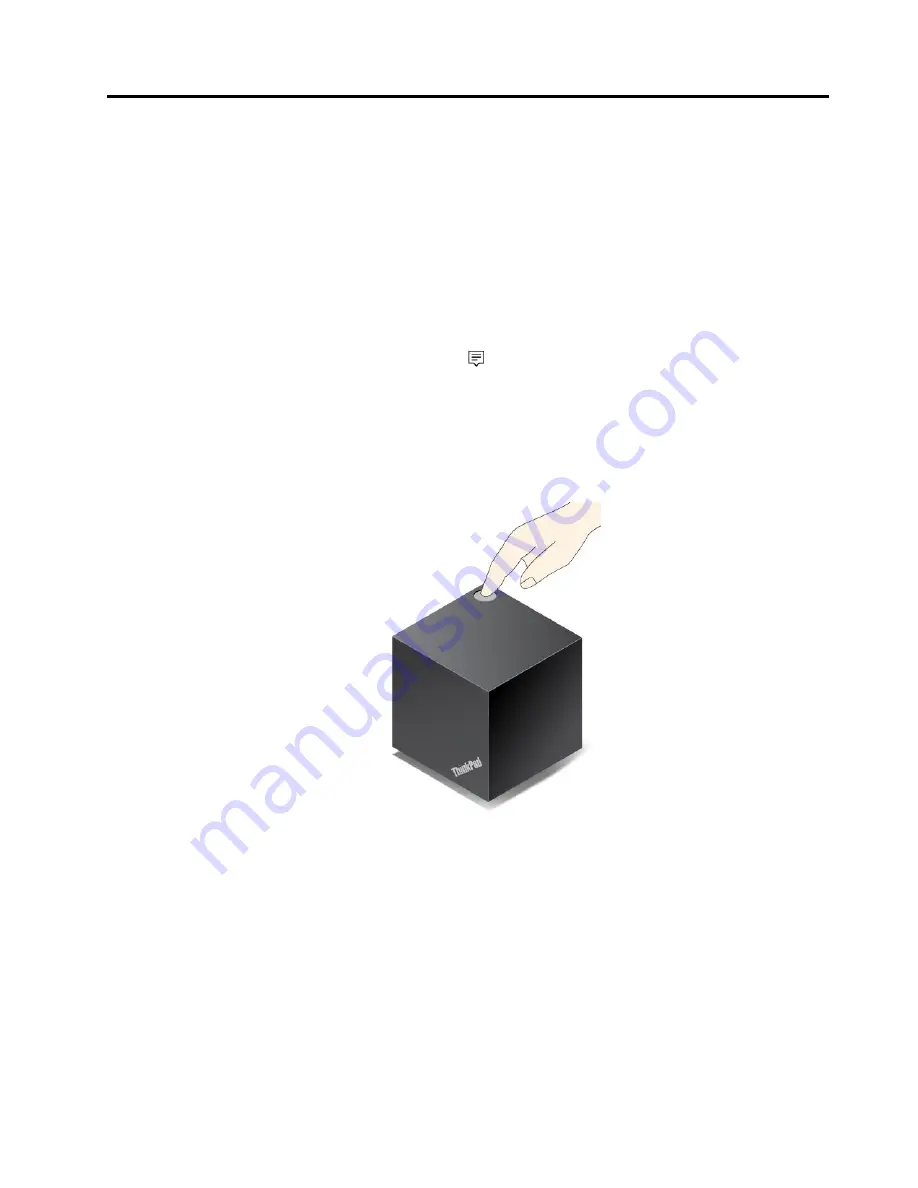
3. When prompted, press the power/connection button on the dock to confirm the pairing for the first
connection.
4. Follow the instructions on the screen to complete the connection.
After establishing the initial connection, you can select to connect to the dock automatically so that
whenever the computer comes within the required range, it will automatically get connected to the dock.
Note:
If the dock has not been connected before, update the dock driver when prompted.
Disconnecting from the Dock
To disconnect your computer from the dock, do the following:
1.
Do the following:
•
For Windows 7:
Click
Start
on the taskbar, search and then click to start the Intel Wireless Dock
Manager program. Follow instructions on screen to connect the dock to your notebook computer.
© Copyright Lenovo 2016
9
Summary of Contents for thinkpad WiGig
Page 1: ...ThinkPad WiGig Dock User Guide ...
Page 4: ...ii ThinkPad WiGig Dock User Guide ...
Page 12: ...8 ThinkPad WiGig Dock User Guide ...
Page 22: ...18 ThinkPad WiGig Dock User Guide ...
Page 36: ...Notice for users in Taiwan For models 13100NGW 32 ThinkPad WiGig Dock User Guide ...
Page 42: ...38 ThinkPad WiGig Dock User Guide ...
Page 45: ......
Page 46: ...Part Number SP40H13043 Printed in China 1P P N SP40H13043 1PSP40H13043 ...


