


000
000
000
00
00
000000000
000000000
000000000
000000000
000000000
000000000
000000000
000000000
000000000
000
000
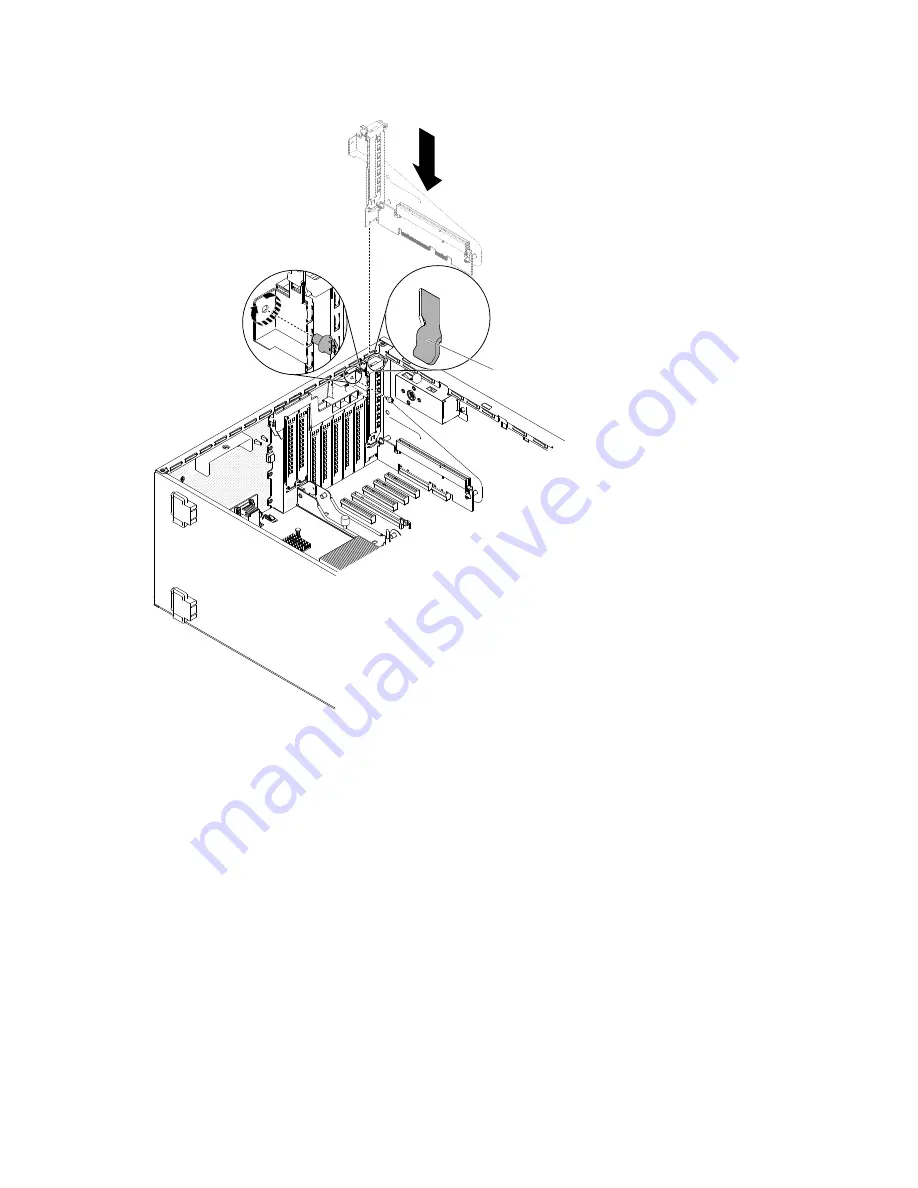
Back view
Latch
Figure 141. Remove screw that secures the expansion-slot cover
Step 9.
Install the screw that secures the PCI-X bracket to the server.
Step 10. Reinstall and lock the left-side cover (see “Installing the left-side cover” on page 185).
If you have replaced a server component or installed an optional device in the server, you need to reconnect
the power cords and all external cables, and turn on the server and peripheral devices.
Removing a simple-swap fan
Use this information to remove a simple-swap fan in the server.
The server comes with two 120 mm x 38 mm simple-swap fans in the fan cage assembly. The following
instructions can be used to install any simple-swap fan in the server.
Notes:
1. When you install the second microprocessor, you must also install fan 2 and the air baffle that come
with the second microprocessor upgrade kit. The fan filler can only be removed when fan 2 is installed.
Otherwise, the fan filler must be installed for proper cooling.
228
System x3500 M4 Installation and Service Guide
Summary of Contents for System x3500 M4
Page 1: ...System x3500 M4 Installation and Service Guide Machine Type 7383 ...
Page 6: ...iv System x3500 M4 Installation and Service Guide ...
Page 14: ...xii System x3500 M4 Installation and Service Guide ...
Page 140: ...126 System x3500 M4 Installation and Service Guide ...
Page 180: ...166 System x3500 M4 Installation and Service Guide ...
Page 194: ...180 System x3500 M4 Installation and Service Guide ...
Page 978: ...964 System x3500 M4 Installation and Service Guide ...
Page 1002: ...988 System x3500 M4 Installation and Service Guide ...
Page 1160: ...1146 System x3500 M4 Installation and Service Guide ...
Page 1164: ...1150 System x3500 M4 Installation and Service Guide ...
Page 1172: ...Taiwan BSMI RoHS declaration 1158 System x3500 M4 Installation and Service Guide ...
Page 1181: ......
Page 1182: ......


