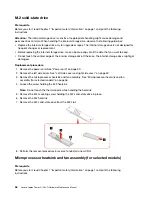

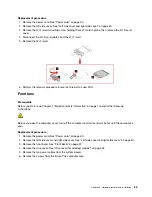


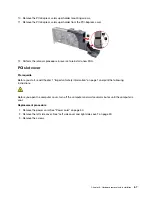


5. Remove the Y light assembly.
6. Perform the removal procedure in reverse to reinstall a new FRU.
Microprocessor
Prerequisite
Before you start, read Chapter 1 “Important safety information” on page 1 and print the following
instructions.
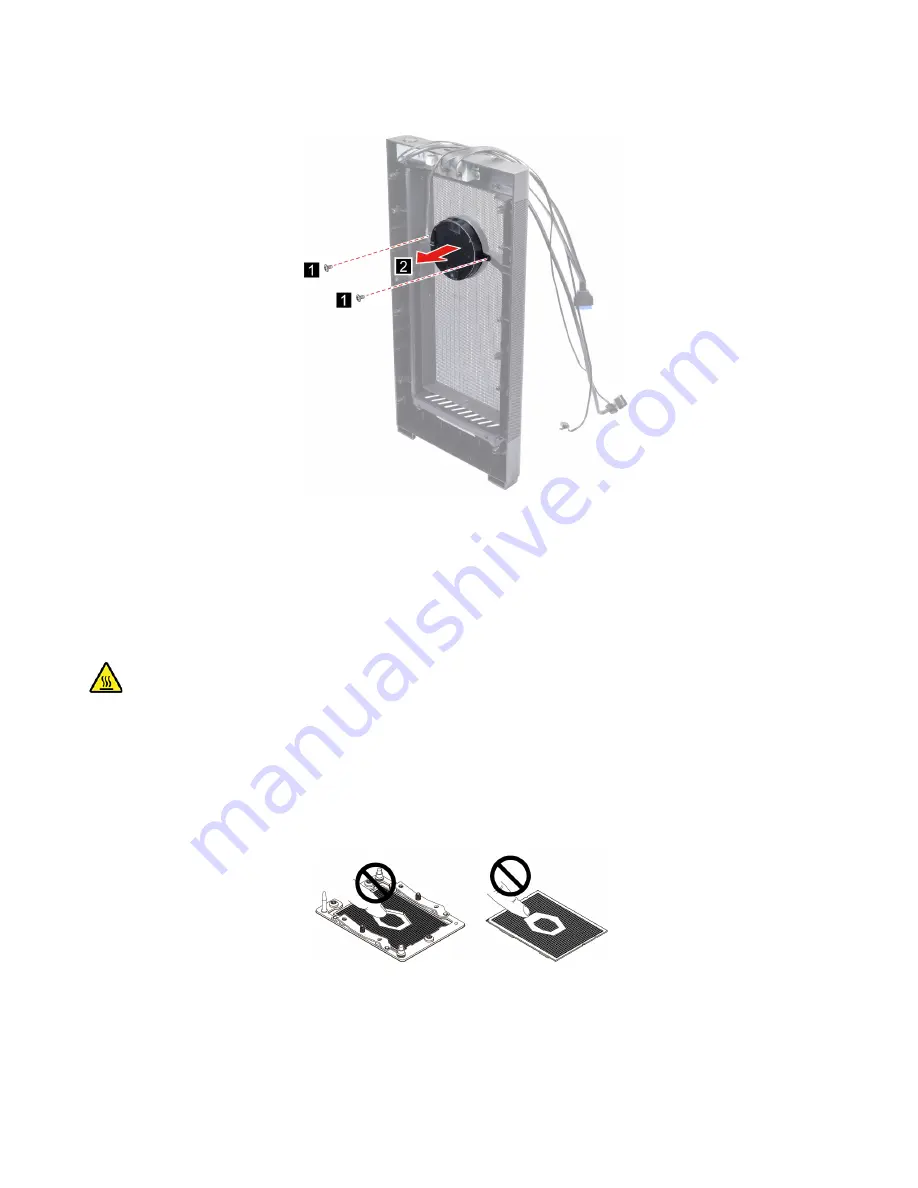
The heat-sink-and-fan assembly and microprocessor might be very hot. Before you open the computer
cover, turn off the computer and wait several minutes until the computer is cool.
Notes:
• Your microprocessor sockets might look slightly different from the illustrations in this topic.
• Do not touch the pins on the microprocessor socket or the gold contacts on the microprocessor.
Replacement procedure
1. Remove the power cord. See “Power cord” on page 50.
2. Remove the left side cover. See “Left side cover and right side cover” on page 50.
70
Lenovo Legion Tower 5i (26L, 7) Hardware Maintenance Manual
Summary of Contents for Legion Tower 5i
Page 1: ...Lenovo Legion Tower 5i 26L 7 Hardware Maintenance Manual ...
Page 4: ...ii Lenovo Legion Tower 5i 26L 7 Hardware Maintenance Manual ...
Page 6: ...iv Lenovo Legion Tower 5i 26L 7 Hardware Maintenance Manual ...
Page 13: ...Chapter 1 Important safety information 7 ...
Page 17: ...Chapter 1 Important safety information 11 ...
Page 18: ...1 2 12 Lenovo Legion Tower 5i 26L 7 Hardware Maintenance Manual ...
Page 19: ...Chapter 1 Important safety information 13 ...
Page 25: ...Chapter 1 Important safety information 19 ...
Page 29: ...Chapter 1 Important safety information 23 ...
Page 35: ...Chapter 3 Product overview Front 1 Lenovo Legion logo LED indicator Copyright Lenovo 2020 29 ...
Page 38: ...32 Lenovo Legion Tower 5i 26L 7 Hardware Maintenance Manual ...
Page 46: ...40 Lenovo Legion Tower 5i 26L 7 Hardware Maintenance Manual ...
Page 81: ......
Page 82: ......