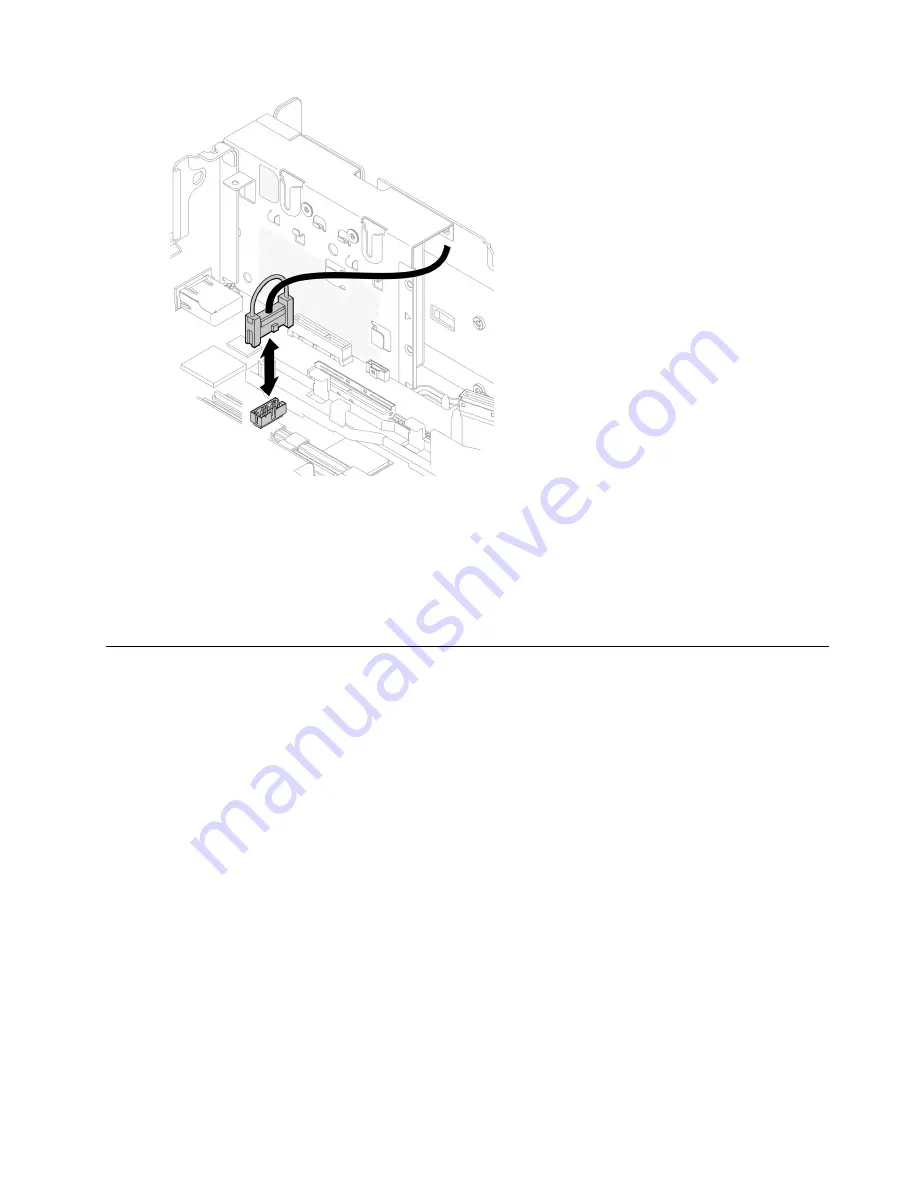
Figure 145. Connecting the serial port cable
Step 4. Proceed to install Riser 1 (see
“Install the PCIe adapters and riser assemblies” on page 108
After this task is completed
Proceed to complete the parts replacement (see
“Complete the parts replacement” on page 174
).
System board replacement (trained technician only)
Operation of this task must be done by trained technicians that are certified by Lenovo Service.
Remove the system board assembly
See this topic to learn how to remove the system board assembly. This procedure must be executed by a
trained technician.
About this task
Attention:
• Removing and installing this component requires trained technicians that are certified by Lenovo Service.
Do no attempt to remove or install it without proper training and qualification.
• Go over
“Installation Guidelines” on page 41
to ensure that you work with safety.
• Turn off the server and peripheral devices and disconnect the power cords and all external cables (see
“Power off the server” on page 13
).
• If the server is installed in a rack, slide the server out on its rack slide rails to gain access to the top cover,
or remove the server from the rack.
Watch the procedure.
A video of this procedure is available from the following link:
•
https://www.youtube.com/playlist?list=PLYV5R7hVcs-DV_Ja2E7l6T-lwN_IrnJRk
.
Hardware replacement procedures
149
Summary of Contents for 7D8T
Page 1: ...ThinkEdge SE450 Maintenance Manual Machine Types 7D8T ...
Page 8: ...vi ThinkEdge SE450 Maintenance Manual ...
Page 22: ...14 ThinkEdge SE450 Maintenance Manual ...
Page 45: ...Server components Figure 17 Server components Chapter 2 Server components 37 ...
Page 184: ...176 ThinkEdge SE450 Maintenance Manual ...
Page 206: ...198 ThinkEdge SE450 Maintenance Manual ...
Page 210: ...202 ThinkEdge SE450 Maintenance Manual ...
Page 217: ......
Page 218: ......


