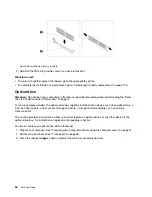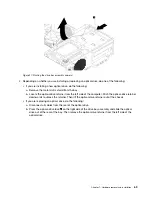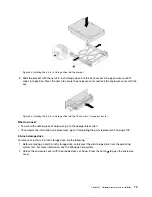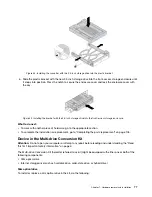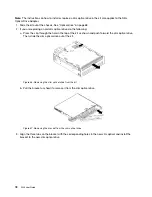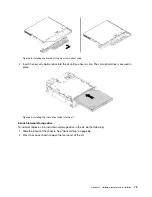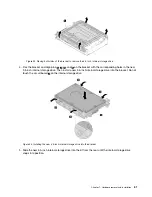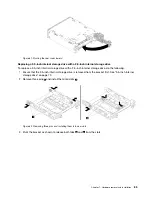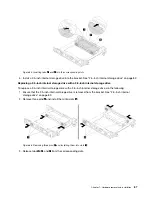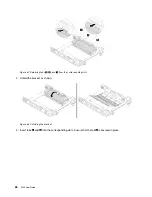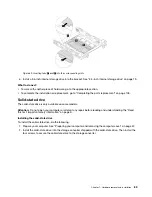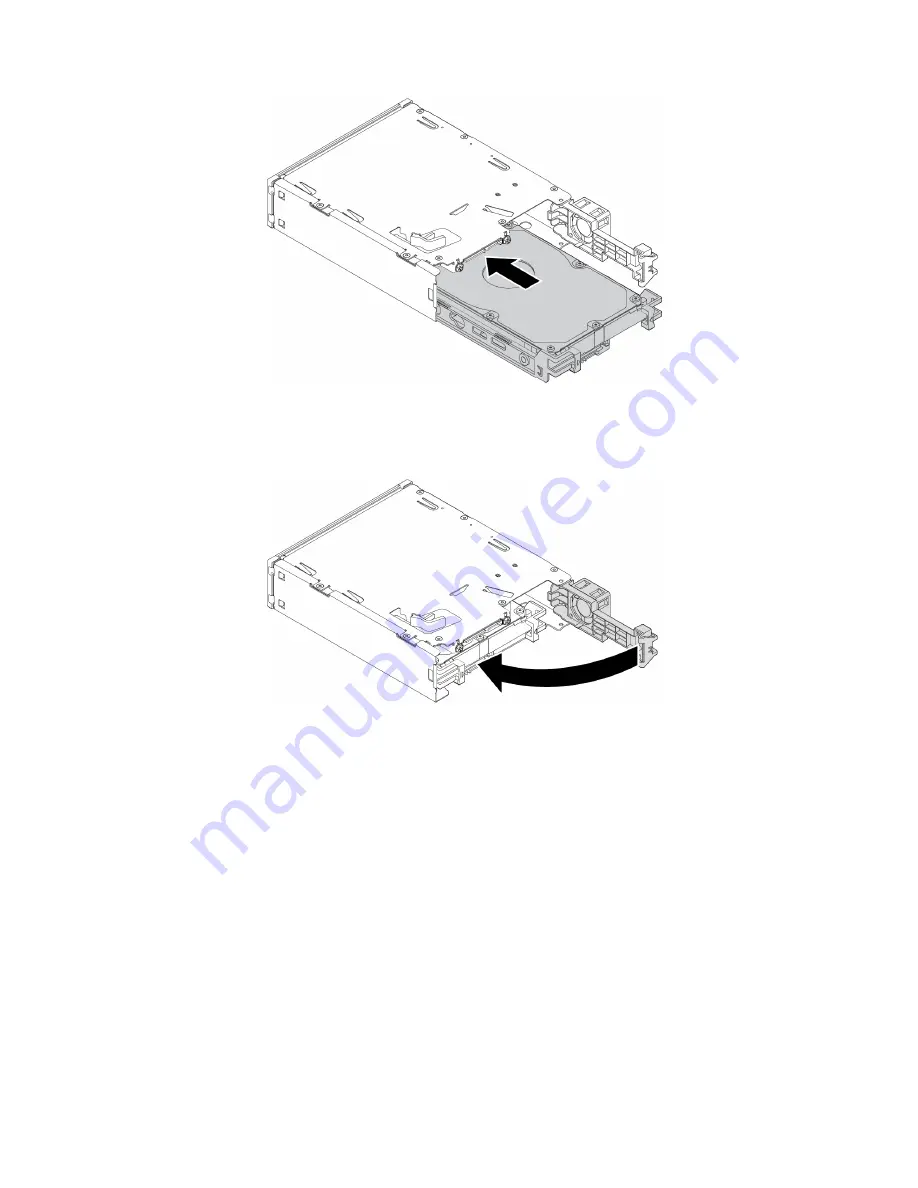
Figure 54. Sliding the new 3.5-inch internal storage drive into the kit
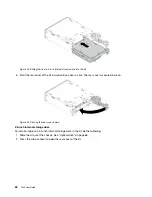
6. Pivot the rear cover of the kit inward until you hear a click. The rear cover is secured in place.
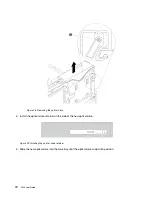
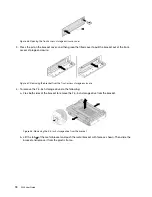
Figure 55. Pivoting the rear cover inward
2.5-inch internal storage drive
To install or replace a 2.5-inch internal storage drive in the kit, do the following:
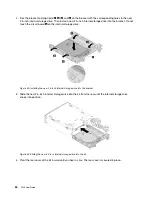
1. Slide the kit out of the chassis. See “Optical drive” on page 68.
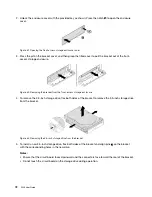
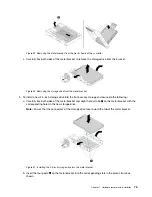
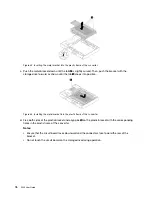
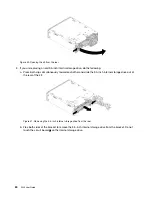
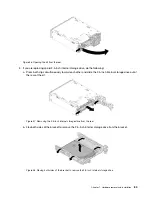
2. Press the clip as shown to open the rear cover of the kit.
82
P320 User Guide
Summary of Contents for 30BG
Page 1: ...P320 User Guide Machine Types 30BJ 30BK and 30BS ...
Page 12: ...x P320 User Guide ...
Page 28: ...16 P320 User Guide ...
Page 40: ...28 P320 User Guide ...
Page 46: ...34 P320 User Guide ...
Page 56: ...44 P320 User Guide ...
Page 120: ...108 P320 User Guide ...
Page 124: ...112 P320 User Guide ...
Page 126: ...114 P320 User Guide ...
Page 128: ...116 P320 User Guide ...
Page 136: ...124 P320 User Guide ...
Page 140: ...4 Follow the instructions on the screen 128 P320 User Guide ...
Page 142: ...130 P320 User Guide ...
Page 144: ...132 P320 User Guide ...
Page 145: ......
Page 146: ......

