Chapter 4. Secure your computer and information
Lock the computer
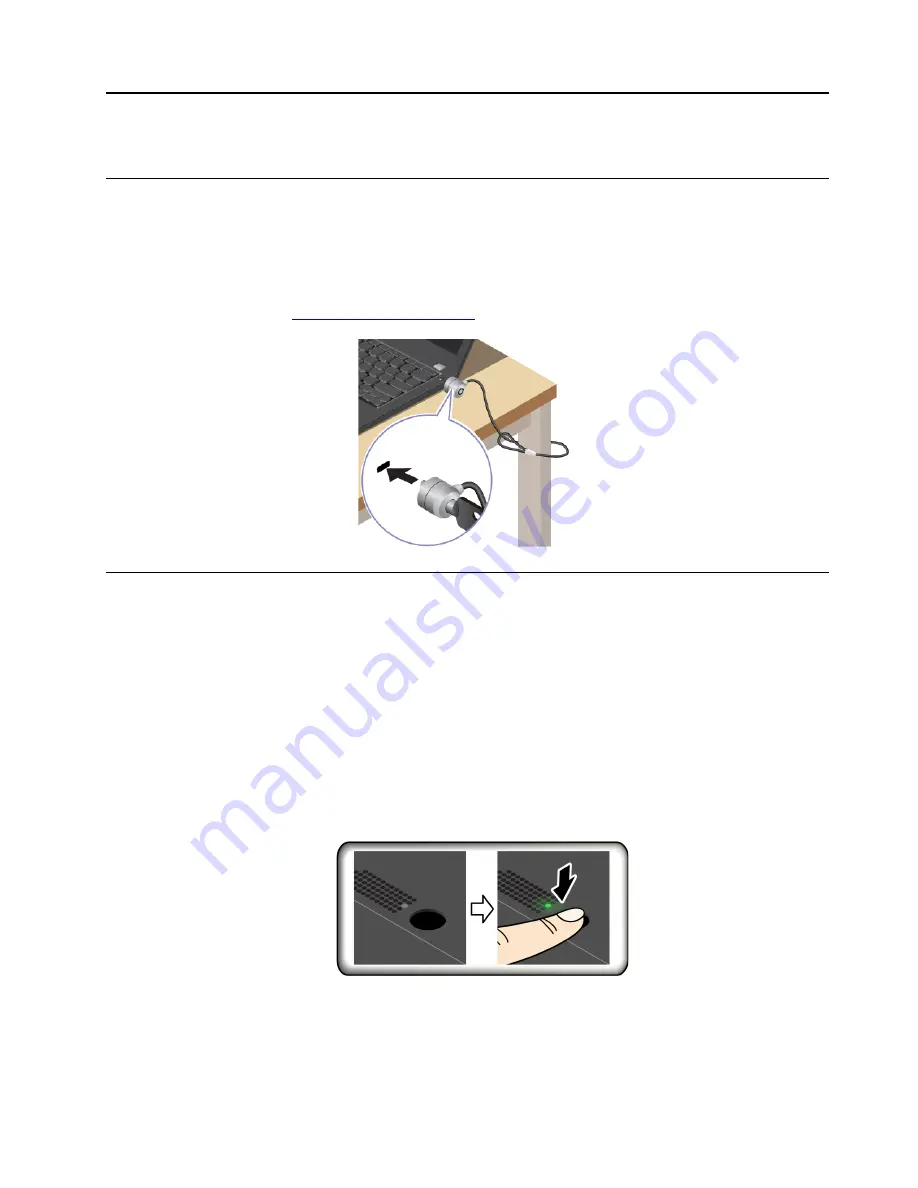
Lock your computer to a desk, table, or other fixtures through a compatible security cable lock.
Note:
The slot supports cable locks that conform to the Kensington NanoSaver
®
lock standards using
Cleat
™
locking technology. You are responsible for evaluating, selecting, and implementing the locking
device and security feature. Lenovo is not responsible for the locking device and security feature. You can
purchase the cable locks at
.
Log in with your fingerprint (for selected models)
The fingerprint reader is integrated with the power button. After enrolling your fingerprint, you can power on
and log in to the computer with a simple press on the power button, or unlock the screen with a single touch.
It eliminates the need to enter complex passwords, saving your time and boosting your productivity.
1. Open the
Start
menu and then click
Settings
➙
Accounts
➙
Sign-in options
.
2. Follow the on-screen instructions to finish the enrollment.
Note:
It is recommended that you put your finger at the middle of the fingerprint reader during
enrollment and enroll more than one fingerprint in case of any injuries to your fingers. After the
enrollment, the fingerprints are associated with the Windows password automatically.
3. Log in with your fingerprint. When the fingerprint reader indicator is solid green, tap your finger on the
fingerprint reader for authentication.
Associate your fingerprints with UEFI BIOS passwords
You can associate your fingerprints with your power-on password and NVMe password. See “Associate your
fingerprints with passwords (for selected models)” on page 36.
© Copyright Lenovo 2021
31
Summary of Contents for 20WK
Page 1: ...T14s Gen 2 and X13 Gen 2 User Guide ...
Page 6: ...iv T14s Gen 2 and X13 Gen 2 User Guide ...
Page 14: ...8 T14s Gen 2 and X13 Gen 2 User Guide ...
Page 24: ...18 T14s Gen 2 and X13 Gen 2 User Guide ...
Page 36: ...30 T14s Gen 2 and X13 Gen 2 User Guide ...
Page 56: ...50 T14s Gen 2 and X13 Gen 2 User Guide ...


