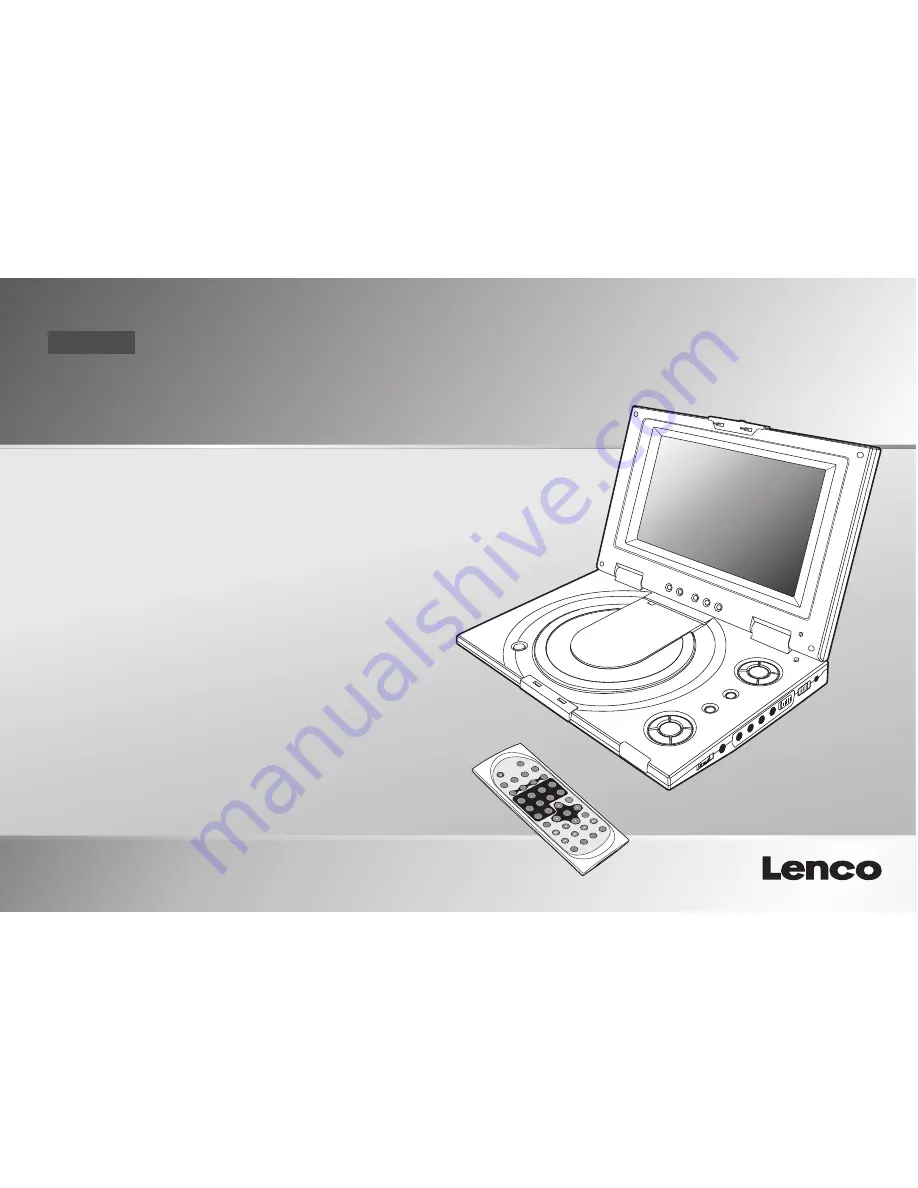
background image

P/

N

TITL

E

DI

SP

LA

Y

AN

GL

E  

LA

NG

UA

GE

SU

BT

ITLE

MU

TE

L/R

1

2

3

4

5

6

7

8

SE

TU

P

EN

TE

R

SLOW


ZO

OM

RE

PE

AT

MA

RK


GO

TO

ST

AN

DB

9

0

ME

NU

/PBC


RE

MO

TE

 C

ON

TR

OL

MO

DE

L N

o.:

RM

C-

22

0

10

+

ENGLISH

OWNER`S MANUAL

PORTABLE DVD PLAYER


MODEL NO :DV-9831

Please read this manual before operating

RE

VE

RS

AL

P/N

MO

DE

DO

WN

UP

Summary of Contents for DV-9831

Page 1: ... 6 7 8 S E T U P EN TE R SLOW ZO OM RE PE AT M A R K G O T O S T A N D B Y 9 0 ME NU PB C R E M O T E C O N T R O L M O D E L N o R M C 2 2 0 10 ENGLISH OWNER S MANUAL PORTABLE DVD PLAYER MODEL NO DV 9831 Please read this manual before operating RE VERS AL P N MO DE DO WN UP ...

Page 2: ......

Page 3: ...mponent 9 Using the AC Adaptor 10 Using the Battery Pack 11 Cautions in Using Battery Pack 12 Playing a Disc 13 17 Playing MP3 and Regular Audio CD 18 Playing Picture CD 19 Setting TV system Screen Saver TV type 4 3 16 9 Password Rating Default 20 21 Setting Language for OSD Voice Subtitle Menu 22 Setting Audio output 23 Setting Video s Brightness Contrast Hue Saturation 24 Adjusting LCD Screen 25...

Page 4: ...t maximum volume may damage your hearing 5 The Player should be connected to a power supply only of the type described in the operating instructions or as marked on the Player Please read all of the safety and operating instructions before operating this Player follow all warnings placed on the Player and in the user s manual These safety and operating instructions should be retained for future re...

Page 5: ...ay Use to mark a point where the playback starts each time when the MARK button is pressed later on Use to access various camera angles on a DVD Allows you to repeat play a title chapter track or disc 1 1 MENU PBC Button 2 L R Button 3 P N Button 4 TITLE Button 5 SUBTITLE Button 6 Number Buttons 0 1 9 7 10 Button 8 9 SETUP Button 10 SKIP FORWARD Button 11 SKIP BACKWARD Button 12 ZOOM Button 13 GOT...

Page 6: ... 1 LCD 2 16 9 4 3 REVERSE MODE DOWN UP 3 OPEN 4 DISC COVER 9 DISPLAY 10 2 3 4 6 7 8 5 9 6 LCD on off switch 1 7 CURSOR UP DOWN LEFT RIGHT ENTER 5 PLAYBACKBUTTONS FAST REVERSE FAST FORWARD PAUSE STEP STOP POWER OFF OP EN OP EN OP EN OP EN 3 1 PLAY POWER ON 1 OPEN 2 EARPHONE SPEAKER VOLUME 3 EARPHONE JACK 5 POWER ON OFF 6 INPUT OUTPUT 7 VIDEO 8 AUDIO OUT 9 AUDIO IN 4 DC IN 12V 10 SPDIF Digital audio...

Page 7: ...emote Control Sensor 5 5 P N TI TL E D IS PL AY AN G LE LA N G U AG E SU BT IT LE M U TE L R 1 2 3 4 5 6 7 8 SE TU P EN TE R SL O W ZO O M RE PE AT M AR K G O TO ST AN D BY 9 0 M EN U P BC R EM O TE C O N TR O L M O DE L No R M C 22 0 1 0 2 Pull out the battery tray 3 Insert a 3V lithium battery into the tray with the polarity facing up as marked 4 Replace the battery tray by pushing it until it c...

Page 8: ... but its volume cannot be adjusted Note When the earphone is connected to the Phone Jack the speaker will be disconnected Notes on DSP The DSP decodes the digital audio signal into stereo dts or Dolby digital audio signal for speaker and earphone playback after converting the signal to analog and amplifying it The 5 1 digital signal passes through without decoding and can be accessed by the SPDIF ...

Page 9: ... as illustrated below 3 Slide INPUT OUTPUT to INPUT 4 Turn on power O PE N O PE N VCR or other component equipped with external output connectors 5 7 AUDIO OUT VIDEO OUT L R Video out Green Video in Yellow Audio left White Audio right Red Audio black Video yellow AV CABLE Not provided Audio left White Audio right Red Video out Yellow AV adaptorcable provided Mini jack to RCA ...

Page 10: ... audio and video cables as illustrated below 3 Slide INPUT OUTPUT to OUTPUT 4 Turn on power 5 Repeatedly press TV Video button on your TV to select the input from the DVD player O PE N O PE N Connect to a TV equipped with external connection jacks 5 8 AUDIO IN VIDEO IN L R AV CABLE Not provided Audio black Video yellow Video out Green Video in Yellow Audio left White Audio right Red Audio left Whi...

Page 11: ...or processor you can enjoy full 5 1 channel surround sound Follow these steps for making the connection COAXIAL Coaxial terminal connecting stereo system SPDIF black COAXIAL black Coaxial cable Depending on your amplifier system you need to make the following selection from MENU 1 Refer to Changing Audio Output on page 23 2 Select SPDIF RAW if your amplifier has 5 1 channel decoder 3 Select SPDIF ...

Page 12: ...period of time the adaptor may heat up this is normal and is not a cause for concern When not using the adaptor unplug it from the outlet This portable DVD player can be powered by AC through the supplied switching power AC adaptor It can also use the supplied battery pack to power AC adaptor To home power outlet Power cord To DC12V IN on the DVD player O PEN O PEN When the AC adaptor is connected...

Page 13: ...er cord To DC12V IN on the DVD player OP EN OP EN OPEN LED INDICATOR Charging the battery pack 1 Attach the battery pack to the Player 2 Use the AC adapter to charge the battery pack Make the connection as illustrated below 3 Slide POWER to ON The Player must be turned on to charge the battery 5 11 During charging the red and green LEDs blink alternatively When the battery is fully charged the ora...

Page 14: ...aptor when charging the battery pack This battery pack is designed exclusively for your portable DVD player Do not use it with other devices Warning 1 Do not drop or subject to strong vibration 2 Keep out of reach of children 3 The battery pack may leak fluid that is harmful to your eyes If this fluid gets in your eyes wash eyes immediately with large amounts of running water and get medical atten...

Page 15: ...OUTPUT to OUTPUT located on the side of the player 4 Turn on the Power Slide POWER to ON Press STANDBY on the remote control to turn on the Player You can also press PLAY on the Player to turn on Preparation for Playback PLAY PAUSE STOP Press once to stop playback To Turn On The Player 1 Slide POWER on the Player to ON this will put the Player on standby mode 2 Press on the Player to turn on the p...

Page 16: ...OW to play at 1 2 1 3 1 4 1 5 1 6 1 7 speeds 2 To resume normal playback press You can only perform slow motion play in the forward direction 1 During playback press on the Player to pause 2 Repeatedly press to play one fame at a time 3 To resume normal playback press on the Player or on the remote control You can only perform step play in the forward direction Frame by Frame Playback Resume This ...

Page 17: ... of the disc Repeat the above to play the other marked scenes GOTO You can go directly to a desired chapter and play or play at a desired point of time Follow these steps A To play a specific chapter 1 Press GOTO use to select title TT and chap ter CH and enter the desired number 2 Press ENTER to confirm and start play Playing a Disc B To play from a specific point of time 1 Press GOTO repeatedly ...

Page 18: ... voice language press LANGUAGE the currently selected language is displayed on the screen Repeatedly press LANGUAGE to select other language if the disc has multiple languages You can also switch the voice language in disc menu screen by pressing MENU SUBTITLE Repeatedly press SUBTITLE during playback to change the subtitle s language if the disc has multiple language substitle You can turn off su...

Page 19: ...is mostly used for karaoke sing along discs by repeatedly pressing L R you can select STEREO MONO L MONO R This is used when you connect the Player to a TV and watch video on the TV Repeatedly press P N to select NTSC PAL60 PAL and AUTO to match that of your TV The LCD screen does not have NTSC or PAL so if you watch video on the Player s screen it is recommended to set to NTSC which will give a b...

Page 20: ...Joliet format Use mp3 as the file extension Play In most cases when a MP3 or CD is placed into the player the first song file of the first folder palys In other cases the file manger appears Use direction keys and to select the song file and press Play on the Player or on the remote control to play ...

Page 21: ...espectively Next Previous You can manually skip to the next picture by pressing and to skip to the previous picture by pressing Pause Rotate UP DOWN LEFT RIGHT Original Rotate right 90 degrees Flip vertically Flip horizontally 5 19 Play In most cases after the disc is placed into the player the first file will be shown In other cases the file manger appears Use direction keys and to select the pic...

Page 22: ...UTE L R 1 2 3 4 5 6 7 8 ENTER SLOW ZOOM REPEAT MARK GOTO STANDBY 9 0 MENU PBC REMOTE CONTROL MODEL No RMC 221 SETUP 10 4 3 LB Letter Box Displays the content of the DVD title in 16 9 aspect ratio The black bars will appear at the top and bottom of the screen 4 3 PS Pan Scan The left and right of the screen are cut off and displays the central portion of the 16 9 screen TV type 4 3 or 16 9 P N TITL...

Page 23: ...l settings will revert to the original factory settings when RESTORE is selected 1 Go to PASSWORD and enter the password to open the lock for Rating the shows 2 Go to RATING and select the rating 3 Go back to PASSWORD and enter the password again to lock the Rating the shows Setting TV system Screen Saver TV type 4 3 16 9 Password Rating Default SYSTEM SETUP SCREEN SAVER TV TYPE PASSWORD RATING DE...

Page 24: ... SLOW ZOOM REPEAT MARK GOTO STANDBY 9 0 MENU PBC REMOTE CONTROL MODEL No RMC 221 SETUP 10 P N TITLE DISPLAY ANGLE LANGUAGE SUBTITLE MUTE L R 1 2 3 4 5 6 7 8 ENTER SLOW ZOOM REPEAT MARK GOTO STANDBY 9 0 MENU PBC REMOTE CONTROL MODEL No RMC 221 SETUP 10 LANGUAGE SETUP OSD LANGUAGE AUDIO LANG SUBTITLE LANG MENU LANG EXIT SETUP ENGLISH GERMAN SPANISH FRENCH PORTUGUESE LANGUAGE SETUP OSD LANGUAGE AUDIO...

Page 25: ...SETUP and its sub menu 3 Press ENTER to confirm your selection 4 Press SETUP to exit or select EXIT SETUP to exit AUDIO SETUP AUDIO OUT EXIT SETUP SPDIF OFF SPDIF RAW SPDIF PCM Note SPDIF OFF select this when you do not want to have digital audio signal output SPDIF RAW select this when the digital audio output is connected to an external amplifier with Dolby Digital or DTS decoder which gives 5 1...

Page 26: ... confirm your selection 4 Press SETUP to exit or select EXIT SETUP to exit Adjusting hue P N TITLE DISPLAY ANGLE LANGUAGE SUBTITLE MUTE L R 1 2 3 4 5 6 7 8 ENTER SLOW ZOOM REPEAT MARK GOTO STANDBY 9 0 MENU PBC REMOTE CONTROL MODEL No RMC 221 SETUP 10 Adjusting saturation P N TITLE DISPLAY ANGLE LANGUAGE SUBTITLE MUTE L R 1 2 3 4 5 6 7 8 ENTER SLOW ZOOM REPEAT MARK GOTO STANDBY 9 0 MENU PBC REMOTE ...

Page 27: ... to select the parameters listed in the menu You can change BRIGHTNESS CONTRAST SATURATION and HUE 2 Repeatedly press or hold down UP and DOWN to change the setting of the parameter selected 3 To reset the setting to its defaulted value select RESET by repeatedly pressing MODE then press UP or DOWN to confirm REVERSE 16 9 4 3 MODE UP DOWN 5 25 ...

Page 28: ... batteries Check that the signal transmission is directed at the remote control senor on the DVD player Check that the disc is a DVD DVD RW VIDEO CD or AUDIO CD Do not use a disc that has scratches or dirt Check that the label side of the disc is facing up The pick up lens of the DVD player may be dirty Contact the service center for lens cleaning No picture No picture and sound No sound Check the...

Page 29: ...ry pack won t charge Charging LED indicator does not light Check with another fully charged pack if the LED lights Check that the AC adaptor is securely plugged in If DVD or battery pack is overheated you will not be able to charge the battery pack 5 27 Disconnect the AC adaptor and reconnect to make sure the connection is OK Use another battery pack if the same symptom occurs the AC adaptor may b...

Page 30: ... dB 80 dB Readable Disc DVD DVD R DVD R DVD RW VCD SVCD DVCD CVD MP3 PICTURE CD CD CD G HDCD CD R CD RW ITEM Nominal Voltage Capacity Charge Voltage SPECIFICATION Minimum 4200 mAh 7 2V 8 400 0 05V Max Charge Current 4 5HR 4A 2 5HR Use Time Charge time in Full Battery Specifications Operating environment Charge 0 C 45 C Discharge 20 C 60 C Store less than 1 month 20 C 60 C Store less than 3 months ...

Page 31: ......

Reviews: