3.
Press and hold Power key (
) for 5 s.
While the operating system boots up, the booting screen is dis-
played. When the main screen is displayed, the Zeno 20 is ready to
use.
☞
Note: While charging, the Power Off function is disabled and the
device cannot be switched off.
1.
Press the Power key for at least 4 seconds to open the Shut-Down
menu.
2.
Within the menu, the following options are available:
•
Power Off
: The operating system shuts down and the device is
turned off.
•
Soft Reset
: Refer to "5.4 Resetting the Zeno 20 Device" for
more information.
•
Hard Reset
: Refer to "5.4 Resetting the Zeno 20 Device" for
more information.
•
Cancel
: Close the Shut-Down menu and return to the main
screen.
3.
To turn off the device, select the option
Power Off
.
☞
After turning off the Zeno 20, wait for at least 5 seconds before
turning the device on again.
4.4
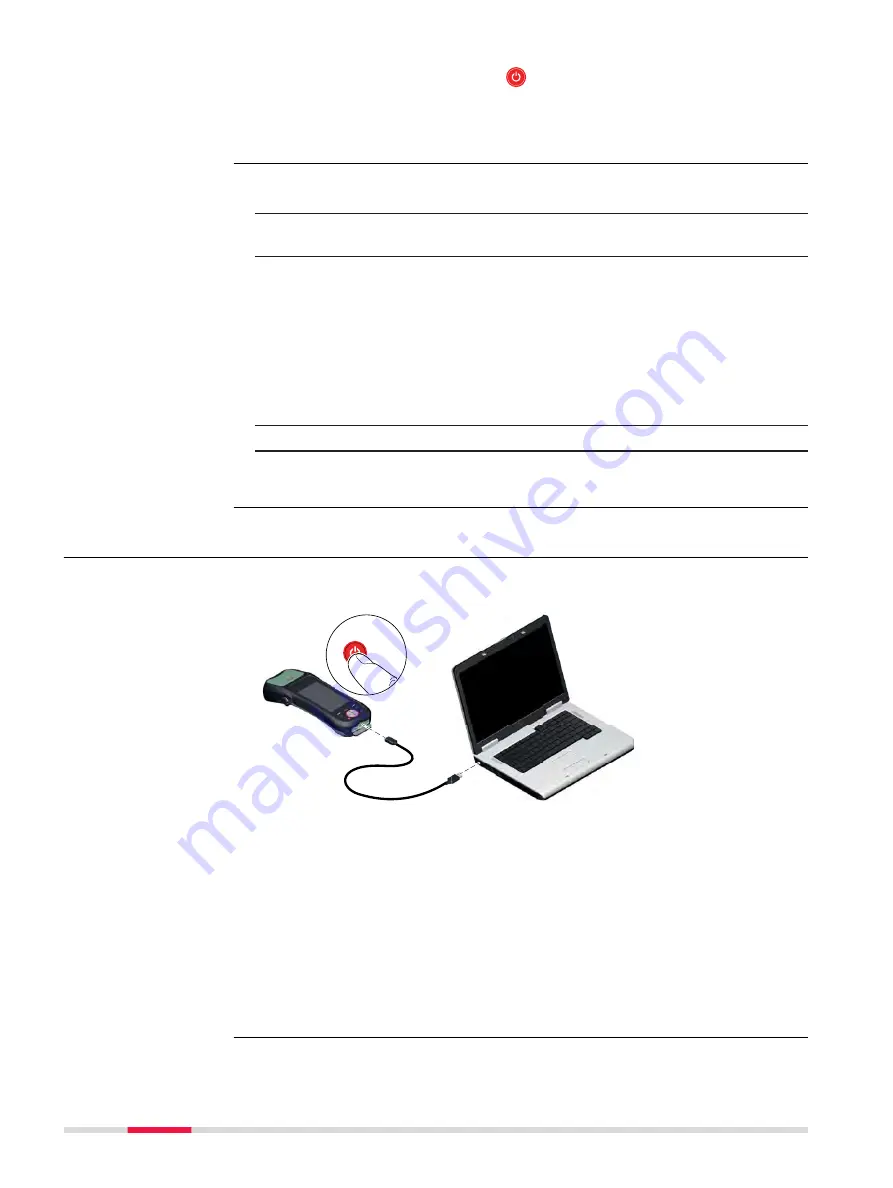
Connecting the Zeno 20 to PC via Windows Mobile Device
Center
Windows Mobile Device Center is the synchronisation software for Windows
Embedded Handheld devices.
ON
1
009339_001
AZ211
2a
2b
☞
Ensure that the Windows Mobile Device Center software is installed
on the computer.
1.
Turn on the Zeno 20.
2.
Connect the device to the computer using the Micro-USB cable.
If the synchronisation software is installed on the computer, Win-
dows Mobile Device Center starts automatically.
3.
After synchronisation, you can access the data stored on the
Zeno 20 directly from the computer.
☞
If an SD card is inserted into the Zeno 20 and the device is connected
to a computer, you can also access the data stored on the SD card.
Turning the Zeno 20
Off: Step-by-step
Connecting the
Zeno 20 to a Com-
puter: Step
‑
by-Step
30
Operation


