17
E-Flex User Manual, Rev. 1.30
Daylight Sensor Inputs
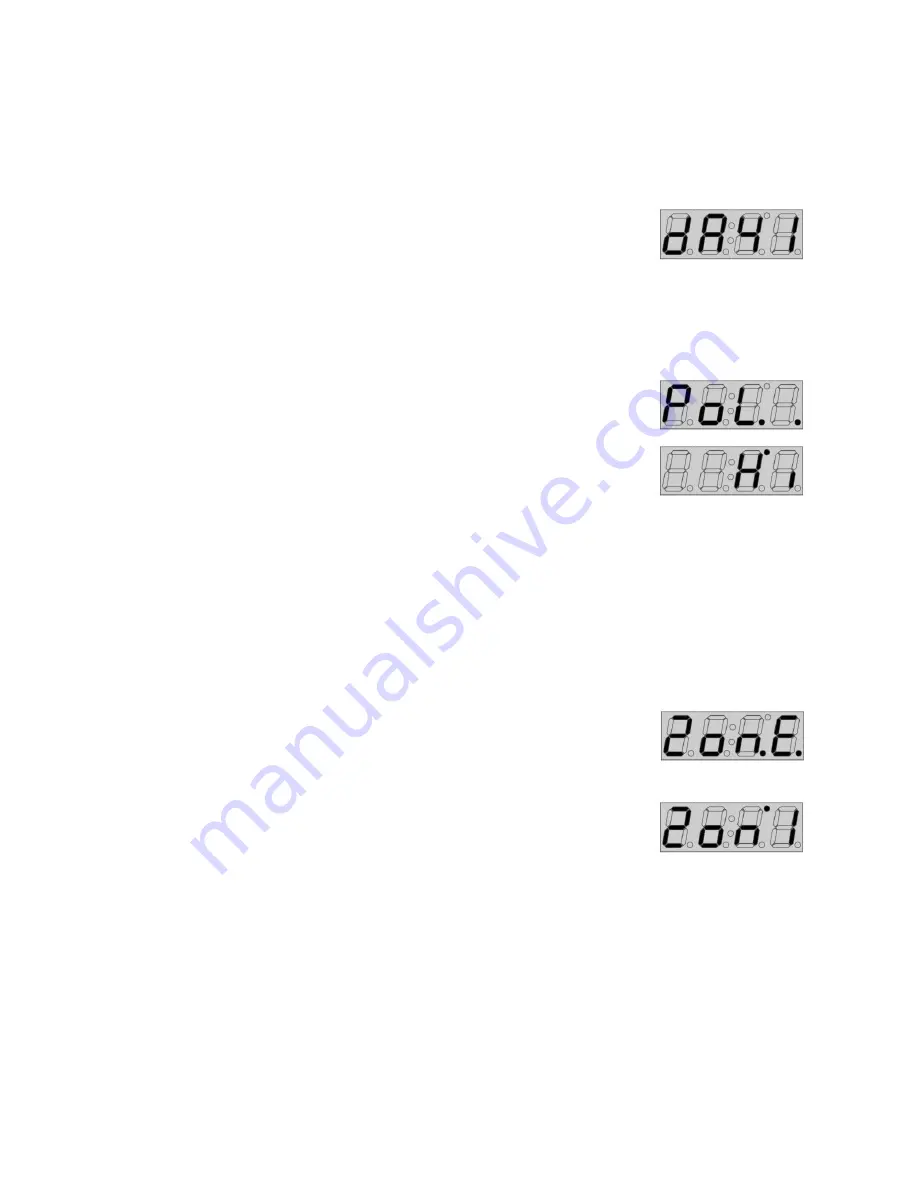
Navigate to DayX menu
Press
Menu,
inpX
menu is displayed.
Press
Enter
, the
occX
menu is displayed.
Press
Up
to scroll to the
dayX
menu.
Note: The user can press the
Input
button at this time to switch to an daylight input on a different input
bank. The menu will advance from day1 to day2, thru to day4.
Set Input Polarity
Press
Enter
at the
dayX
menu, the
Polarity
list control is displayed.
Press
Enter
for polarity options list.
Use the
Up
and
Down
buttons to display options in the list. The current
programmed option will be displayed first:
Hi – active high (10V reorts max. light), sourcing*
Lo – active low (0V reports max. light), sinking* (default)
Press
Sel
to choose the displayed option. The apostrophe LED will be lit for the current selected option.
Press
Store button
to record the new setting.
*Note: Dip switch SW1-x must also be set to ON for active low, OFF for active high.
Assign a Zone to Daylight Sensor Input
Press
Enter
at the
dayX
menu, the
Polarity
list control is displayed.
Press the
Up
button to scroll to the
zone
list control.
Press
Enter
to show the first item in the zone list.
Use the
Up
and
Down
buttons to scroll thru the list of available zones:
Zon1-4*
– 4 circuit panel
Zon1-8*
– 8 circuit panel
Press
Sel
to assign or un-assign the displayed zone. The apostrophe LED will be lit for each assigned
zone. Press
Store
button to record the new zone assignments.
*Note: Only one sensor per zone, you must un-assign a zone(s) from one daylight input before assigning
to another daylight input. The list will contain available zones.
Secondary Daylight Zone Adjustment
See Control/Test section on Control menu item DASC, page 31.


