


Appendix J: Additional PX3TS Information
862
It is NOT recommended to upload the server certificate to the receiver except
when it is a self-signed certificate. Using self-signed server certificates is also
not recommended and may not even work in all cases.
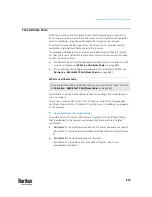
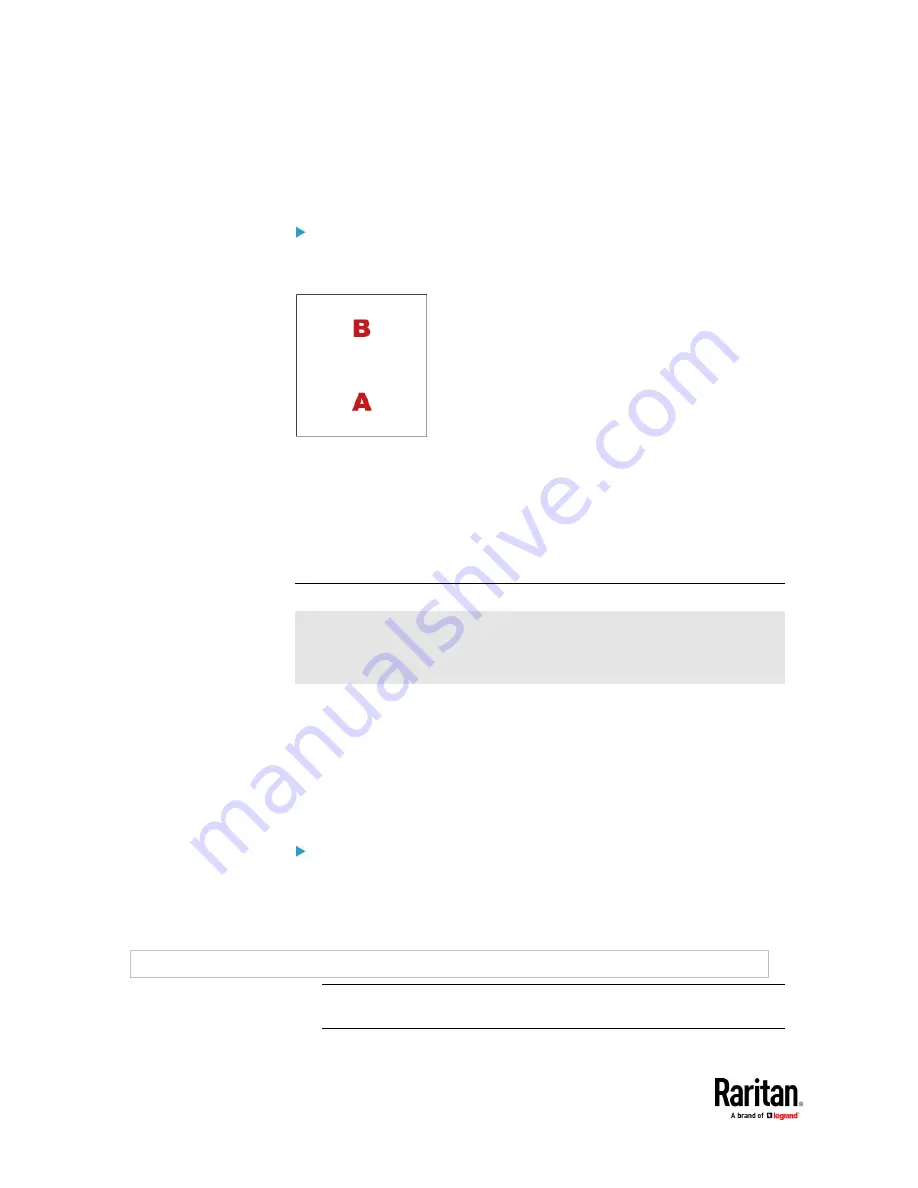
Order of the chain in the certificate file:
The order of a certificate chain's content in the certificate file uploaded to the
receiver must look like the following.
•
The top is the final intermediate certificate of the chain "B" if you have to
upload a partial chain.
•
The bottom is always the root certificate "A".
•
When copying multiple certificates to a single file, make sure you also copy
the lines of BEGIN CERTIFICATE and END CERTIFICATE from each
certificate.
Illustration - GMAIL SMTP Certificate Chain
If you will apply your company's SMTP service to PX3TS, ignore this GMAIL
illustration topic. Simply contact your IT department to retrieve the
appropriate certificate (chain) file and upload it to the PX3TS.
This section illustrates the upload of a TLS "root" certificate for using the
"gmail.com" SMTP service.
Unlike normal TLS websites, where you can easily find its server certificate by
using a Web browser, the method to find an SMTP server's certificate is more
difficult, which requires appropriate tools and sufficient technical knowledge.
For example, you may have to use the openssl command as illustrated below to
retrieve the certificate of the GMAIL SMTP server.
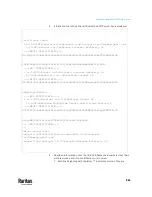
Step 1 -- Find the certificate(s) the SMTP server has:
1.
Issue the following command in the appropriate command line application.
▪
In the following example command, we assume the server
"smtp.gmail.com" provides the SMTP service. You can change the
server name, port number, command or even the tool as needed.
openssl s_client -showcerts -connect smtp.gmail.com:465
Alternative: To view the certificate chain instead of all certificates, you can
remove the "-showcerts" option from the above command.
Summary of Contents for Raritan PX3TS
Page 4: ......
Page 6: ......
Page 20: ......
Page 80: ...Chapter 4 Connecting External Equipment Optional 60...
Page 109: ...Chapter 5 PDU Linking 89...
Page 117: ...Chapter 5 PDU Linking 97...
Page 441: ...Chapter 7 Using the Web Interface 421...
Page 464: ...Chapter 7 Using the Web Interface 444...
Page 465: ...Chapter 7 Using the Web Interface 445 Continued...
Page 746: ...Appendix A Specifications 726...
Page 823: ...Appendix I RADIUS Configuration Illustration 803 Note If your PX3TS uses PAP then select PAP...
Page 828: ...Appendix I RADIUS Configuration Illustration 808 14 The new attribute is added Click OK...
Page 829: ...Appendix I RADIUS Configuration Illustration 809 15 Click Next to continue...
Page 860: ...Appendix J Additional PX3TS Information 840...
Page 890: ...Appendix K Integration 870 3 Click OK...
Page 900: ......


