


Chapter 9: Using the Command Line Interface
526
After properly entering the password, the PDU name appears at the
prompt. See
Different CLI Modes and Prompts
(on page 527) in the User
Guide for more information.
Tip: The 'Last login' information, including the date and time, is also
displayed if the same user account was used to log in to this product's web
interface or CLI.
6.
You are now logged in to the command line interface and can begin
administering this product.
With SSH or Telnet
You can remotely log in to the command line interface (CLI) using an SSH or
Telnet client, such as PuTTY.
Note: PuTTY is a free program you can download from the Internet. Refer to
PuTTY's documentation for details on configuration.
To log in using SSH or Telnet:
1.
Ensure SSH or Telnet has been enabled. See
Configuring Network Services
(on page 337) in the User Guide.
2.
Launch an SSH or Telnet client and open a console window. A login prompt
appears.
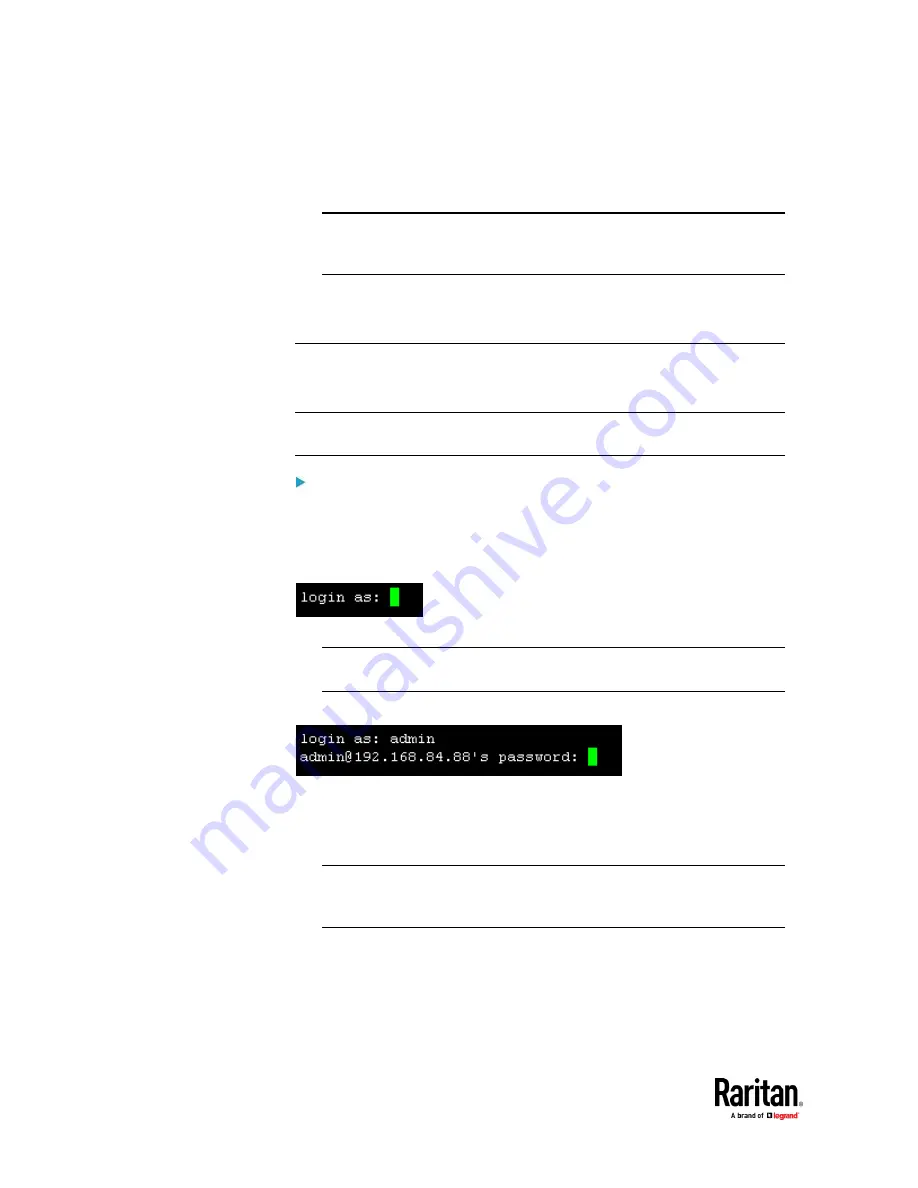
3.
Type a name and press Enter. The name is case sensitive.
Note: If using the SSH client, the name must NOT exceed 25 characters.
Otherwise, the login fails.
Then you are prompted to enter a password.
4.
Type a password and press Enter. The password is case sensitive.
5.
After properly entering the password, the PDU name appears at the
prompt. See
Different CLI Modes and Prompts
(on page 527) in the User
Guide for more information.
Tip: The 'Last login' information, including the date and time, is also
displayed if the same user account was used to log in to this product's web
interface or CLI.
6.
You are now logged in to the command line interface and can begin
administering this product.
Summary of Contents for Raritan PX3TS
Page 4: ......
Page 6: ......
Page 20: ......
Page 80: ...Chapter 4 Connecting External Equipment Optional 60...
Page 109: ...Chapter 5 PDU Linking 89...
Page 117: ...Chapter 5 PDU Linking 97...
Page 441: ...Chapter 7 Using the Web Interface 421...
Page 464: ...Chapter 7 Using the Web Interface 444...
Page 465: ...Chapter 7 Using the Web Interface 445 Continued...
Page 746: ...Appendix A Specifications 726...
Page 823: ...Appendix I RADIUS Configuration Illustration 803 Note If your PX3TS uses PAP then select PAP...
Page 828: ...Appendix I RADIUS Configuration Illustration 808 14 The new attribute is added Click OK...
Page 829: ...Appendix I RADIUS Configuration Illustration 809 15 Click Next to continue...
Page 860: ...Appendix J Additional PX3TS Information 840...
Page 890: ...Appendix K Integration 870 3 Click OK...
Page 900: ......


