


Chapter 7: Using the Web Interface
462
4.
Make changes to the information shown, except for the script's name,
which cannot be revised.
▪
To replace the current script, click Load Local File or Load Example to
select a new script.
To delete a script:
1.
Choose Device Settings > Lua Scripts.
2.
Click the desired one in the scripts list.
3.
Click
> Delete.
4.
Click Delete on the confirmation message.
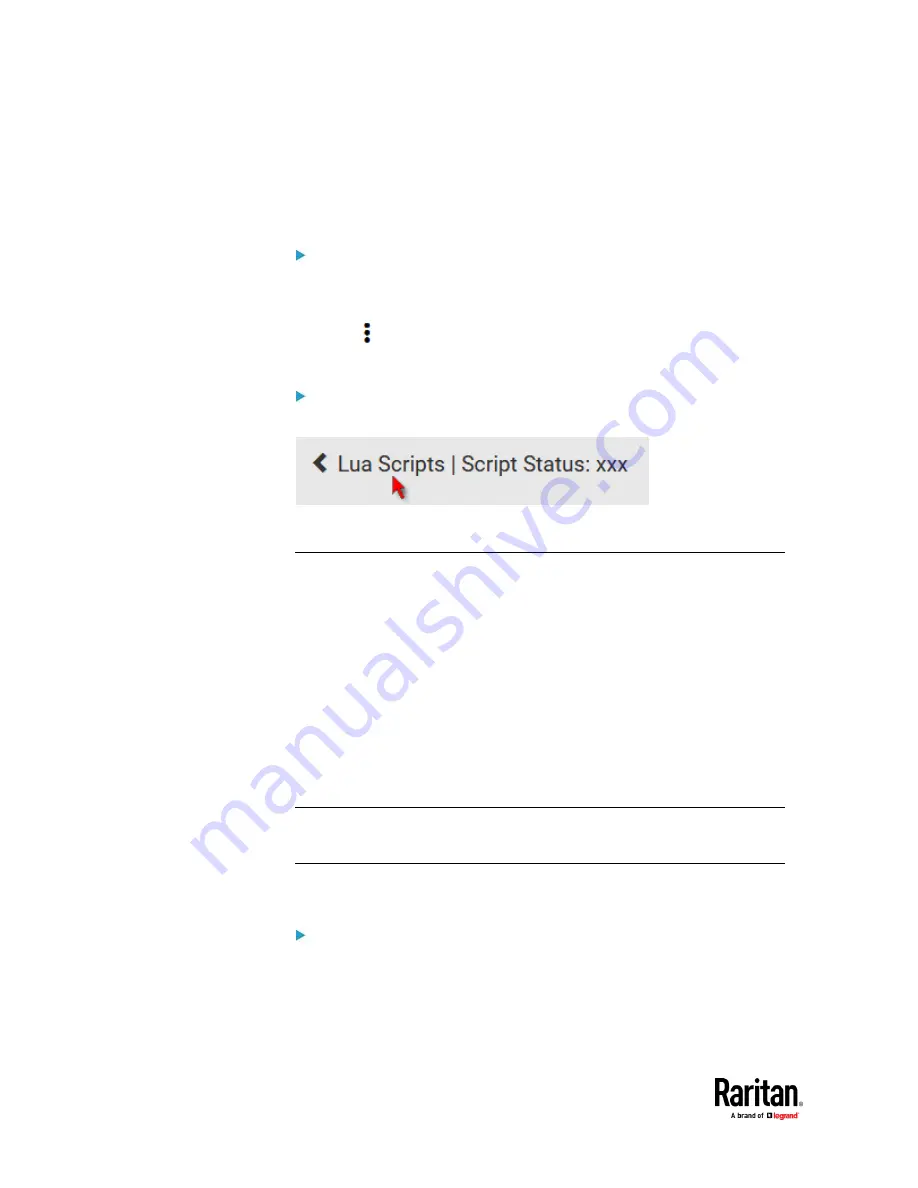
To return to the scripts list:
•
Click "Lua Scripts" on the top of the page.
•
Or click "Lua Scripts" in the
Menu
(on page 176).
Miscellaneous
By default, the Schroff LHX/SHX heat exchanger support and Cisco EnergyWise
feature implemented on the PX3TS are disabled.
Support needs to be enabled for the LHX/SHX information to appear in the
PX3TS web interface. Besides, Schroff LHX/SHX support must be enabled in
order for the LHX-MIB to be accessible through SNMP.
If a Cisco
®
EnergyWise energy management architecture is implemented in your
place, you can enable the Cisco EnergyWise endpoint implemented on the
PX3TS so that this PX3TS becomes part of the Cisco EnergyWise domain.
In addition, if you have to prevent others from accessing your PX3TS via USB-A
for security reasons, you can disable all of USB-A ports on the PX3TS. By default,
USB-A ports are enabled.
Important: Disabling USB-A ports will disable all of 'USB-A' based features,
such as wireless networking, USB cascading or pdView access using iOS
mobile devices. Therefore, re-think about it before disabling USB-A.
To configure any of the above features, choose Device Settings >
Miscellaneous.
To enable the support for Schroff LHX/SHX:
1.
Select the LHX/SHX checkbox.
2.
Click Save in the
Features
section.
3.
Click Apply on the confirmation message.
4.
PX3TS reboots.
Summary of Contents for Raritan PX3TS
Page 4: ......
Page 6: ......
Page 20: ......
Page 80: ...Chapter 4 Connecting External Equipment Optional 60...
Page 109: ...Chapter 5 PDU Linking 89...
Page 117: ...Chapter 5 PDU Linking 97...
Page 441: ...Chapter 7 Using the Web Interface 421...
Page 464: ...Chapter 7 Using the Web Interface 444...
Page 465: ...Chapter 7 Using the Web Interface 445 Continued...
Page 746: ...Appendix A Specifications 726...
Page 823: ...Appendix I RADIUS Configuration Illustration 803 Note If your PX3TS uses PAP then select PAP...
Page 828: ...Appendix I RADIUS Configuration Illustration 808 14 The new attribute is added Click OK...
Page 829: ...Appendix I RADIUS Configuration Illustration 809 15 Click Next to continue...
Page 860: ...Appendix J Additional PX3TS Information 840...
Page 890: ...Appendix K Integration 870 3 Click OK...
Page 900: ......


