


Chapter 7: Using the Web Interface
214
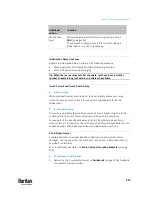
Format
Description
Rack units
The height of the Z coordinate is measured in standard
rack units.
When this is selected, you can type a numeric value in
the rack unit to describe the Z coordinate of any
environmental sensors or actuators.
Free-form
Any alphanumeric string can be used for specifying the
Z coordinate. The value comprises 0 to 24 characters.
2.
Configure Z coordinates on the
Individual Sensor/Actuator Pages
(on page
273).
How the Automatic Management Function Works
This setting is configured on
Peripherals
(on page 258).
After enabling the automatic management function:
When the total number of managed sensors and actuators has not reached the
upper limit yet, PX3TS automatically brings newly-connected environmental
sensors and actuators under management after detecting them.
PX3TS can manage up to 32 sensors/actuators.
After disabling the automatic management function:
PX3TS no longer automatically manages any newly-added environmental
sensors and actuators, and therefore neither ID numbers are assigned nor
sensor readings or states are available for newly-added ones.
You must manually manage new sensors/actuators. See
Peripherals
(on page
258).
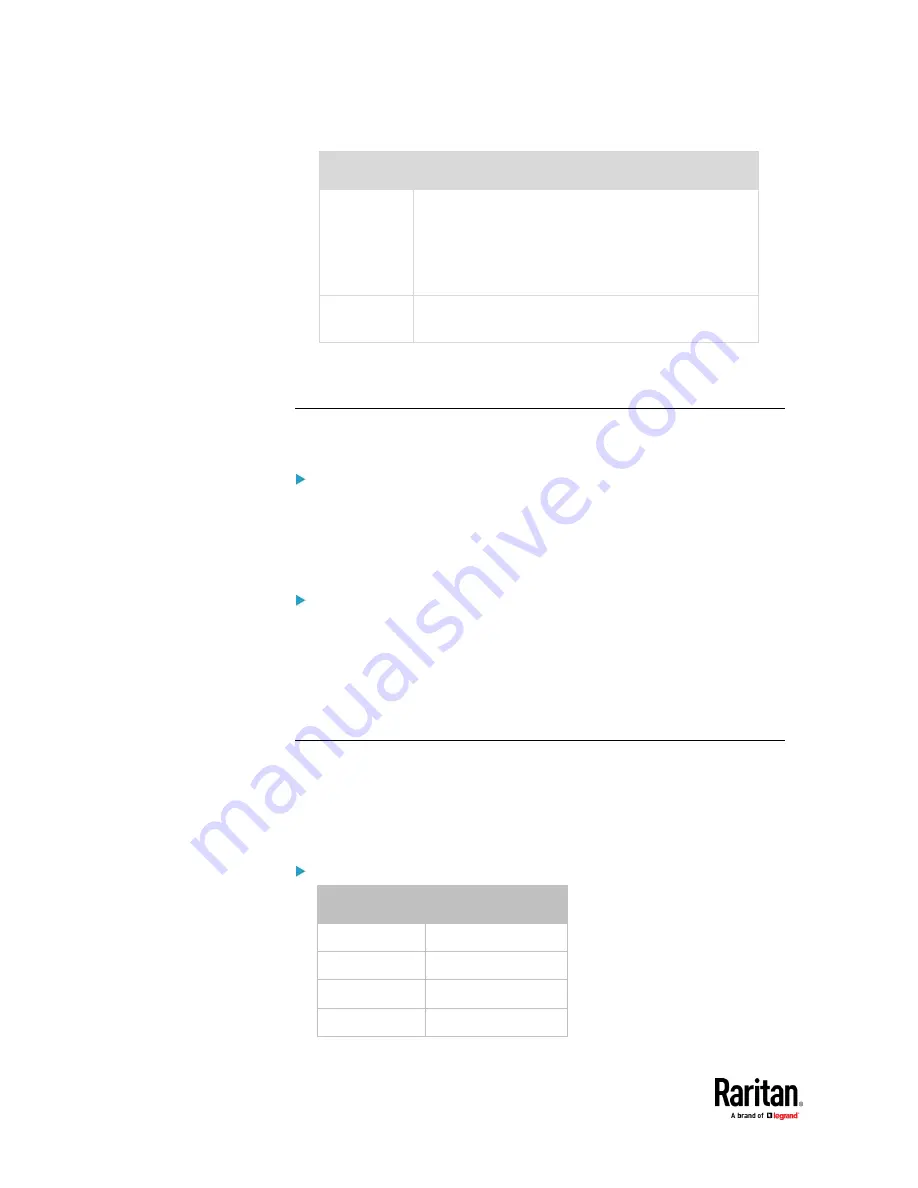
Time Units
If you choose to type a new value in the time-related fields, such as the "Idle
timeout period" field, you must add a time unit after the numeric value. For
example, you can type '15 s' for 15 seconds.
Note that different fields have different range of valid values.
Time units:
Unit
Time
ms
millisecond(s)
s
second(s)
min
minute(s)
h
hour(s)
Summary of Contents for Raritan PX3TS
Page 4: ......
Page 6: ......
Page 20: ......
Page 80: ...Chapter 4 Connecting External Equipment Optional 60...
Page 109: ...Chapter 5 PDU Linking 89...
Page 117: ...Chapter 5 PDU Linking 97...
Page 441: ...Chapter 7 Using the Web Interface 421...
Page 464: ...Chapter 7 Using the Web Interface 444...
Page 465: ...Chapter 7 Using the Web Interface 445 Continued...
Page 746: ...Appendix A Specifications 726...
Page 823: ...Appendix I RADIUS Configuration Illustration 803 Note If your PX3TS uses PAP then select PAP...
Page 828: ...Appendix I RADIUS Configuration Illustration 808 14 The new attribute is added Click OK...
Page 829: ...Appendix I RADIUS Configuration Illustration 809 15 Click Next to continue...
Page 860: ...Appendix J Additional PX3TS Information 840...
Page 890: ...Appendix K Integration 870 3 Click OK...
Page 900: ......


