11. VIDEO SIGNAL WAVEFORM DISPLAY
118
11.5.2
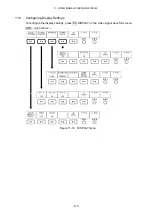
Selecting Lines
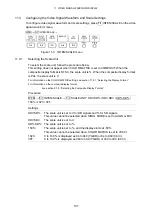
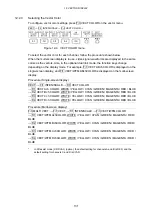
To select a line to display the waveform of, follow the procedure below. The selected line is
indicated in the lower left of the screen. If you press F•D 1, the selected line changes to the
first video line.
In 3D assist mode (option), blanking interval lines cannot be selected.
This setting is available when F•1 LINE SELECT is set to ON. Changing this setting will
also change the selected line on the picture display, vector display, and optional data dump
display.
Procedure
WFM
→
F•3 LINE SEL EXT REF
→
F•D 1 LINE VARIABLE
11.5.3
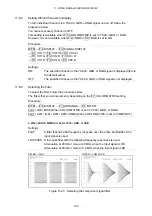
Setting the Line Selection Range
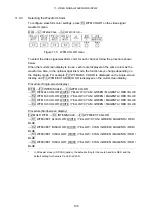
To set the line selection range, follow the procedure below.
This setting is available when F•1 LINE SELECT is set to ON and the input signal is
interlaced or segmented frame.
Changing this setting will also change the picture display and vector display line selection
ranges.
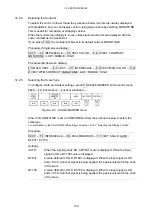
Procedure
WFM
→
F•3 LINE SEL EXT REF
→
F•2 FIELD: FIELD1 / FIELD2 / FRAME
Settings (the examples are for the selectable ranges when the input format is set to
1080i/59.94)
FIELD1:
A line from field 1 can be selected (example: 1 to 563).
FIELD2:
A line from field 2 can be selected (example: 564 to 1125).
FRAME:
All lines can be selected (example: 1 to 1125).
11.5.4
Switching the Sync Signal
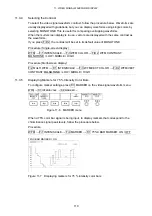
To switch to an external sync signal, follow the procedure below.
Changing this setting will also change the vector display and optional status display sync
signal settings.
When D_LINK FORMAT is set to YC10bit, you cannot use an external sync signal, and this
setting is not available.
For information on the D_LINK FORMAT setting, see section 5.1.4, “Setting the Input Format.”
Procedure
WFM
→
F•3 LINE SEL EXT REF
→
F•4 EXT REF: ON / OFF
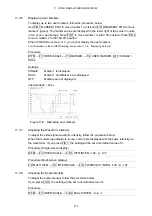
Settings
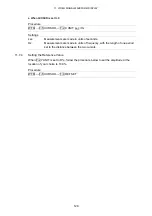
ON:
An external sync signal is used.
OFF:
The internal sync signal is used.


