


9. SCREEN CAPTURE FEATURE (CAP)
81
9.2
Saving Screen Capture Data to USB Memory
The data that you capture by following the procedure in section 9.1, “Taking a Screen Capture
of the Display,” is cleared when operations such as changing the display mode are performed. You
can display the captured data on the LV 5380 even after the power has been turned off by saving
the captured data to USB memory (if you save the captured data in BSQ format).
You can also view captured data on a PC (if you save the captured data in BMP format).
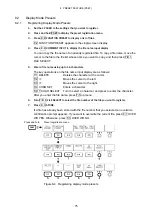
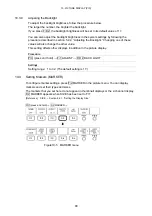
1. Press F•3 FILE SELECT.
F•3 FILE SELECT appears when USB memory is connected to the LV 5380.
2. Select the file formats.
The file formats that you can select are explained below. Set at least one of the formats
to ON. Both of the formats are set to ON by default.
BMP FILE
The captured data is saved to the USB memory as a bitmap file.
You can view the saved file on a PC.
BSQ FILE
The captured data is saved to the USB memory as a BSQ file.
You can view the saved data again later on the LV 5380.
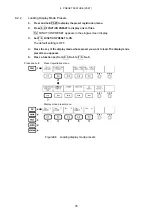
After you have finished selecting the file formats, press F•5 up menu.
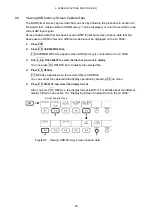
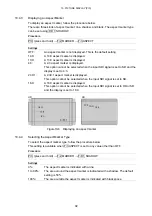
3. Press F•4 USB MEM STORE to save the captured data to USB memory.
F•4 USB MEM STORE appears when USB memory is connected to the LV 5380 and
BMP FILE or BSQ FILE is set to ON.
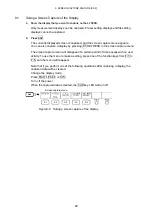
The file name is automatically set to the date and time that you set in the system settings
according to the procedure in section 5.6, “Setting the Date and Time.”
Example: 20080425150500.bmp (the order is: year, month, day, hour, minute, second)
The file structure in the USB memory is shown below.
USB memory
└
BMP
├
yyyymmddhhmmss.bmp
└
yyyymmddhhmmss.bsq
Screen capture menu
Figure9-3 Saving screen capture data