125
13. STATUS DISPLAY
13.3 Configuring the Data Dump Settings
13.3.1
Data Dump Screen Description
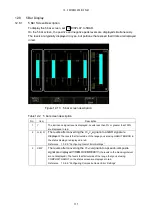
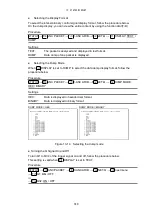
To display a data dump, press
DATA DUMP on the STATUS menu.
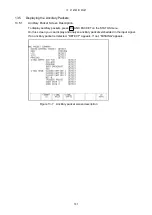
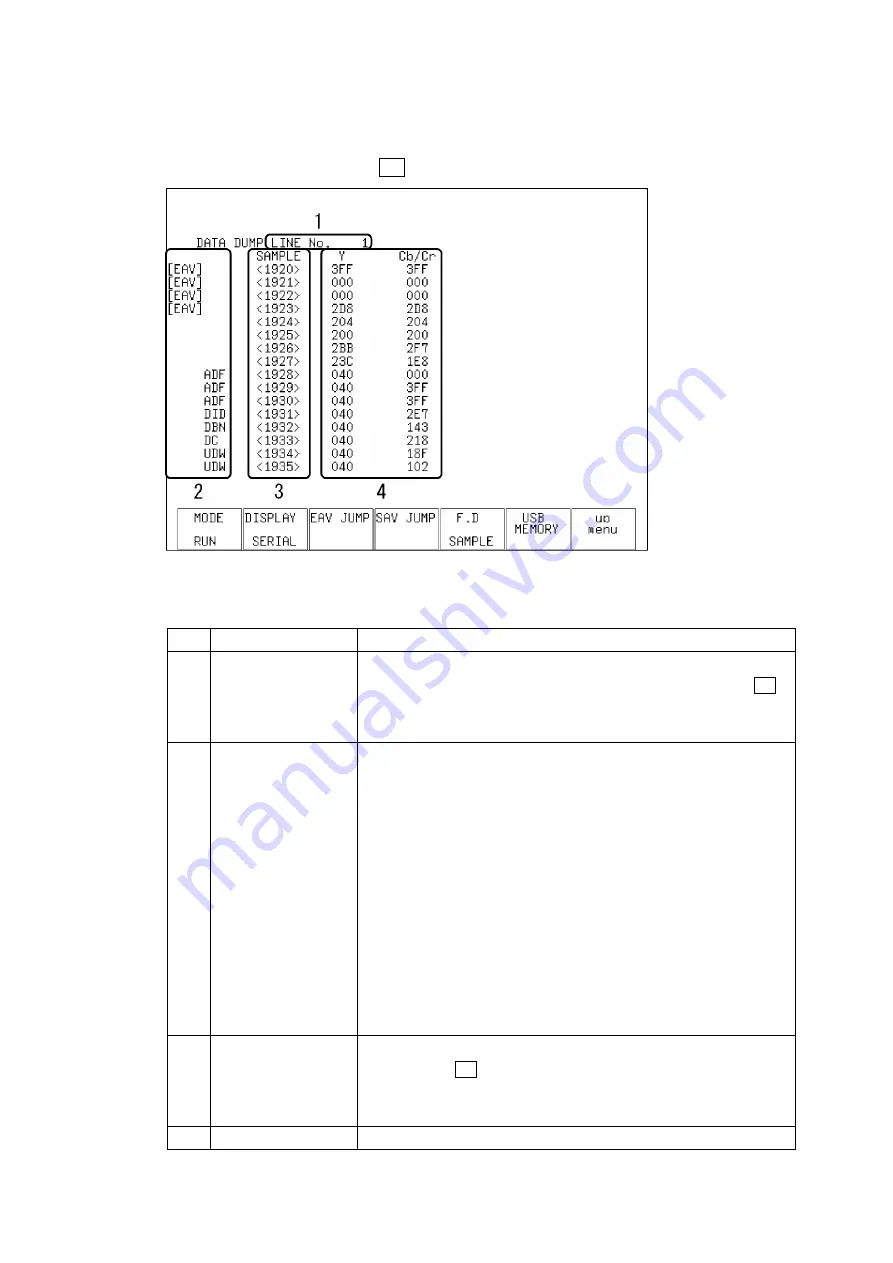
Figure 13-3 Data dump screen description
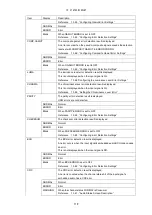
Table 13-3 Data dump screen description
F•2
No.
Item
Description
1
LINE No.
The data dump screen shows the data for a particular line. The
selected line is indicated next to LINE No. To select a line, press F•5
F.D to select LINE, and then turn the function dial (F•D).
Reference 13.3.5, “Selecting What the Function Dial Controls”
2
Ancillary data
The ancillary data embedded in the SDI signal is indicated as shown in
the table below.
“ADF” (cyan)
Ancillary data header word
“DID” (cyan)
Ancillary data ID word
“SDID” (cyan)
Secondary format data in which DID is smaller
than 80H
“DBN” (cyan)
Primary format data in which DID is 80H or larger
“DC” (cyan)
Ancillary data count word
“UDW” (cyan)
Ancillary data user data word
“CS” (magenta)
Ancillary data checksum word
“AP” (yellow)
The active picture from after the SAV to just before
the EAV when the selected line is within the active
video area.
3
SAMPLE
The sample numbers of the selected line are displayed. To select a
sample, press F•5 F.D to select SAMPLE, and then turn the function
dial (F•D).
Reference 13.3.5, “Selecting What the Function Dial Controls”
4
Data
The data contained in the selected line and sample is displayed. You

