crystal User Manual
Version: 6.6.0/2
137/459
8. Configuring crystal
8.9
Transferring Configuration Data to the Unit
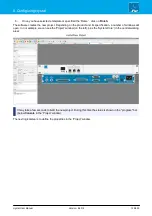
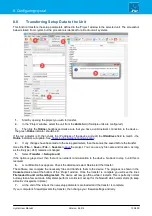
This function transfers the configuration parameters to the selected unit. The screenshot below is taken from
Power Core, but the procedure is identical for all radio on-air systems.
1.
Start by opening the project you wish to transfer.
2.
In the 'Project' window, select the unit from the
Units
field (if multiple units are configured).
3.
Then tick the
Online
checkbox and make sure that you have a valid network connection to the device -
the green
Online
indicator should be lit.
If the red indicator is lit, then check the IP address of the device and edit the
IP-Address
field to match - the
Online
indicators will update. See
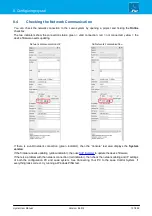
Checking the Network Communication
4.
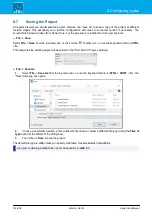
If any changes have been made to the configuration, then these must be saved before the transfer.
Use either
File
->
Save
or
File
->
Save As
to
the project. You can use any file name and location, as long
as the file type (.db3) remains unchanged.
5.
Select
Transfer
->
Config to unit
from the top menu bar, or click on the
Toolbar icon.
If the option is greyed out, then there is no network communication to the device. Go back to step 3 until this is
resolved.
6.
A confirmation box appears. Check the details and select
Yes
to start the transfer.
The software now compiles the necessary files and transfers them to the device. The progress is shown in the
Console
status area at the bottom of the 'Project' window. Once the transfer is complete you will see the lines
File loaded to unit
and
Sending restart
. The device will go offline while it restarts. This is perfectly normal but
may take a few seconds. All systems perform a cold start, except for the Nova29 which warm starts (to keep all
matrix crosspoints in place).
7.
At the end of the reboot, the new configuration data is loaded and the transfer is complete.
If your computer’s firewall prevents the transfer, then change your firewall settings and retry.

