Section 4 - System Functions
Page 15
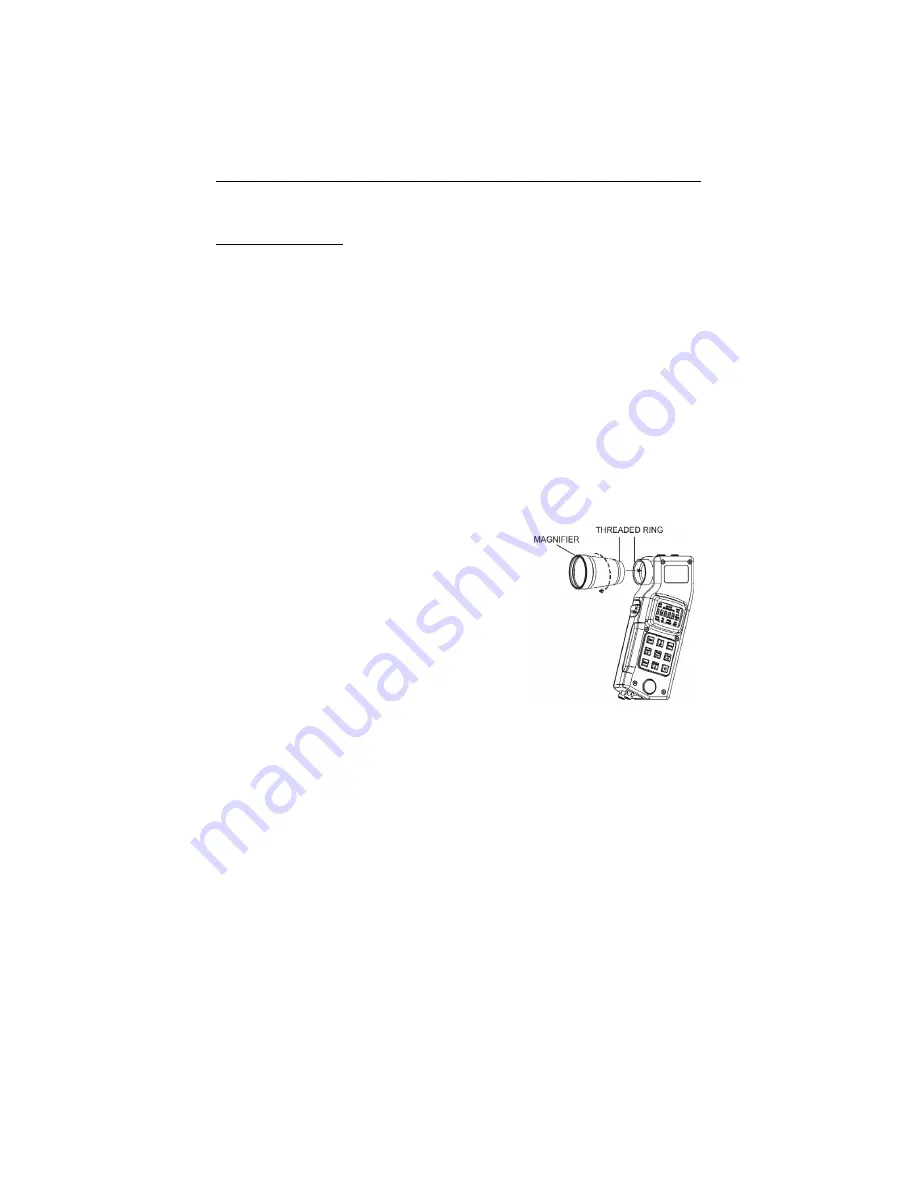
Using the Magnifier
When you are measuring diameters and your work requires maximum
measurement resolution, you will want to attach the Magnifier to the RD 1000 and
turn ON the magnification constant. The Magnifier modifies the subtended angle
represented in the in-scope LED Measurement Bar Scale, covering an overall
smaller range of angles. Thereby increasing the individual bar ‘tick’ resolution. You
should note that the Magnifier has no practical use in the BAF Mode.
Each Magnifier is labelled with its own unique magnification constant. The
magnification constant is stored in RD 1000’s memory. The constant must be
toggled ON when the magnifier is attached to the RD 1000, and toggled OFF
when the magnifier is not attached to the RD 1000. The external LCD displays the
MAG Status Indicator when the Magnification Constant is toggled ON. As long as
you are using the Magnifier that shipped with your RD 1000, you should not ever
have to change the value of the constant.
Attaching the Magnifier
1. Grasp the magnifier by the front,
outside edges opposite the
threads.
2. Position the magnifier front of the
RD 1000 as shown in Figure #9 so
the threads are aligned.
3. Turn the magnifier clockwise to
secure to the RD 1000. Do not
force the first few turns and
tighten until snug.
Removing the Magnifier
1. Grasp the magnifier by the front, outside edges.
2. Turn the magnifier counter-clockwise.
Turning the Magnification Constant ON or OFF
1. Press the MODE button until the external LCD displays the SYS
Mode Indicator.
2. Press the FWD or BACK button until the MAG Status Indicator is
displayed and “OFF” or “On” appears in the main display.
3. Press the UP or DOWN button to toggle the selection.
Press the FWD button to move to the next System Option.
Press the BACK button to move to the previous System Option.
Press the MODE button to select a measurement mode.
Figure #9


