Straight Staircase and Landing rail
Assembly Instruction
By Laser Dollhouse Designs
Page 1: ...Straight Staircase and Landing rail Assembly Instruction By Laser Dollhouse Designs ...
Page 2: ...ase 1 Staircase handrail 1 Newel post 2 Treads 12 Landing tread 1 Balusters 13 LANDING RAIL ASSEMBLY Balusters 15 Upper lower rail 2 Newel Post 3 Note Read through instructions prior to gluing parts to understand the assembly process ...
Page 3: ...l be to the left for the string if going right side railing just turn the tread holes to opposite side Step 1 Using the top large tread place on the side opposite of where you plan to install the handrail fig 2a Hold flush to the edge of staircase and glue each tread to the staircase until all 12 treads are installed Fig 2b Note that all 12 treads are aligned even to right side edge as we plan on ...
Page 4: ...l the 13 balusters into the hole of each tread figure 4 Locate the handrails notice that it has a slot in the bottom for the securing of the balusters fig 4b Step 4 Install bottom Newel post even to bottom tread fig 4c Install handrail aligning even to front of the newel post Fig 4c Figure 4c Figure 4 Figure 4b ...
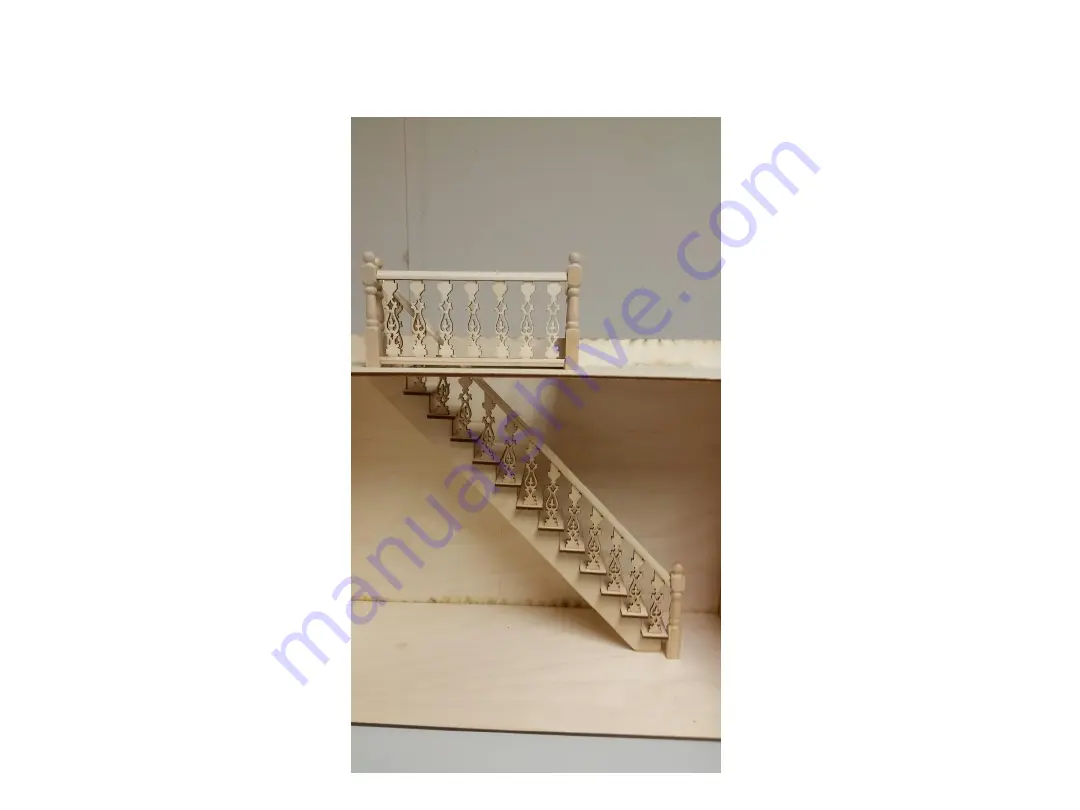
Page 5: ...ch each baluster into the handrail Do not glue until you have all seated and the bottom aligns to lower Newel post Figure 5 Install top newel post aligning to the front of the handrail fig 6 Glue assembly and staircase is completed figure 7 Figure 6 Figure 7 ...
Page 6: ...ssemble the rails outside of the house Glue inside house once assembled If you have good access to your stair location proceed to step 1 Step 1 Place one Newel post even to the stair landing Newel post Do Not Glue Post using a pencil place a mark in front of the newel post figure 1 Step 2 Place newel post at rear opening of landing and mark the rear of the Newel post desired location figure 2 Figu...
Page 7: ...esired number of Balusters below in figure 4 we have three spaced Using the spacing on the three balusters now space out the long width side as seen also in figure 4 Once desired look is achieved press the balusters into the top handrail as seen in figure 5 Once you have desired spacing again glue balusters into top rail and then install bottom rail Figure 3 Figure 5 Figure 4 ...
Page 8: ...el post to floor figure 6 If using template DO NOT glue newel post in move to next step Step 6 Glue rail to the first Newel post figure 7 Post should be top handrail centered to Newel post top flush post point See arrow to right Figure 6 Figure 7a ...
Page 9: ...ing Assembly Step 7 Install 2nd Newel post Follow the same process for completing remaining rails Figure 9 If you used a template once all rails are together with newel post glue rails into house Figure 8 Figure 9 ...