Using the Finisher
7 - 4
Using the Finisher
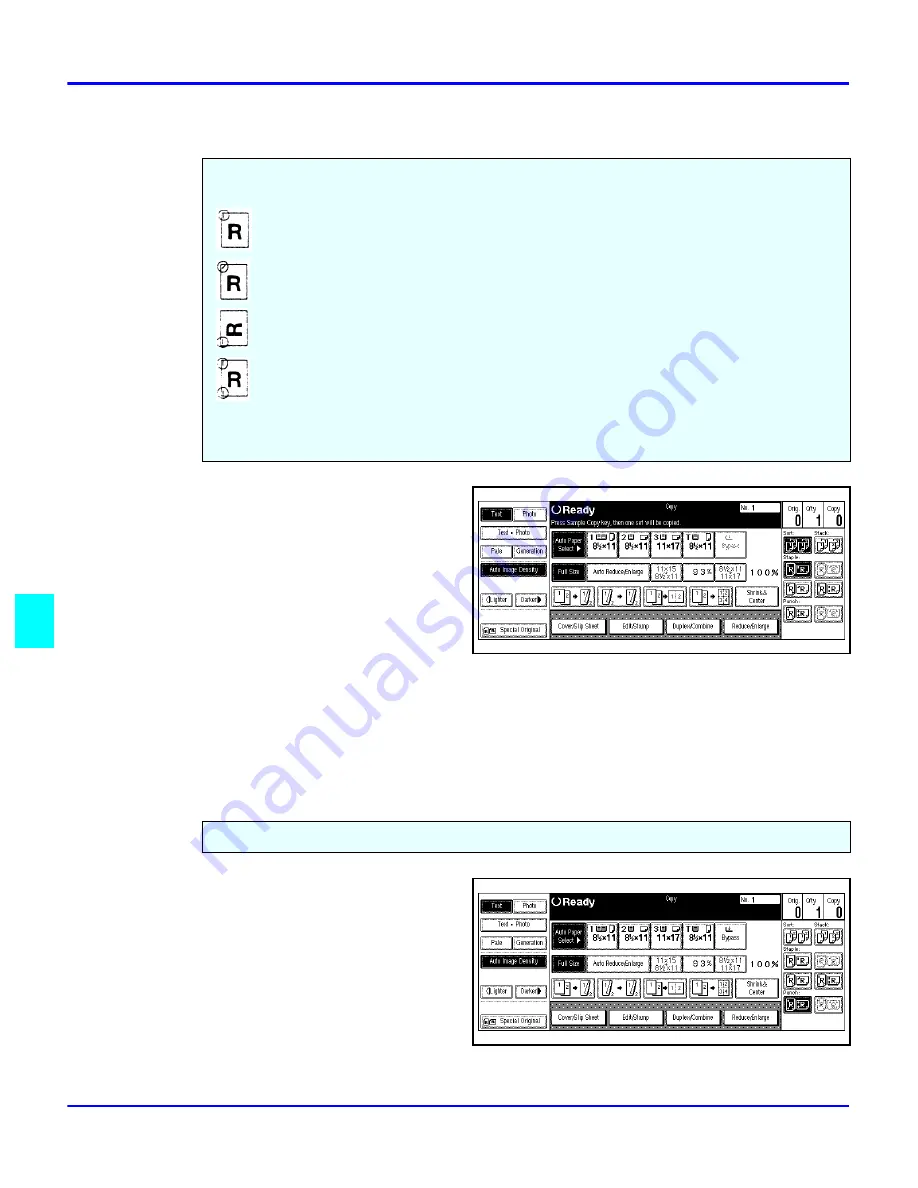
Selecting Staple Mode
1
Touch the desired Staple
Position key.
2
Using the keypad, enter the number of copy sets you require.
3
Set the originals in place, then press the Start key.Your copy sets are stapled and
exit to the Finisher Shift Tray.
Selecting Punch Mode
1
Touch the Punch key.
2
Set the originals in place, then
press the Start key. Your copies
will exit on the Finishers Shift
Tray with holes punched in
them.
3
To remove the paper punch outs
from the finisher, refer to “Removing Punch -outs” on page 8-13.
Depending on the finisher that you have, the following staple positions are available:
Top: Staples on the upper left corner, left margin.
Top: Staples on the upper left corner, diagonal.
Top: Staples on the lower left corner, left margin.
Double: Staples on the left margin in two places.
Saddle Stitch: Staples two staples in the center
With the optional punch installed, you can have three holes punched into your copy sets.
Summary of Contents for 5455
Page 9: ...Important Safeguards ...
Page 11: ...Chapter 1 Making Copies ...
Page 16: ...Making Copies 1 4 Making Copies Notes ...
Page 17: ...Chapter 2 Component Identification ...
Page 19: ...Chapter 3 Copier Functions ...
Page 45: ...Chapter 4 Copying Methods ...
Page 83: ...Chapter 5 User Tools ...
Page 108: ...Copy Document Server Settings 5 24 User Tools Notes ...
Page 109: ...Chapter 6 Special Copier Functions ...
Page 132: ...Dual Connect Copying 6 22 Special Copier Functions Notes ...
Page 133: ...Chapter 7 Using the Finisher ...
Page 140: ...Selecting the Output Tray 7 6 Using the Finisher Notes ...
Page 141: ...Chapter 8 Service and Supplies ...
Page 157: ...Chapter 9 Specifications ...
Page 169: ...Glossary ...
Page 170: ...Chapter Overview Definitions for the most often used terms are listed here ...
Page 177: ...Index ...
Page 178: ...Chapter Overview Use the index to locate topics listed in the Operator Guide ...
Page 182: ...I 4 ...


