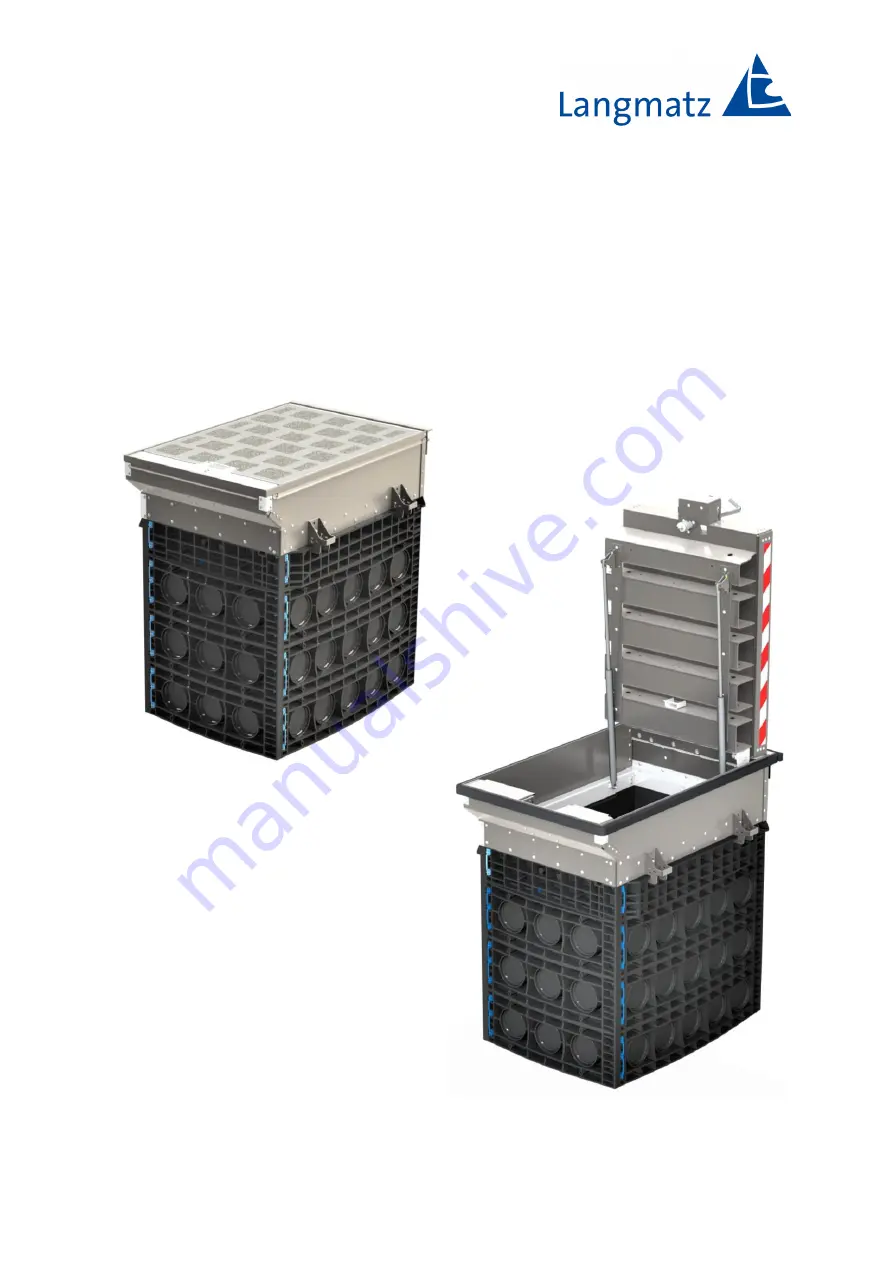
Installation Instructions
Underground Distribution System EK600 | EK800
with Swivel Cover
Page 1: ...Installation Instructions Underground Distribution System EK600 EK800 with Swivel Cover...
Page 2: ...hing 12 6 5 Installing the circumferential joint tape 12 7 Constructing the surrounding surface 13 7 1 Backfilling the foundation pit 13 7 2 Constructing the top layer in the vehicle traffic area 13 8...
Page 3: ...3 12 Declaration of Conformity 21 13 Material defects 22 14 Quality management 22 15 Disclaimer Warranty 22 16 Contact 22...
Page 4: ...he main features The copyright to these instructions remains with Langmatz GmbH 2 Safety information The product complies with the latest state of the art technology at the time of printing and is del...
Page 5: ...company is responsible for installing operating and maintaining the fixtures The operating company is responsible for the following Preventing danger to the life and limb of users and third parties E...
Page 6: ...evel 2 Underground distribution system 3 Tray flood proof cover Fig 1 Fig 2 The seal must be gas tight Use compression joints with an oil stop etc Then encase the cable using a cast resin fibre closur...
Page 7: ...cover are made from high quality stainless steel Langmatz s many years of experience in the field of underground distribution systems mean that product details such as openings for measuring the water...
Page 8: ...tem 3 Item 4 Item 5 Item 6 Item 7 Item 8 Item 9 Locking flap Opening for water level measurement and pump out option Gas spring Safety catch Joint tape in accessories kit Crane lugs Manhole body Cable...
Page 9: ...n from the G tegemeinschaft Leitungstiefbau e V Underground Cable Line Construction Quality Association Procedural instructions for performing tasks in underground cable line construction The position...
Page 10: ...o the requirements With group G1 G2 soil types as per ATV DVWK A 127 soil groups GE GW GI SE SW SI GU GT SU ST as per DIN 18196 Lay a concrete load bearing layer at least 100 mm thick tamped concrete...
Page 11: ...cured to the underground distribution system and are buried along with it Fig 8 Alignment of supply and discharge lines Note Align the supply and discharge lines to the position of the locking flap 1...
Page 12: ...on the local conditions as well as the specifications of the responsible grid operator Fig 11 6 5 Installing the circumferential joint tape Important Apply two layers of the joint tape 2 to the hinge...
Page 13: ...that the gap between the swivel cover 1 and the steel frame 3 is secured to prevent deformation warping Drive in the 8 wooden wedges 2 provided between the swivel cover 1 and the steel frame 3 Fig 15...
Page 14: ...the client please note The covering fitted may not come loose or fall out when the swivel cover is open Handle the paving as follows Fig 18 Thoroughly clean the surface of the stainless steel tray 1 M...
Page 15: ...ing stones As with the mortar bed e g using PCI Bauharz Epoxi resin epoxy binder or PCI Epoxigrund 390 primer Tap in the paving stones before the base has fully dried Note Only grout the covering once...
Page 16: ...p 2 with the key provided 1 anti clockwise Fig 21 Fold the locking flap 1 upwards and pull it forwards Fig 22 Opening to check the water level e g in the event of flooding 1 Doubles as a pump out open...
Page 17: ...ate is reached once the turning movements no longer produce any noticeable resistance Fig 24 Tighten the swivel cover using the handle recess 1 The swivel cover folds upwards with support from the gas...
Page 18: ...n system is shown here with a step protection cover 2 optional After the swivel cover has been opened loosen the locking hook 1 and fold down the step protection cover Caution When operating open alwa...
Page 19: ...ld up the step protection cover 2 optional Close the locking hook 1 Lift the required cable outlet cover 3 and pull it down into the guide slot Route cables and hoses 4 through the respective cable ou...
Page 20: ...on the swivel cover to lock the underground distribution system Insert the hexagon socket spanner AF14 1 into the locking bolt 2 Turn clockwise and lock the swivel cover Turn until the swivel cover ha...
Page 21: ...ge After every use 12 Declaration of Conformity The product meets the requirements of the following applicable harmonisation directives 2006 42 EC Machinery Directive Compliance with the relevant harm...
Page 22: ...ce any problems with it please contact our hotline see section 16 Contact 14 Quality management The Langmatz GmbH quality management system is certified to DIN EN ISO 9001 15 Disclaimer Warranty The i...
Page 23: ...23 79 100 0098 001 As of 13 02 2024 Translation of the Original Installation Instructions...