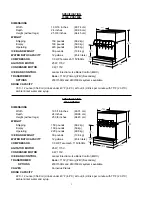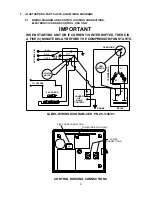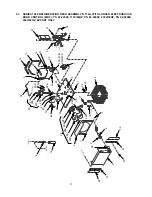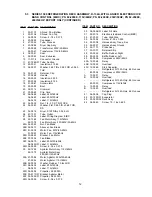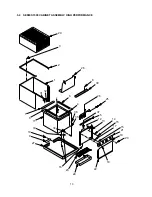
equipped with electronic ice bank controls
.
D. Replace the yellow plug.
E. Reinstall bonnet on dispenser.
1.6
CONNECTING TO ELECTRICAL POWER
WARNING
THIS UNIT MUST BE PROPERLY ELECTRICALLY GROUNDED TO AVOID POSSIBLE FATAL
ELECTRICAL SHOCK OR SERIOUS INJURY TO THE OPERATOR. THE POWER CORD IS
PROVIDED WITH A THREE PRONG GROUNDED PLUG. IF A THREE-HOLE GROUNDED
ELECTRICAL OUTLET IS NOT AVAILABLE, USE AN APPROVED METHOD TO GROUND THE
UNIT.
DO NOT USE EXTENSION CORDS WITH THIS UNIT. DO NOT “GANG” TOGETHER WITH
OTHER ELECTRICAL DEVICES ON THE SAME OUTLET.
A. Check the dispenser serial number plate for unit's correct electrical requirements.
Do not plug
into electrical outlet unless unit electrical configuration, located on serial plate, agrees with local
available power supply.
B. Route the power supply cord to a grounded electrical outlet of the proper voltage and amperage
rating, and plug in the unit. This will turn on the refrigeration system and allow it to start
cooling while completing the rest of the installation. Approximately three (3) hours are required
to form a full ice bank.
NOTE
Units equipped with an electronic ice bank control contain a five (5) minute delay. Compressor
and fan motor will not begin running until five (5) minutes after the unit is energized.
2
6
4
5
1
2
3
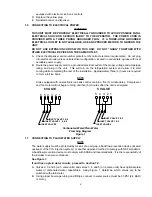
INLET VALVE 5
INLET VALVE 1, 2, & 6
INLET VALVE 3 & 4
5 VALVE
INLET VALVE 2 & 3
INLET VALVE 1 & 5
INLET VALVE 4
5 4 3
1
2
6 VALVE
Carbonated Water/Plain Water
Plumbing Diagram
Figure 1
1.7
CONNECTING TO PLAIN WATER SUPPLY
NOTE
The water supply must be protected by means of an air gap, a backflow prevention device (located
upstream of the CO
2
injection system) or another approved method to comply with NSF standards.
A backflow prevention device must comply with ASSE and local standards.
It is the responsibility of
the installer to ensure compliance.
See Figure 1.
If unit has no plain water circuits, proceed to Section 1.8.
A. Valves 2, 3, and 4 (on 5 valve units) and valves 3, 4, and 5 (on 6 valve units) have optional plain
water or carbonated water capabilities. Using Figure 1, determine which valves are to be
plumbed with plain water.
B. Using proper beverage tubing and fittings, connect to water source [must be 35 PSI (2.4 BAR)
or more].


