background image


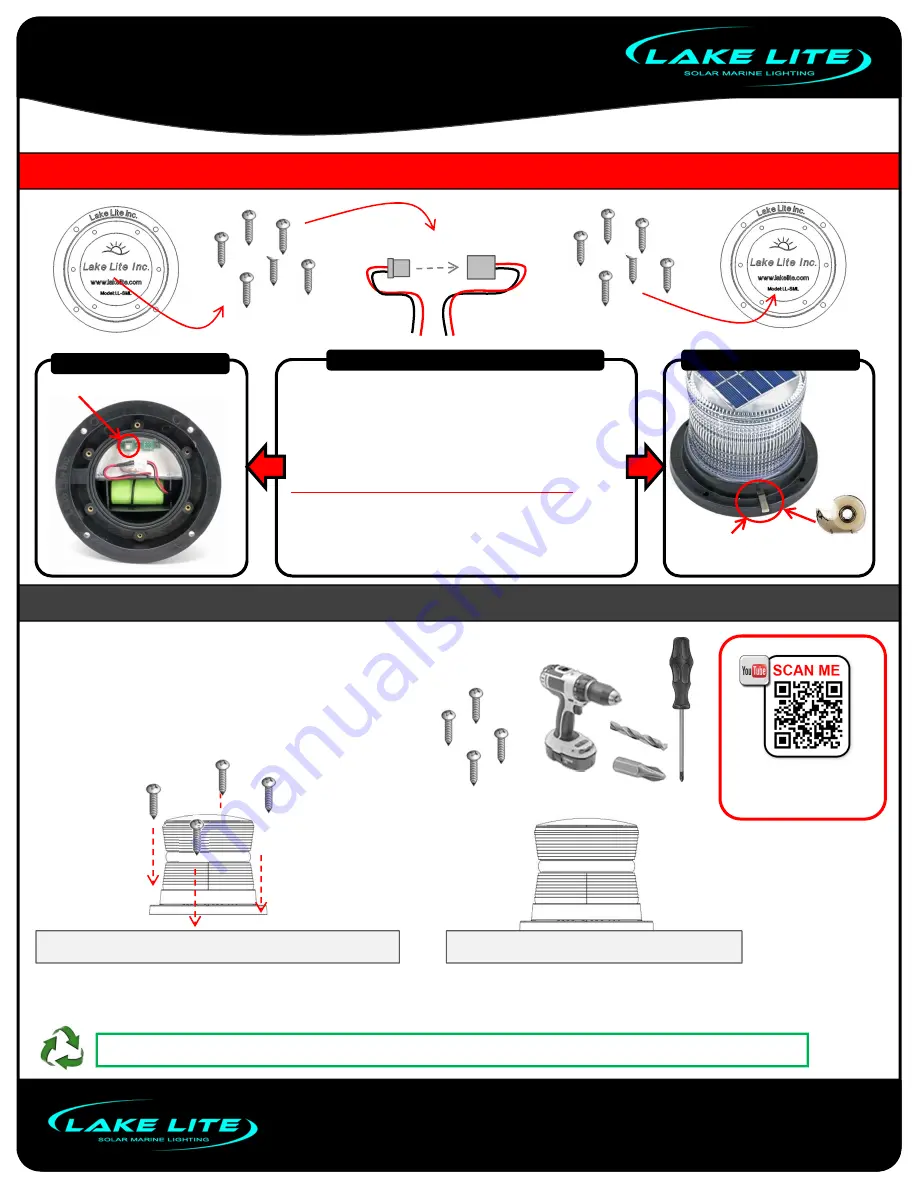
CAUTION: CONTAINS NICKEL‐CADMIUM BATTERIES. BATTERY MUST BE RECYCLED OR DISPOSED OF PROPERLY. 

NOTE:


1.

LED Light inside is activated by darkness, Unit must be in a dark area before light will activate. Place in dark room to test unit. 

2.

Battery must be charged in order for the LED Light to turn on. Make sure battery is connected inside and then place in sunlight to charge. 

NOTE: BATTERY MUST BE INSTALLED & CONNECTED TO FUNCTION


Mounting your Light to a Surface


1. Purchase desired mounting screws or bolts 
2. Place/Space Marine Lite in desired locations on surface 
3. Use pencil to mark mounting holes 
4. Use electric drill with small drill bit to make pilot holes 
5. Use Screw Driver or Electric Screw Driver to mount unit


Recommended Screw size #10 or #12  x  1” or Longer 

2‐Screws/Bolts  
For each light 

Tools Required 

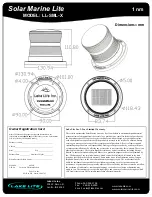
Solar Marine Lite 

            MODEL: LL-SML-X 

Battery Connector 

Mounting Surface 

Mounting Surface 

INSIDE BUTTONS 

STORAGE MODE 

1.

Remove Battery Cover from bottom of unit.  

2.

Connect both sides of the battery connector together 

3.

Internal Switch, Changes between Flashing or Constant Modes.  

4.

Install or check that the silicone O‐Ring seal is in place and 
correctly in position 

5.

Attach and tighten the battery cover with the provided 6‐screws. 
Be sure to work your way around to each screw to fully tighten.  


WARNING:       LONG TERM STORAGE DIRECTIONS:  

1.

Charge the Light on a Sunny Day.  

2.

Before Nightfall Disconnect Battery & store battery in climate controller 
area for long term storage. You may also use the magnet to disconnect 
the battery for storage. Make sure the magnet will not fall out during 
storage or the battery may be damaged. 

Use a piece of tape to secure 

the magnet in place during storage 

INSTALLING THE BATTERY 

Flash/Constant Switch 

Insert Magnet into slot 

Use a piece of tape to secure magnet in place 
(the magnet will disconnect the battery for storage) 

NEW: 

Watch Online 

Installation Video! 

1nm 

Lake Lite Inc. 

105 W. Simon St. 
Laotto, IN 46763 

Phone: 260‐918‐2758 
Fax:       260‐918‐3540 
E‐mail   [email protected] 

www.lakelite.com 
www.solarmarinelites.com 

Summary of Contents for Solar Marine Lite LL-SML Series

Page 1: ...1 Remove Battery Cover from bottom of unit 2 Connect both sides of the battery connector together 3 Internal Switch Changes between Flashing or Constant Modes 4 Install or check that the silicone O Ring seal is in place and correctly in position 5 Attach and tighten the battery cover with the provided 6 screws Be sure to work your way around to each screw to fully tighten WARNING LONG TERM STORAGE...

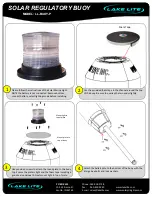
Page 2: ...6763 Phone 260 918 2758 Fax 260 918 3540 E mail sales lakelite com Use the provided foam tape in the channel around the top of the buoy Be sure to overlap the two ends slightly 1 2 www lakelite com www solarpilinglites com Foam Tape SOLAR REGULATORY BUOY MODEL LL BUOY P Use provided screws to attach the round plate to the buoy top Ensure the plate is tight and the foam tape is making a good seal u...

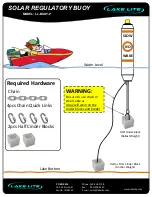
Page 3: ...te com SLOW WAKE NO WARNING Be sure to use chain or steel cable as rope will wear on the cinder blocks and break Half Cinder Block Ballast Weight Half or FULL Cinder Block Anchor Weight 4pcs Chain Quick Links Chain 2pcs Half Cinder Blocks Lake Bottom Water Level SOLAR REGULATORY BUOY MODEL LL BUOY P www lakelite com ...

Page 4: ...se or improper installation or by affixing any accessories is not covered by this warranty There is no other express warranty The retailer hereby disclaims any and all warranties including but not limited to those of merchantability and fitness for a particular purpose to the extent permitted by law The duration of any implied warranty which cannot be disclaimed is limited to the time period as sp...

Page 5: ...er installation or by affixing any accessories is not covered by this warranty There is no other express warranty The retailer hereby disclaims any and all warranties including but not limited to those of merchantability and fitness for a particular purpose to the extent permitted by law The duration of any implied warranty which cannot be disclaimed is limited to the time period as specified in t...

Reviews: