35
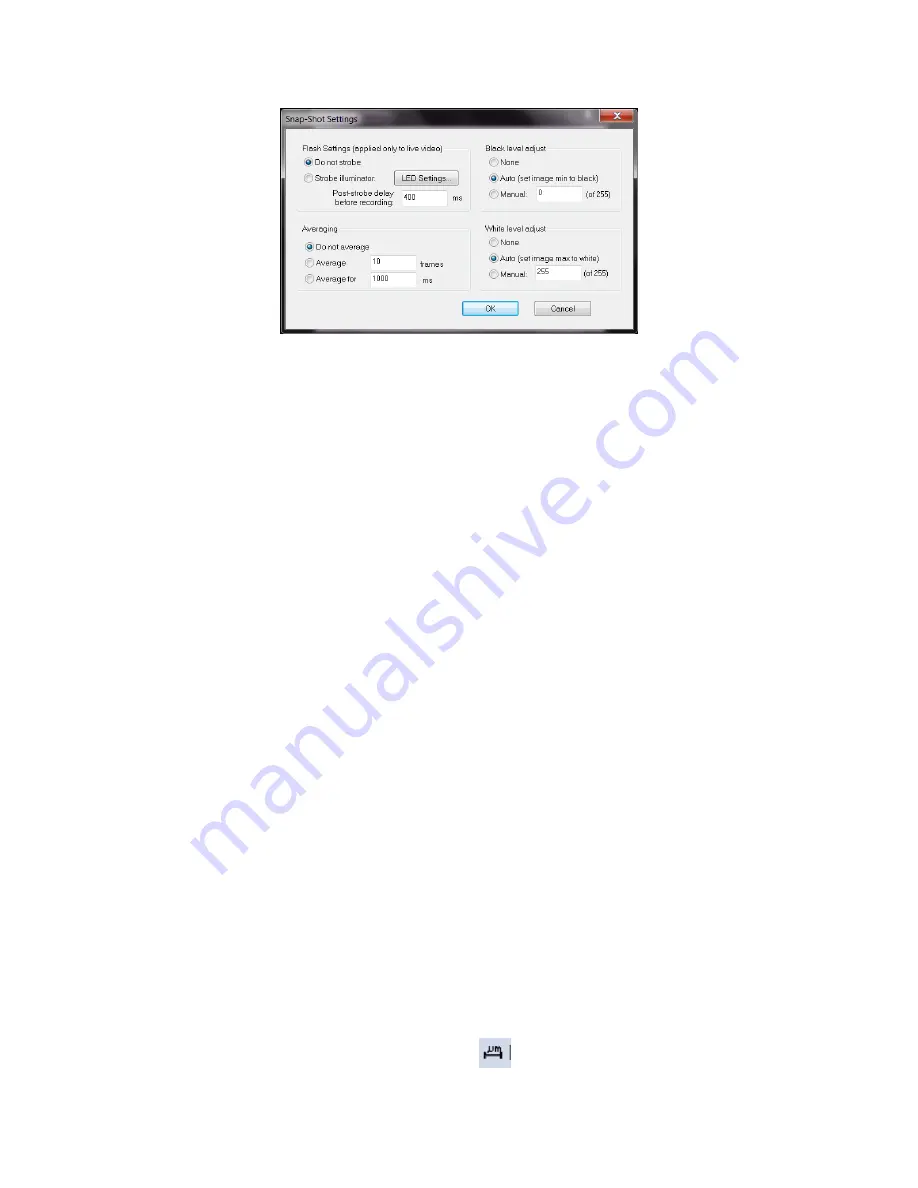
Advanced Settings for Time Lapse
Note
: the settings selected in this window will only be applied to the video recordings, the snap
shot settings will not change.
The time between images in a time lapse video is dependent on the averaging time + the wait
time between recorded frames. For example, for a recording rate of 30 fps, if you set the
averaging to 15 frames and then set the wait time to 1 second, then the apparent increase in
speed for the video is 45X (15 frames av 30 frames skipped).
For live video recording, advanced time lapse settings also allow you to control the illuminator
strobe to synchronize with the time lapse rate.
5.8
Dropped frames
The SVM uScope software uses a buffer as it is recording to minimize dropped frames. However,
if the available RAM isn’t sufficient you may still experience dropped frames.
Improving available RAM:
•
Set the RAM buffer (should be > 500 MB): View>Video Buffer Settings
•
Close anything running in the background that might be a resource hog: i.e., Windows Indexer,
Antivirus scan, fetching and scanning emails, automated backup, etc.
•
If you are using uScope Probes, close any that aren’t
necessary.
•
Try running without interlacing and/or compression.
•
Color Format: Running in true color (Video>Color Format>24-bit RGB) uses 3X more RAM
compared to the B&W video options. If true color is not necessary, chose another option.
5.9
Distance indicator
The Distance Indicator feature allows you to measure features on your image. To create an
indicator:
1.
Click the
Distance Indicator
toolbar button
to highlight the button.


