background image


13

5. 

Press and release again the 

ALM

 key to exit the Alarm 

setting mode or wait for 15 seconds automatic timeout. 


TO DEACTIVATE THE ALARM: 


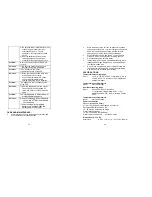
The alarm will be automatically ON when the alarm time is set. 
To deactivate the alarm (OFF), press and release once the 

ALM

 key in normal mode display. The alarm icon will 

disappear, the alarm is now off. 


SNOOZE SETTING 

The snooze can only be activated during alarm time for a 
snooze duration of 10 minutes by pressing the 

SNZ

 key on the 

back of the clock. 

 
POSITIONING THE RADIO-CONTROLLED SOLAR 
CLOCK: 

Before permanently mounting, ensure that the radio-controlled 
solar clock is able to receive WWVB signals from the desired 
location. Also, extreme and sudden changes in temperature will 
decrease the accuracy of the solar clock, and changes in 
elevation will result with inaccurate temperatures readings for 
the next 12 to 24 hours. These changes will require a 12  to 24 
hour wait before obtaining reliable data. 


There are two possible ways to mount the solar clock: 


use of the foldable table stands, or 

 wall 

mounting 

Alarm icon (((

))) (ON) 


14


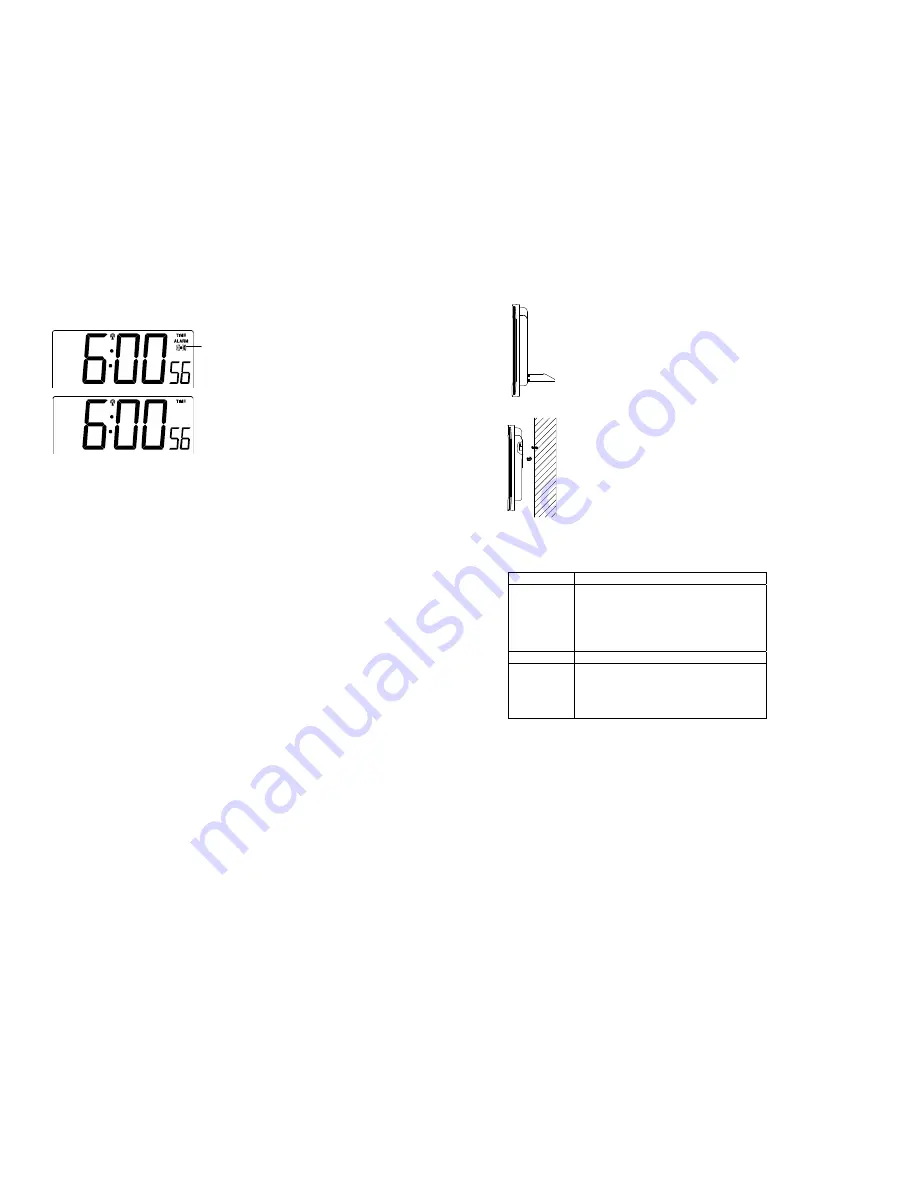
FOLDABLE TABLE STANDS 


The foldable table stands legs are located on 
the backside. Unfold the stands out, below 
the battery compartment. Once the foldout 
table stands are extended, place the radio-
controlled solar clock in an appropriate 
location.


WALL MOUNTING 

1. 

Install a mounting screw (not included) 
into a wall—leaving approximately 3/16 
of an inch (5mm) extended from the wall. 

2. 

Place the radio-controlled solar clock 
onto the screw, using the hanging hole 
on the backside. Gently pull the radio-
controlled clock down to lock the screw 
into place.  


Note: 

Always ensure that the radio-controlled clock locks onto 

the screw before releasing. 


TROUBLESHOOTING: 


Problem: 

The LCD is OFF.

Solution: 

1) Move the solar clock to a brighter 

environment. 

2) Check that the solar panel is not 

covered. 

3) Replace the battery if using Alkaline 

battery. 

Problem: 

No reception of WWVB signal 

Solution: 

1) It may help reception to face the front 

of the radio-controlled clock in the 
general direction of Ft. Collins, 
Colorado. 

2) Wait overnight for signal. 

Summary of Contents for WT-8029U

Page 1: ...y cover Wall Mount Location LCD2 display Foldable stands Solar panel TABLE OF CONTENTS Topic Page Features 3 Battery Installation 3 Setting Up 5 Atomic time WWVB Radio Controlled Time 5 Function keys...

Page 2: ...Changing Installing the Battery 4 TO INSTALL REPLACE BATTERY The included alkaline rechargeable battery should provide you with many years of service If your battery needs to be replaced we suggest y...

Page 3: ...nected with WWVB it will override the manually set time and date Note When changing the battery 1 Be careful that it does not spring free from the contacts 2 Press any button 20 times with the battery...

Page 4: ...guage hour minute year month date weekday 12 24h time format display F C temperature unit and solar mode key To change any values in manual set mode ALM key To enter into the alarm set mode To activat...

Page 5: ...does receive the signal it will change the manually set time into the received time During reception attempts the WWVB tower icon will flash If reception has been unsuccessful then the WWVB tower ico...

Page 6: ...ss and release the SET key to enter the mode Solar Mode Setting 12 SOLAR MODE The Solar Mode is used for saving the power consumption of the rechargeable battery Default setting ON 1 The characters ON...

Page 7: ...ta There are two possible ways to mount the solar clock use of the foldable table stands or wall mounting Alarm icon ON 14 FOLDABLE TABLE STANDS The foldable table stands legs are located on the backs...

Page 8: ...Avoid areas where the unit can be exposed to sudden changes in temperature i e direct sunlight extreme cold and wet moist conditions as these will lead to rapid changes which reduce the accuracy of r...

Page 9: ...ding the lack of reasonable and necessary maintenance 2 damage occurring during shipment claims must be presented to the carrier 3 damage to or deterioration of any accessory or decorative surface 4 d...

Reviews: