07
08
LCD Display Brightness
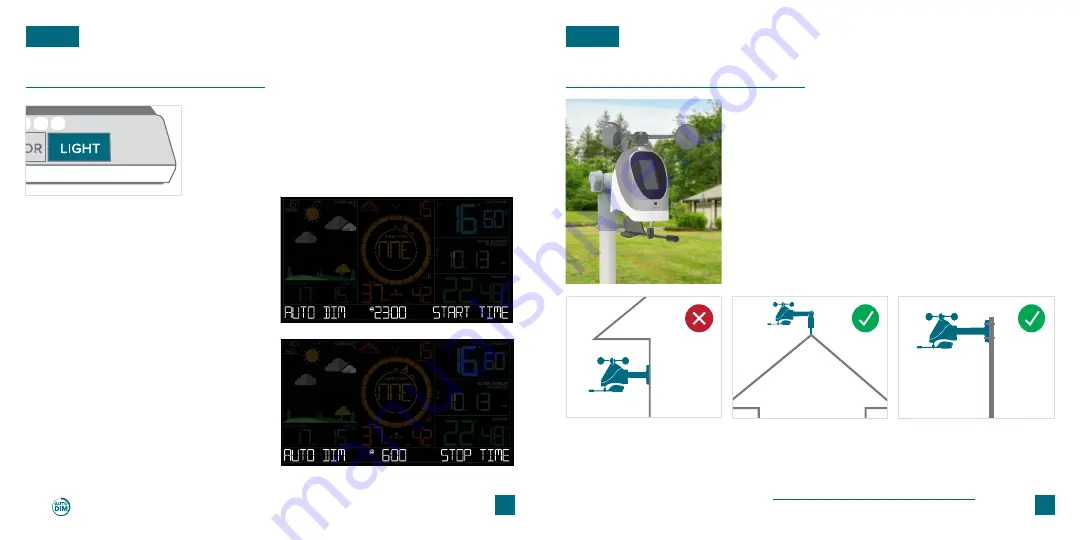
Positioning the Breeze Pro Sensor
Adjusting the LCD Display Brightness
For Accurate Measurements
Auto-Dim Settings
Press the
LIGHT
button to adjust the backlight intensity.
There are 4 brightness levels, plus an off option.
•
Mount the Breeze Pro Sensor horizontally and ensure it’s level.
•
The sensor should be mounted with the wind cups on top.
•
Your Breeze Pro Sensor should be the tallest object in the area to
avoid reduced wind speed values.
•
To optimize the use of the Breeze Pro Sensor’s Solar Panel, battery
life, and wind direction readings, ensure that the sensor is mounted
with the solar panel facing directly to the South.
•
Make sure all the screws on the mounting bracket, wind cups, wind
vane, and battery compartment are securely fastened.
•
Ensure the knob on the mounting bracket is secure and stays in
your desired configuration.
1.
2.
3.
4.
Hold the
LIGHT
button to enter
the Auto-Dim Settings Menu.
Program your display to automatically
dim during preselected times.
Press the
+/-
buttons
to turn the
Auto-Dim feature on or off. Press
LIGHT
to confirm.
Press the
+/-
buttons
to adjust the
starting hour. Press
LIGHT
to confirm.
Press the
+/-
buttons
to adjust the
stopping hour. Press
LIGHT
to
confirm and exit.
The icon will appear on the LCD when the Auto-Dim feature activated.
BASICS
BASICS
Avoid areas that may obstruct
wind gusts such as eaves,
rooflines, or trees.
The Breeze Pro Sensor should
be the tallest object in the area.
An unobstructed rooftop is an
ideal location.
The sensor may be mounted on
a pole away from any objects that
may cause inaccurate readings.
The illustrations above are not to scale and are for informative purposes only.


