


13
CHARGING
Earbud Charging
1. Remove the Dock Cover from the top of the
alarm clock.
2. Open the bottom Accessory Compartment
and find the Earbud Dock and Cable Fittings.
3. Feed your earbud charging cable (not
included) up through the Earbud Dock,
securing it with the correct Large or Small
size Cable Fitting.
4. Wrap any extra cord up inside the Accessory
Compartment and feed the charging end
through the bottom hole.
5. Plug the cord into the appropriate 1 amp
USB Charging Port.
14
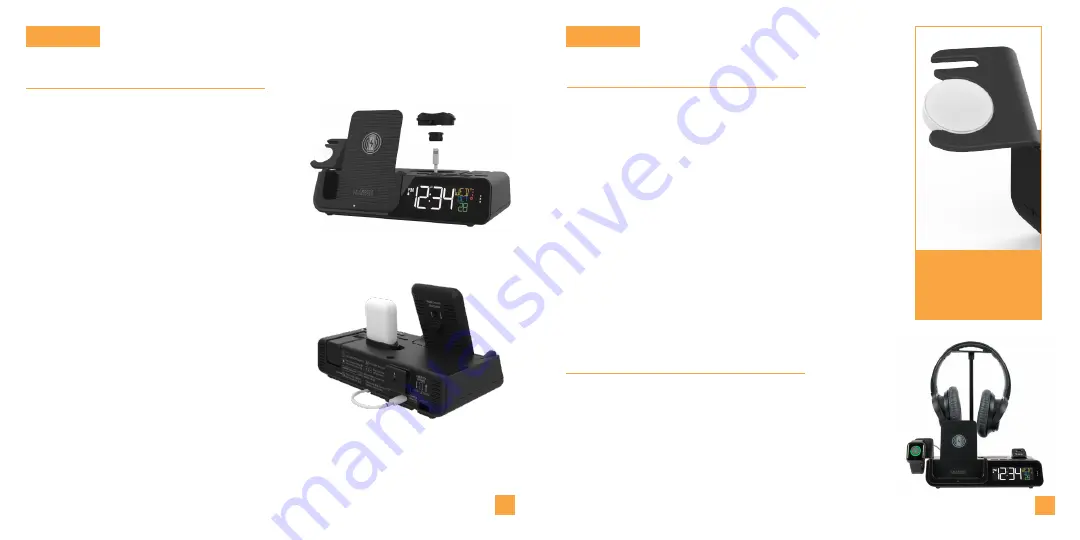
Smart Watch Stand
The removable Smart Watch Stand is engineered to fit
a variety of smart watch brands. Its open design allows
for easy access to your device’s unique charging port
location, for use with the included USB Charging Port.
The Earbud Dock, Cable Fittings, and Smart Watch Stand can all be stored in the
Accessory Compartment on the bottom of the clock when not in use.
How to attach the Smart Watch Stand
Accessory Storage
Open design fits most
smartwatches, including
Apple Watch
1. Remove the Smart Watch Stand from the Accessory
Compartment on the bottom of the alarm clock.
2. Insert the watch stand into the left side of the clock.
3. Place your watch on the stand and attach its
charging cord.
4. Plug the charging cord into the correct USB port.
Note: Smartwatch and charging cords not included.
CHARGING
Headphone Stand
1. Insert the Headphone Stand into the hole on the top
of the clock.
2. Place your headphones on the stand and attach their
charging cord.
3. Plug the charging cord into the correct USB port.
Note: Headphones and charging cords not included.
How to attach the Headphone Stand
Summary of Contents for 616A-1413
Page 13: ......


